Previously in Digital Illustrations Part 1, We talked about how to create flat illustrations with the use of Adobe Illustrator’s Pen Tool. However, a big downside of the pen tool is that the pen tool can be limited in terms of the blending of colors, but no worries! There is another tool to help with this problem! Thus, in our final tutorial post of this Studio Takeover, we will be covering that very tool; the Gradient Mesh Tool Illustrator!
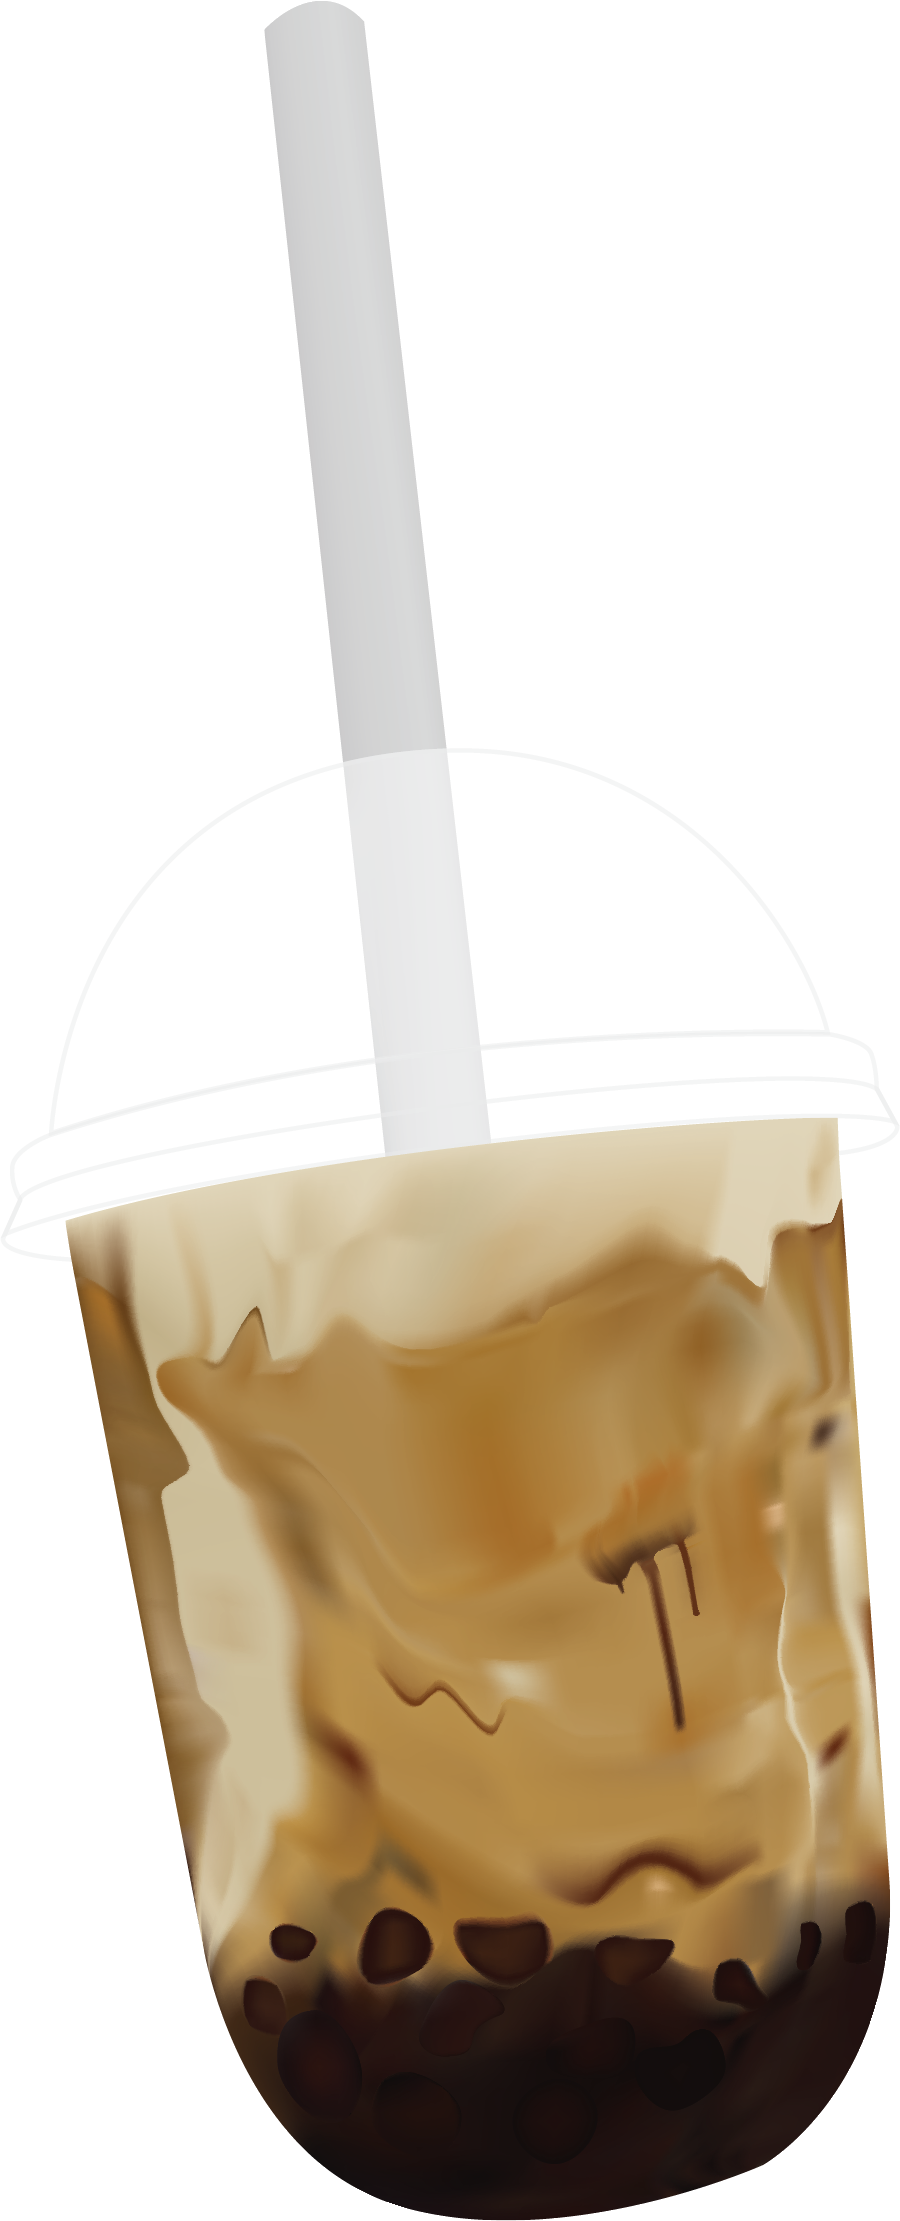
At the end of this tutorial, you will be able to create vector art illustrations like this:
What is the Gradient Mesh Tool in Adobe Illustrator?
Before we get started, Let’s define what this tool is.
A gradient mesh is a way of adding specific areas of color to a piece of artwork inside of Adobe Illustrator
The use of the Gradient Mesh Tool allows for a very flexible and detailed application of color to objects. A Gradient Mesh creates a grid inside the object that follows the contour. Color can then be applied to grid points, and different colors between grid point feather into each other.
With that being said, Let’s walk you through the steps to creating vector art with the Gradient Mesh tool! Feel free to follow along with your own image or the one we will provide here!
Step 1: Importing an Image
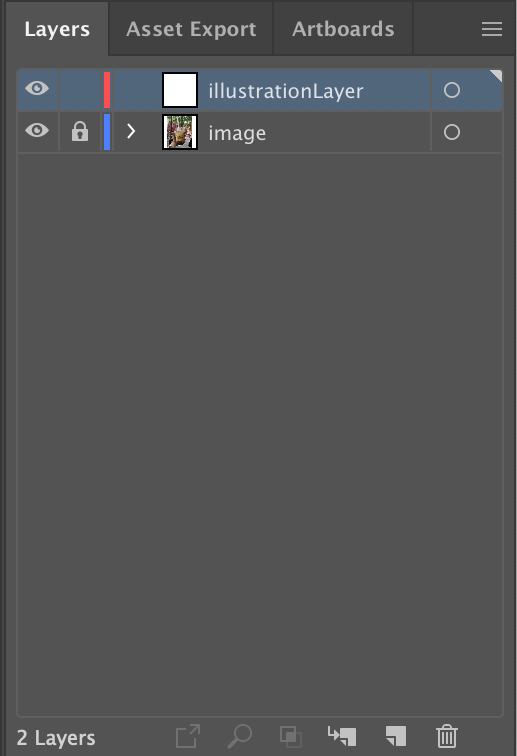
Open an image that you would like to illustrate in a new layer and lock it to ensure it does not get moved around.

Step 2: New Layer
Create a new layer for your illustration. Set it above your image layer.
Step 3: Use Pen Tool
Before we get to using the Gradient Mesh tool, we will be using the Pen tool to create outlines.
*video: D7step3
Creating every shape in a new layer allows me to easily delete, modify, and hide them.
For this illustration, I will be separating the straw, lid, cup, and pearls into different shapes.
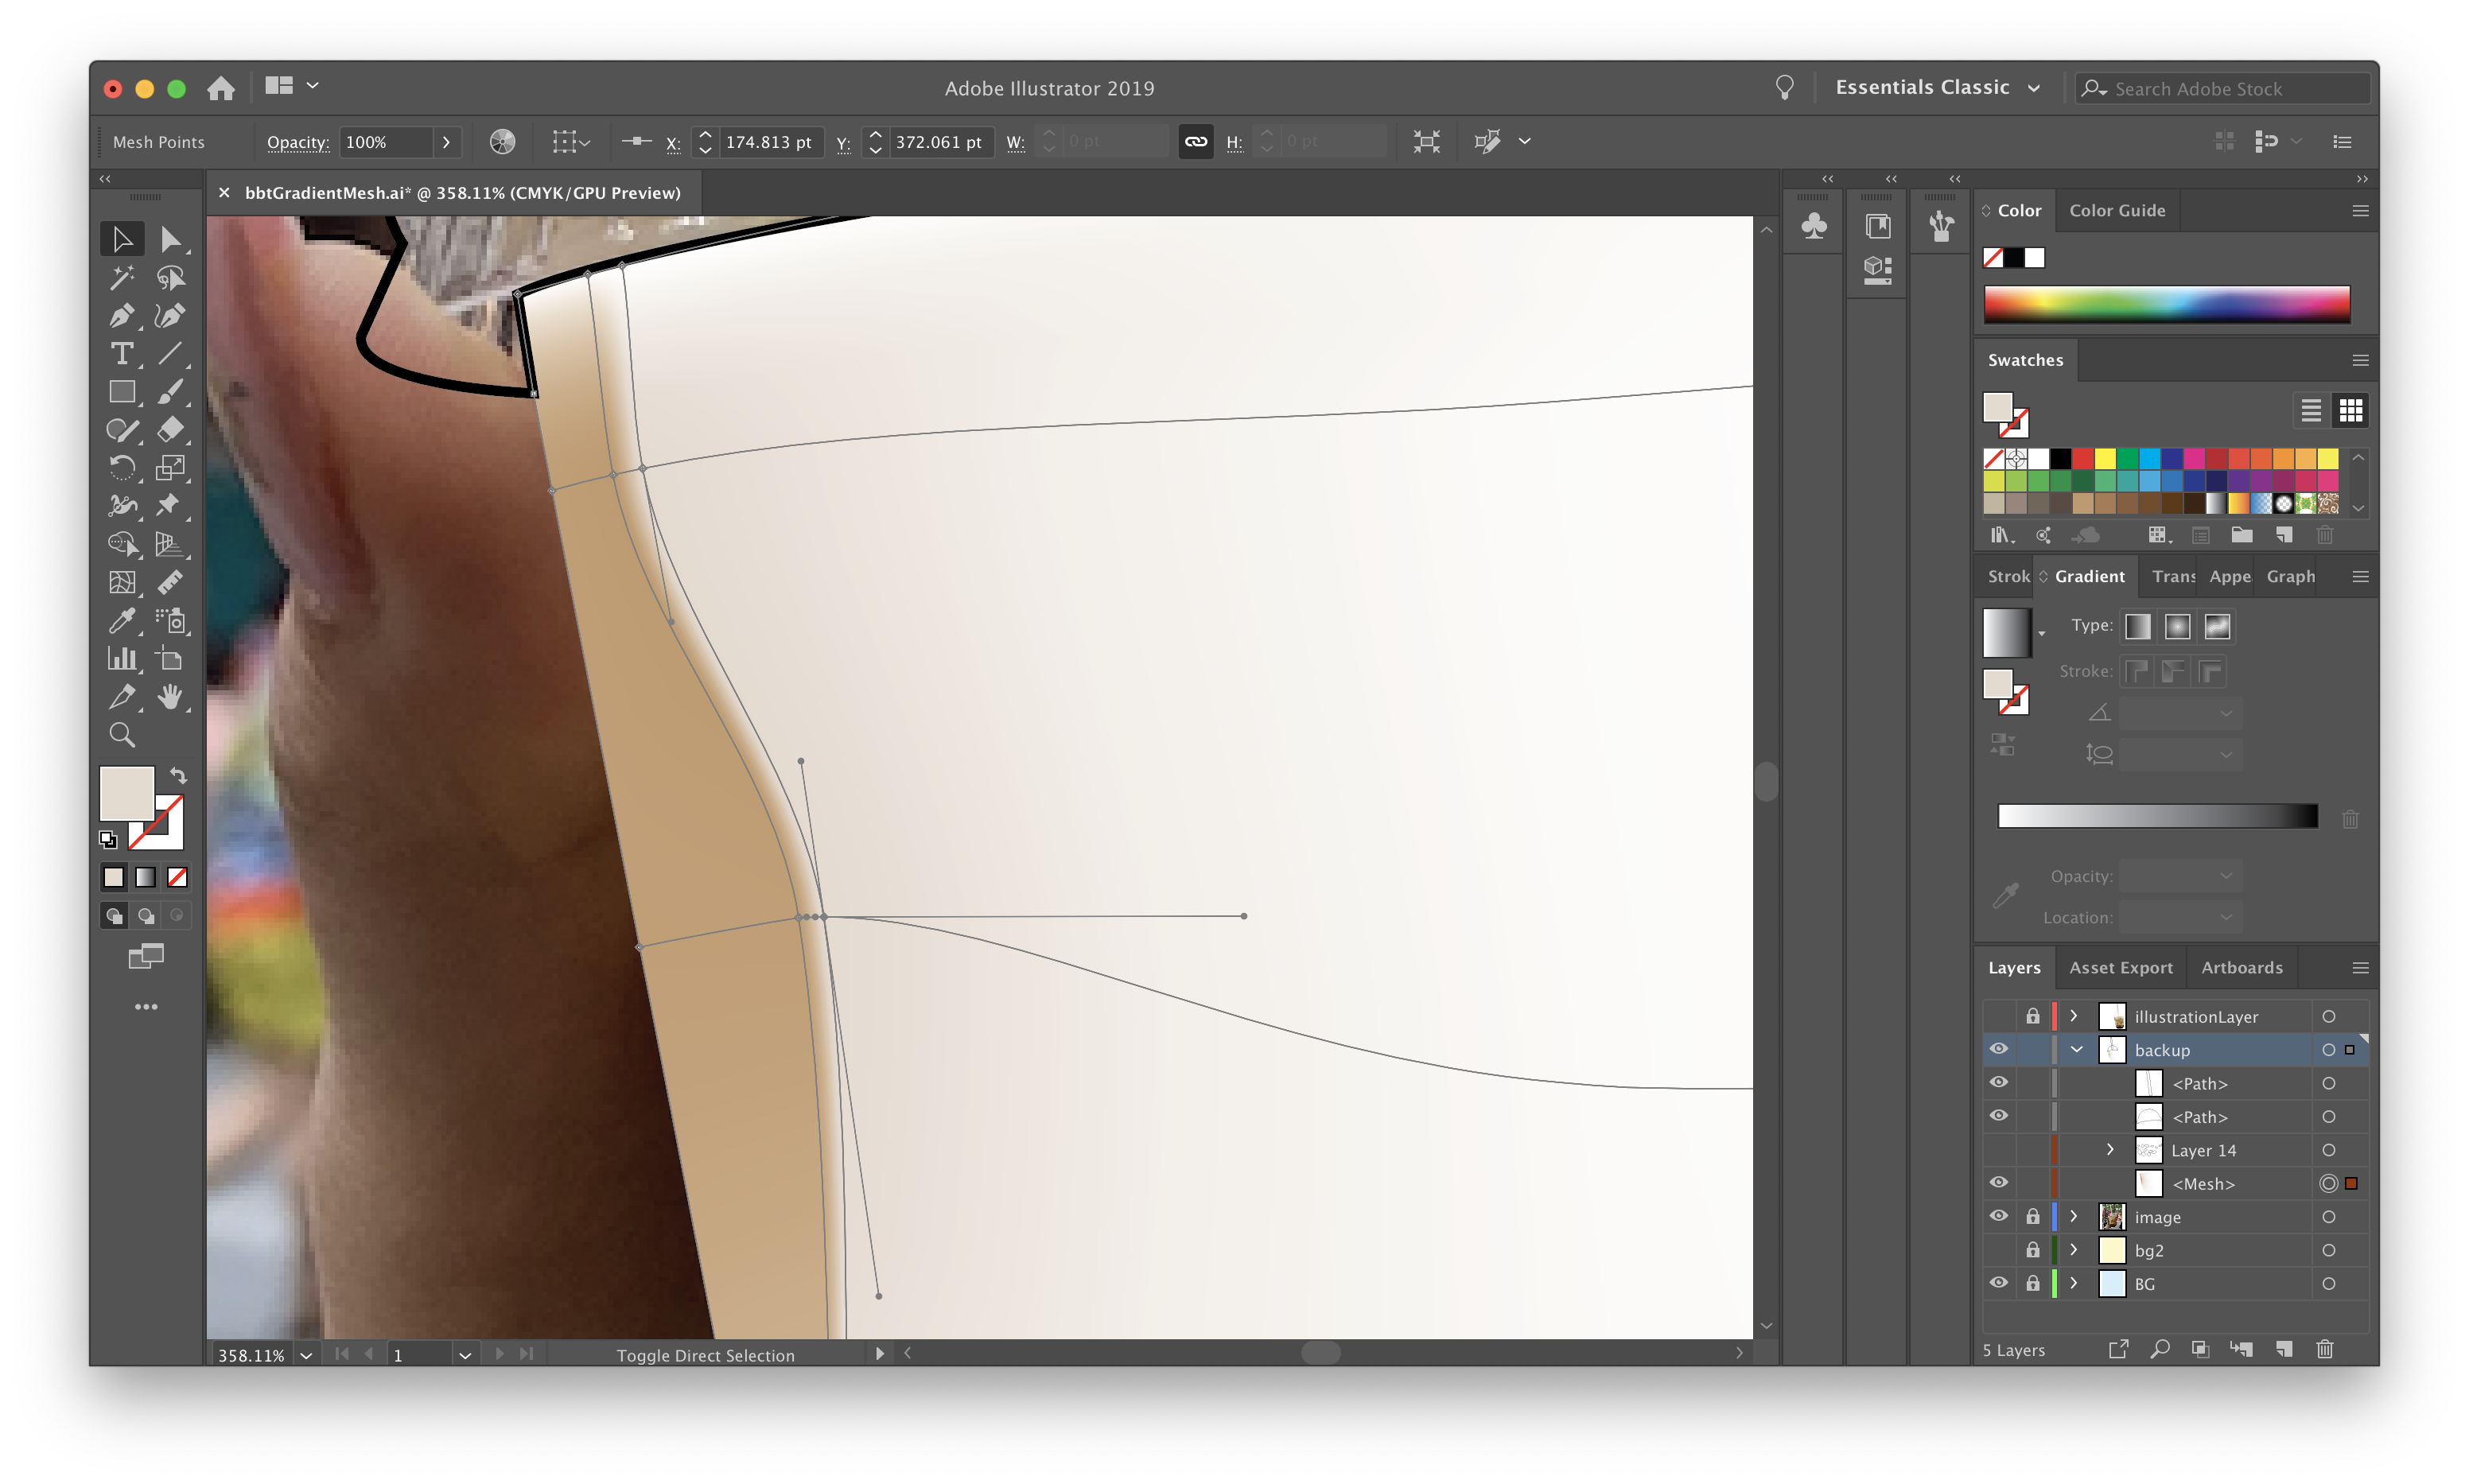
Step 4: Use Gradient Mesh Tool
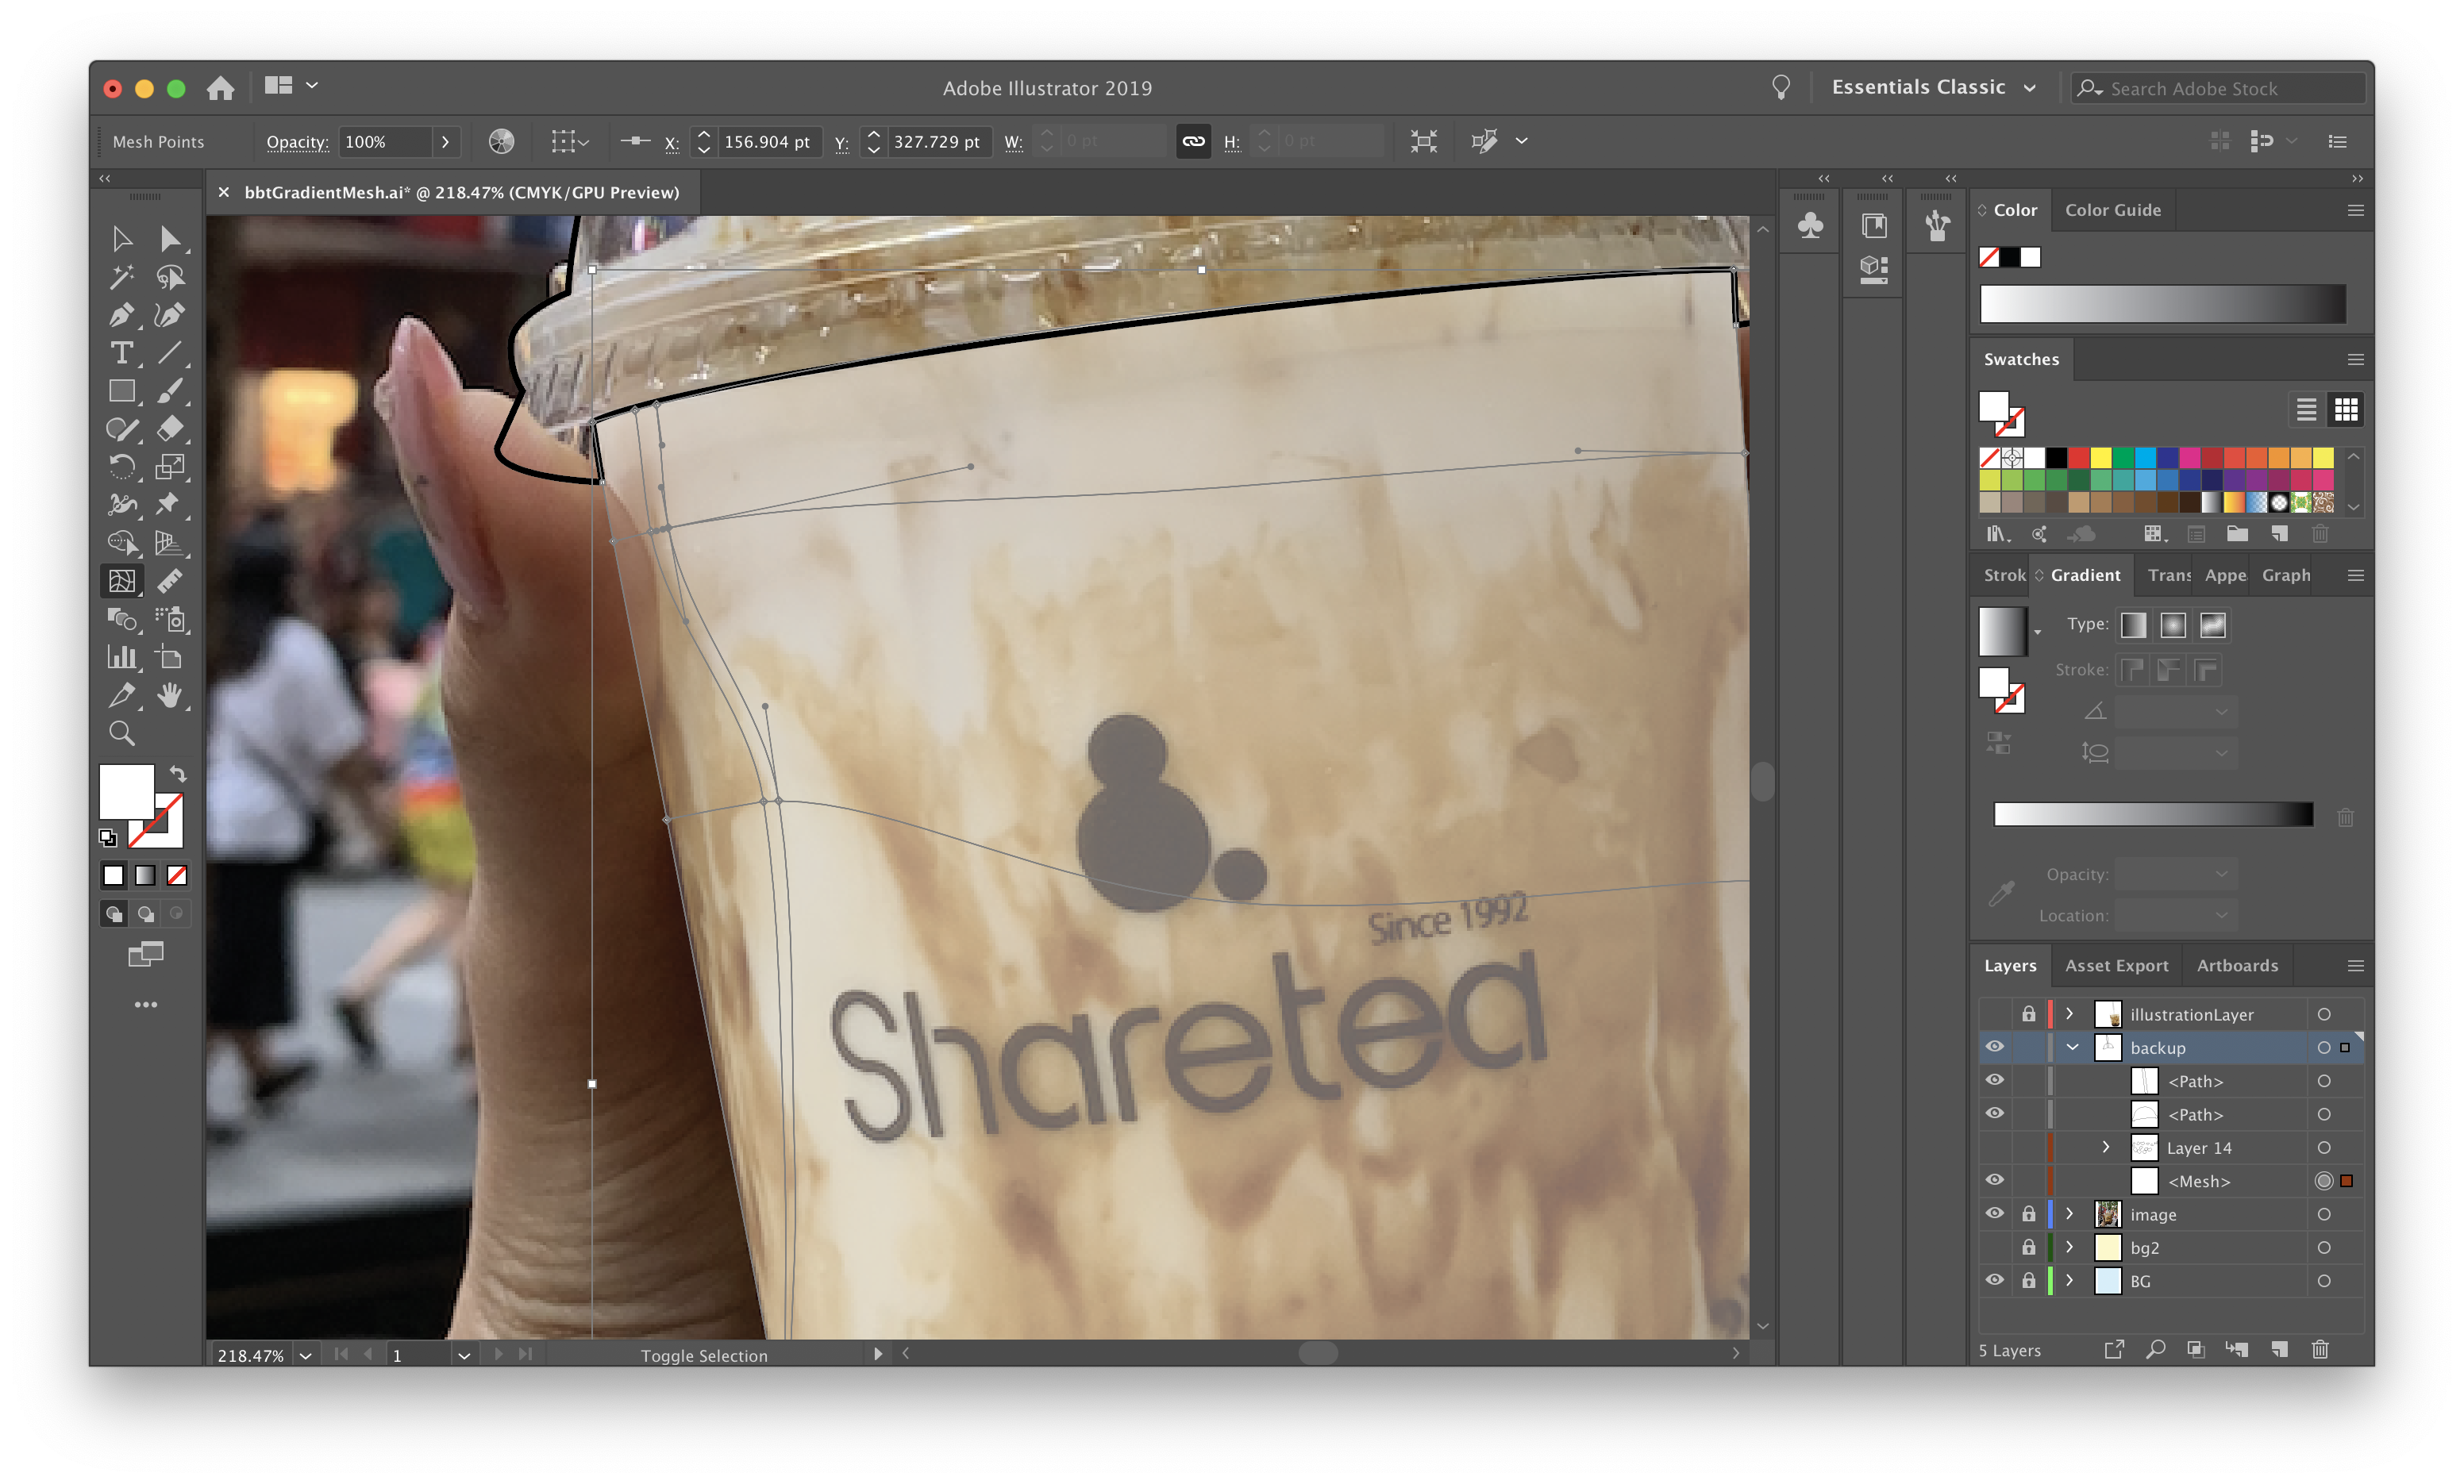
Firstly, I will select the shape and set the opacity to 50% so I will be able to see where each path should be created.

Now we will move on to create the gradient mesh for a smooth blend of colors.
The keyboard shortcut for gradient mesh is “u”.

Step 5: Create Points
I start by creating paths along lines where the difference in color is most noticeable and least blended. Creating another path right next to the first line would form an “invisible line” in between which you will be able to see after filling the points with colors.
Before applying color
After applying color
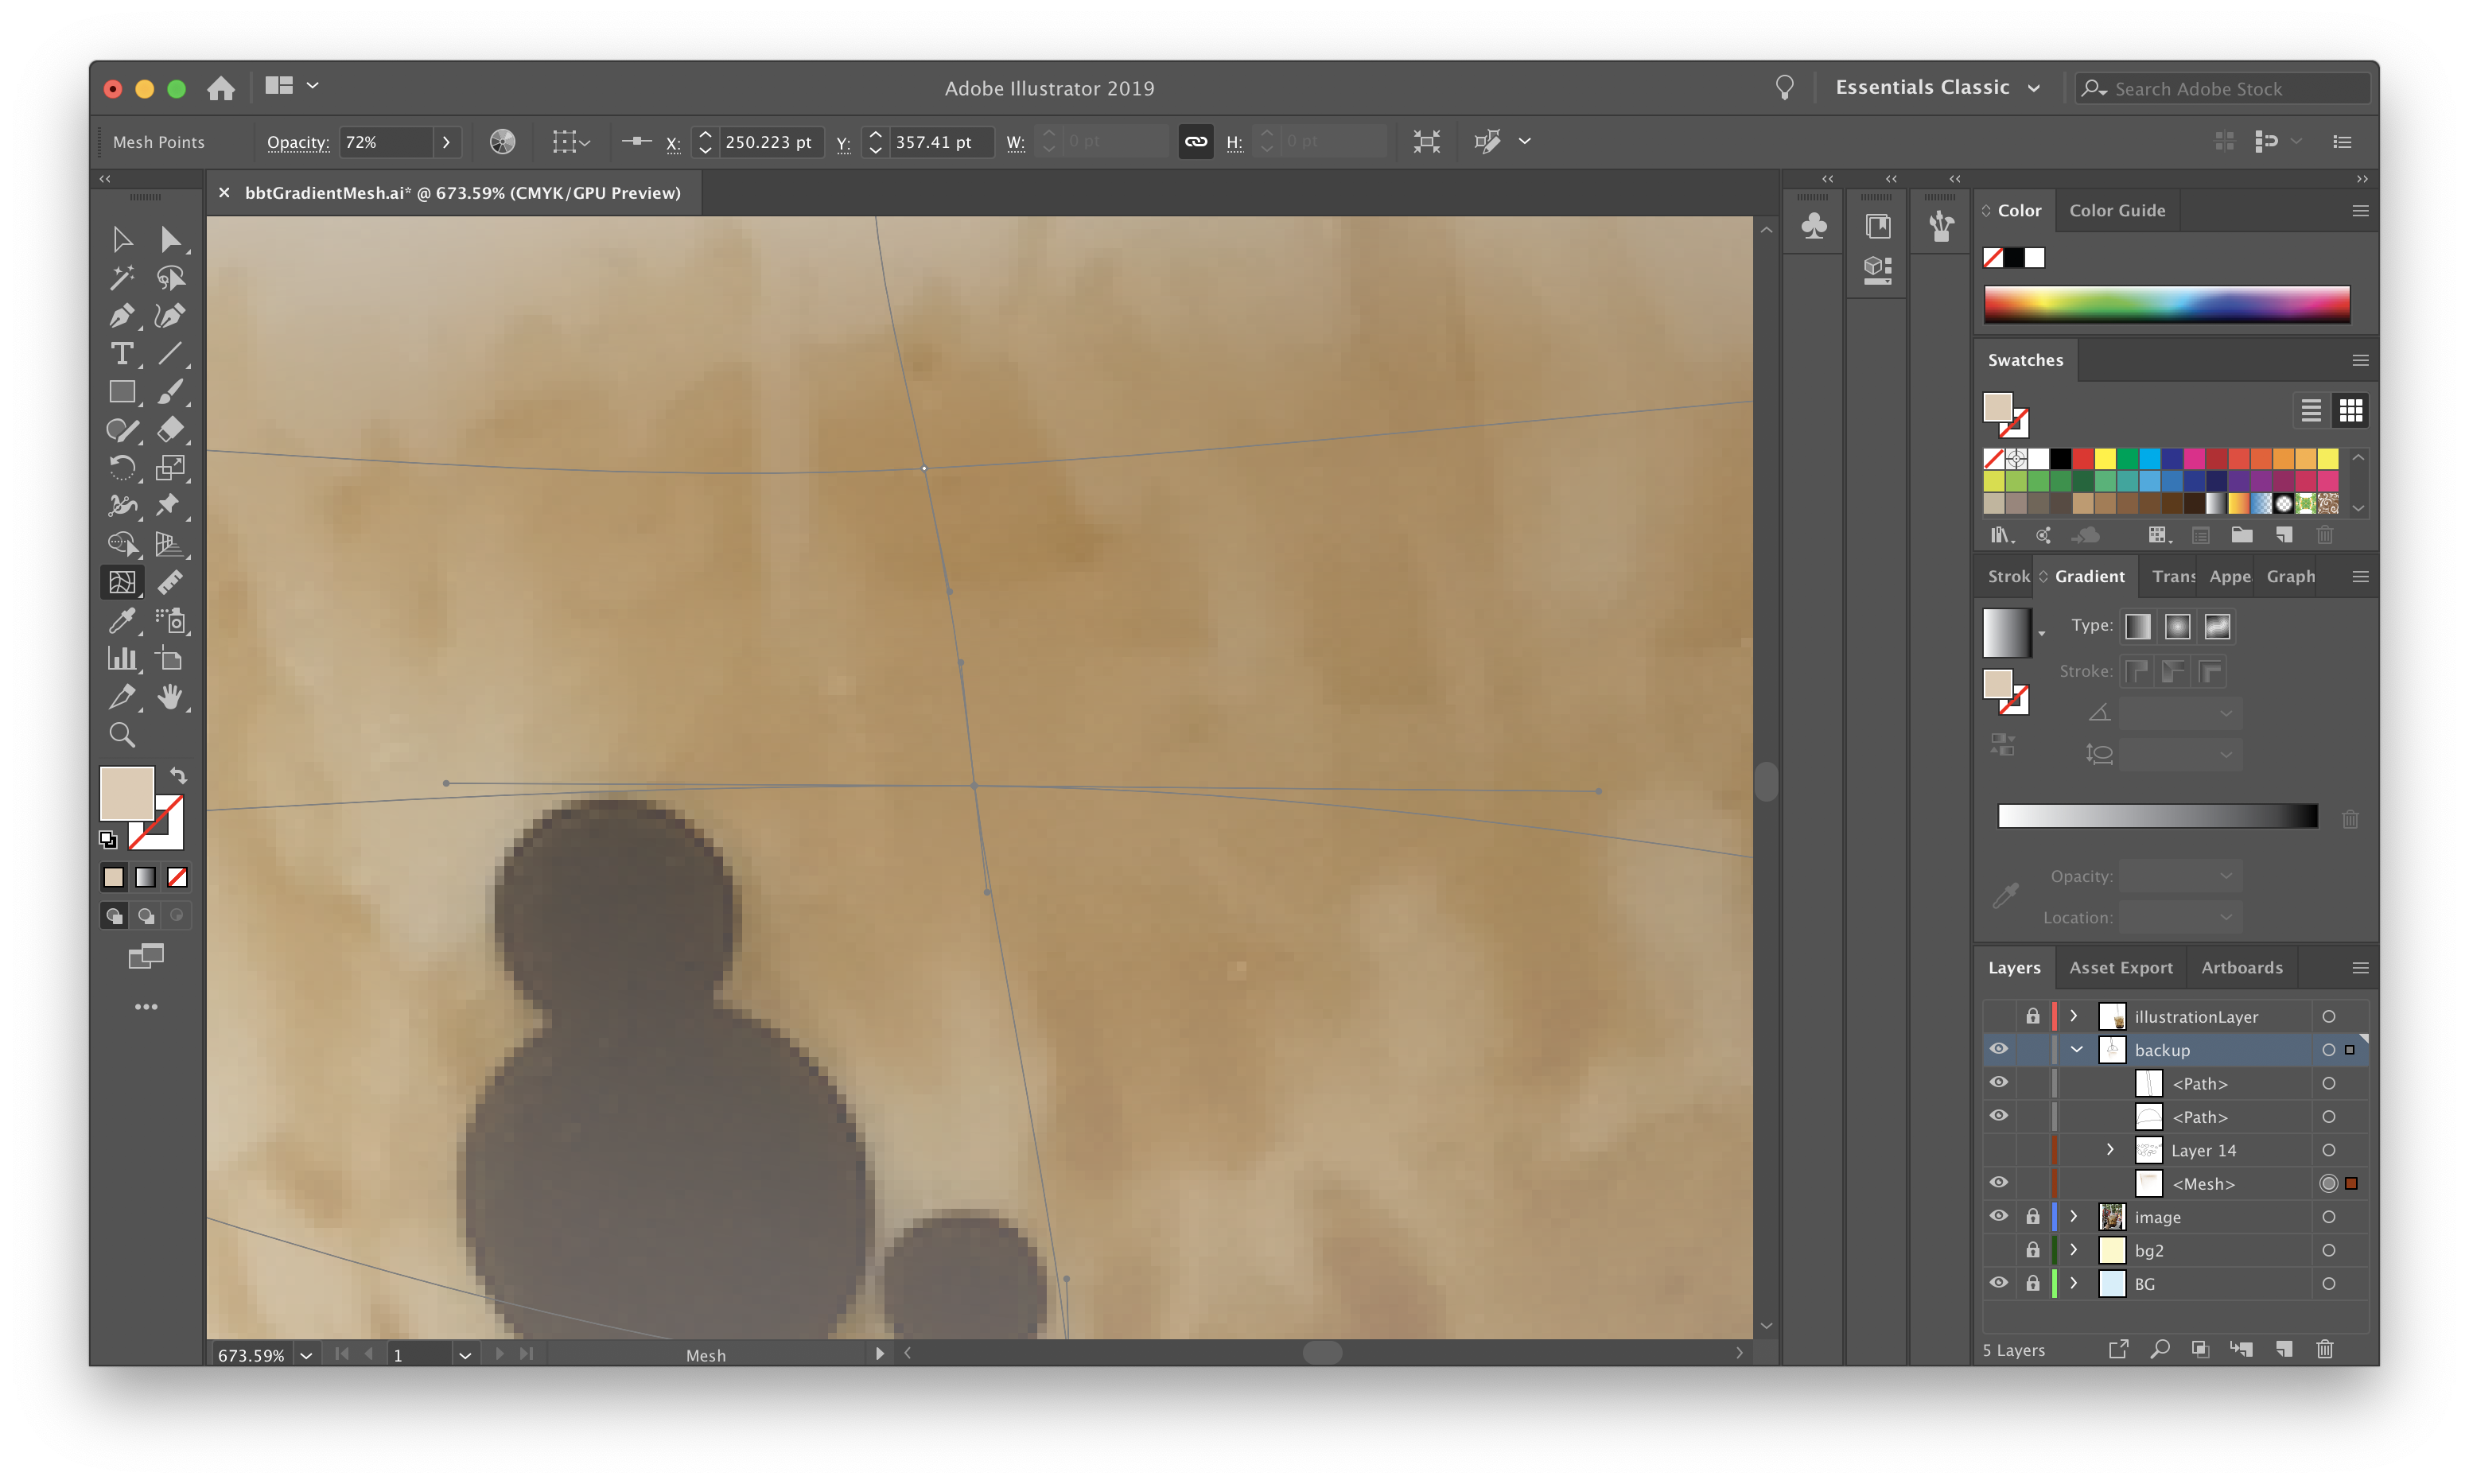
For areas where colors are smoothly blended without noticeable separation, the paths should be created not too close together. The logic behind this is basically for smoothly blended areas, paths should be further apart and paths for areas with clear separation line of colors should be right next to each other.
Before applying color
After applying color
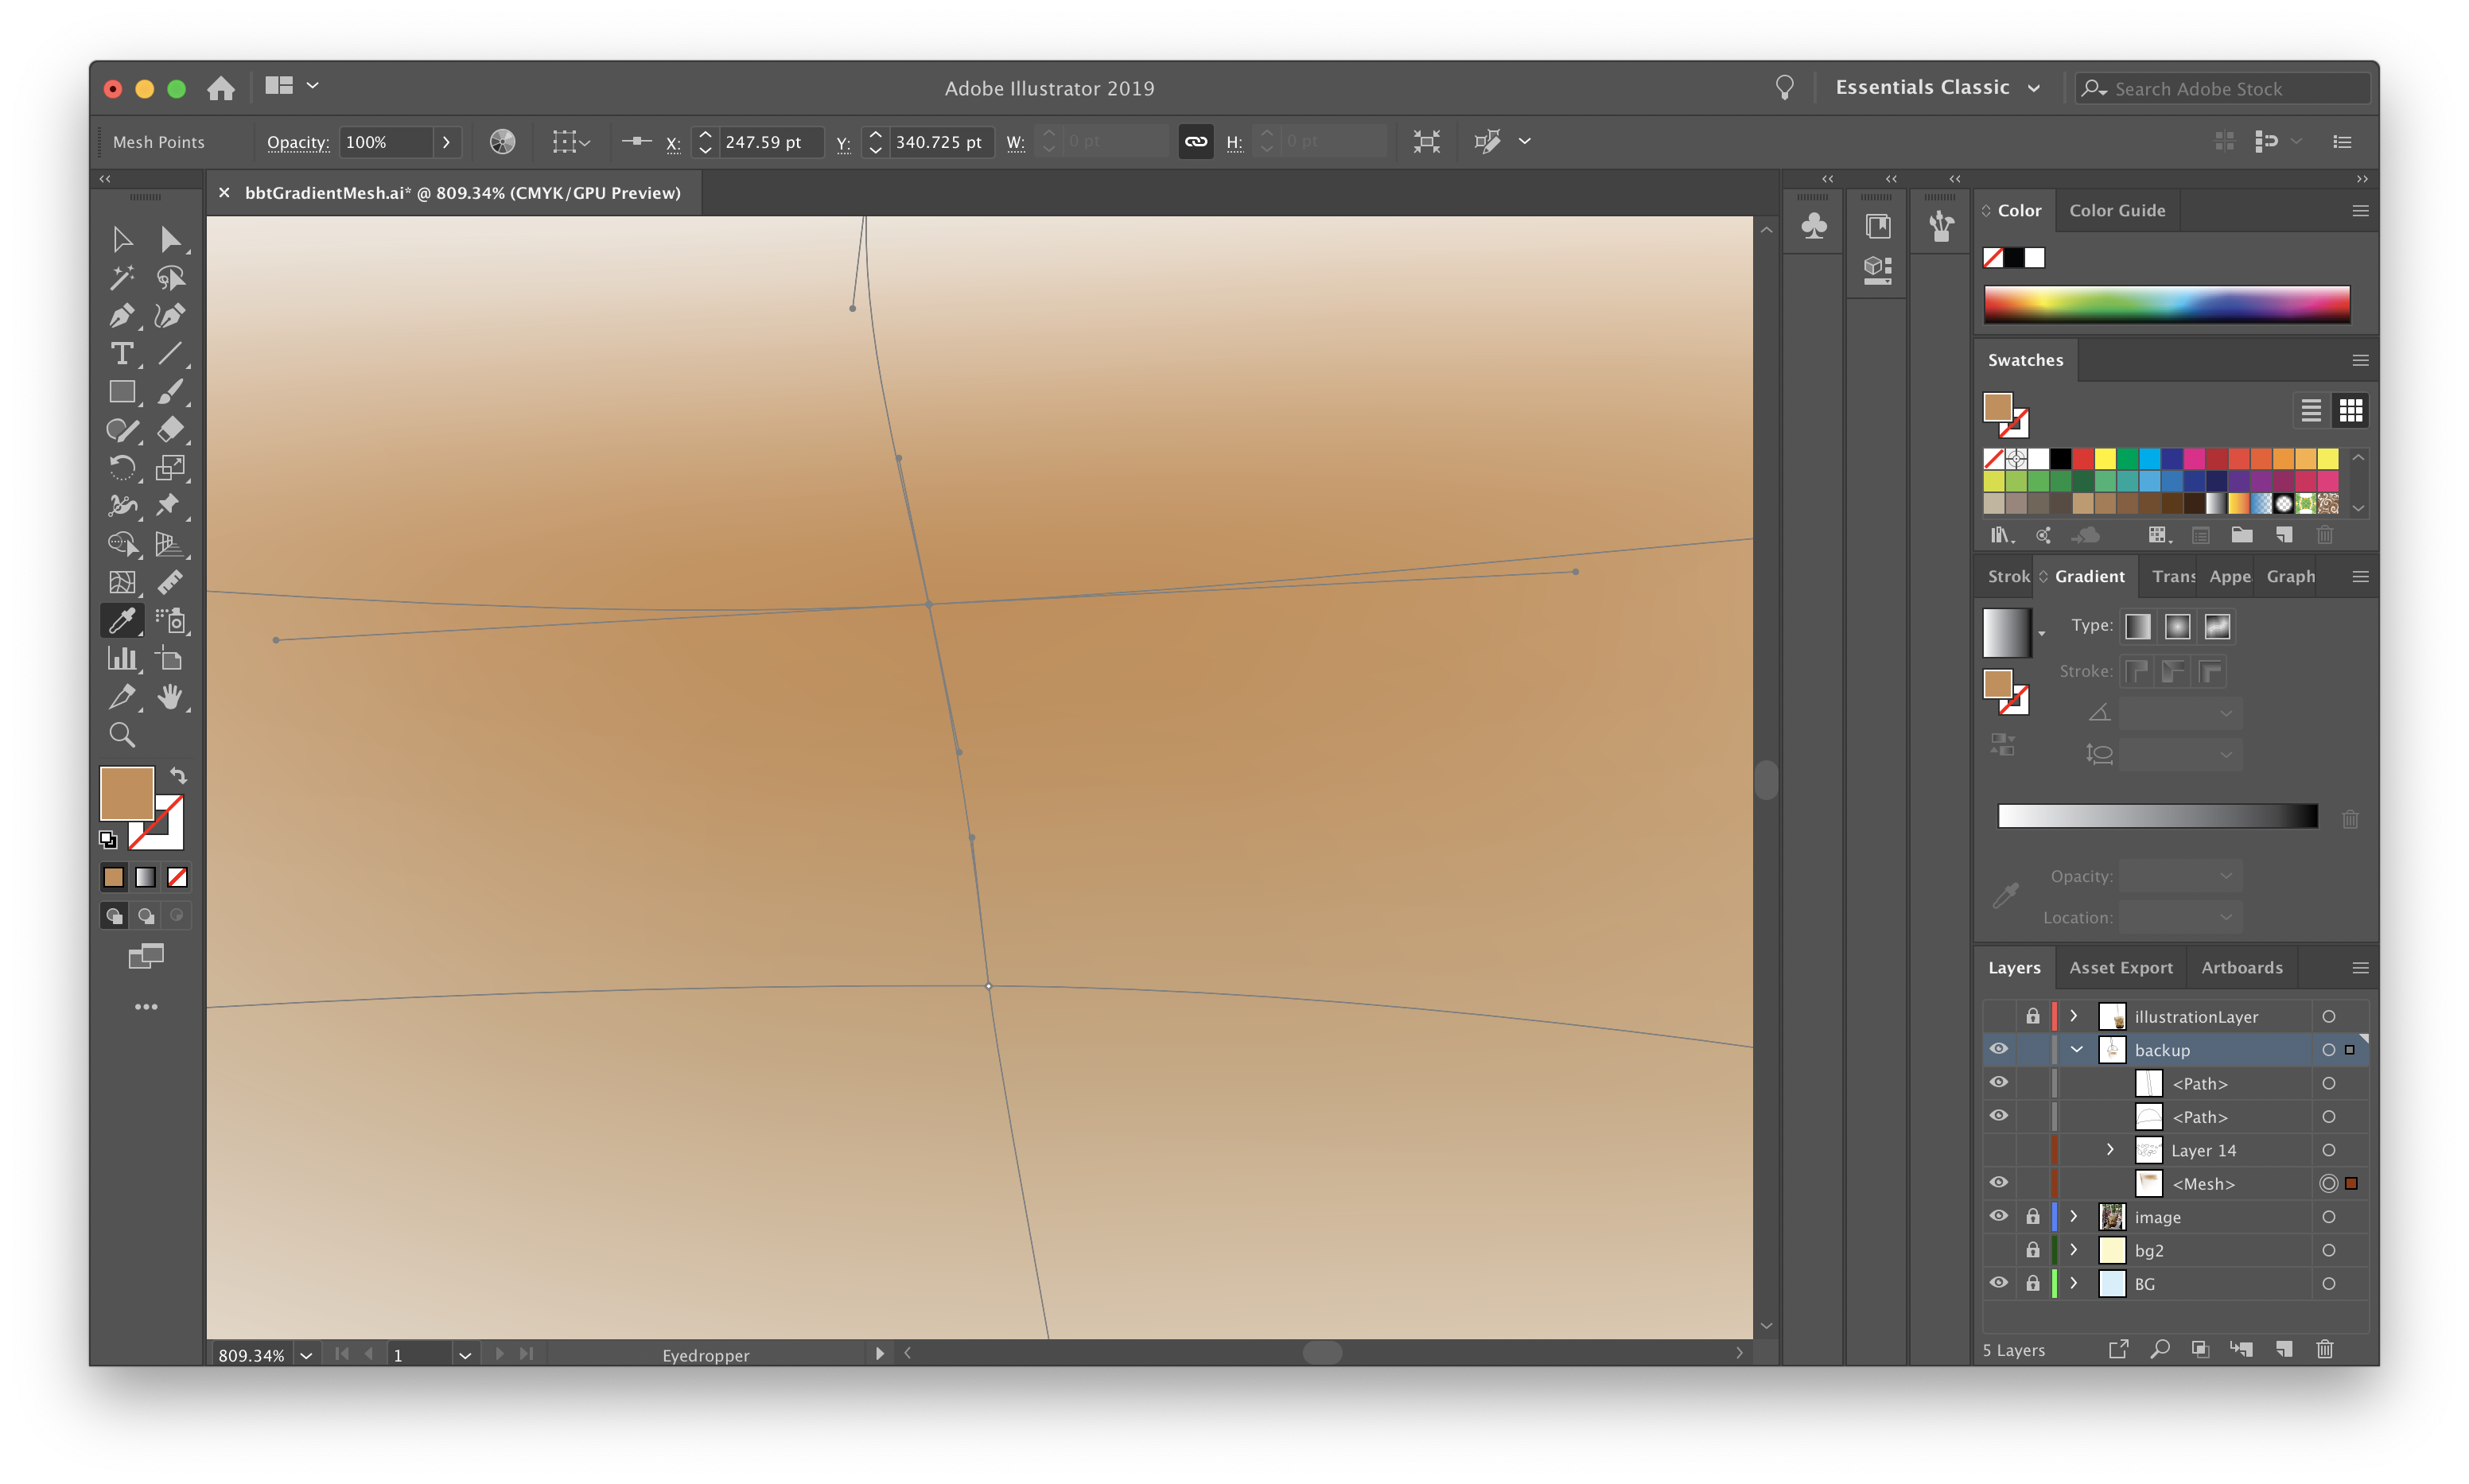
I would switch between the gradient mesh tool (keyboard shortcut “U”) to select each point and eyedropper tool (keyboard shortcut “I”) to select colors and apply colors to the point.
It is also good to have the same image next to your artboard for quick reference and picking up colors when using the eyedropper tool.
Step 6: Lid
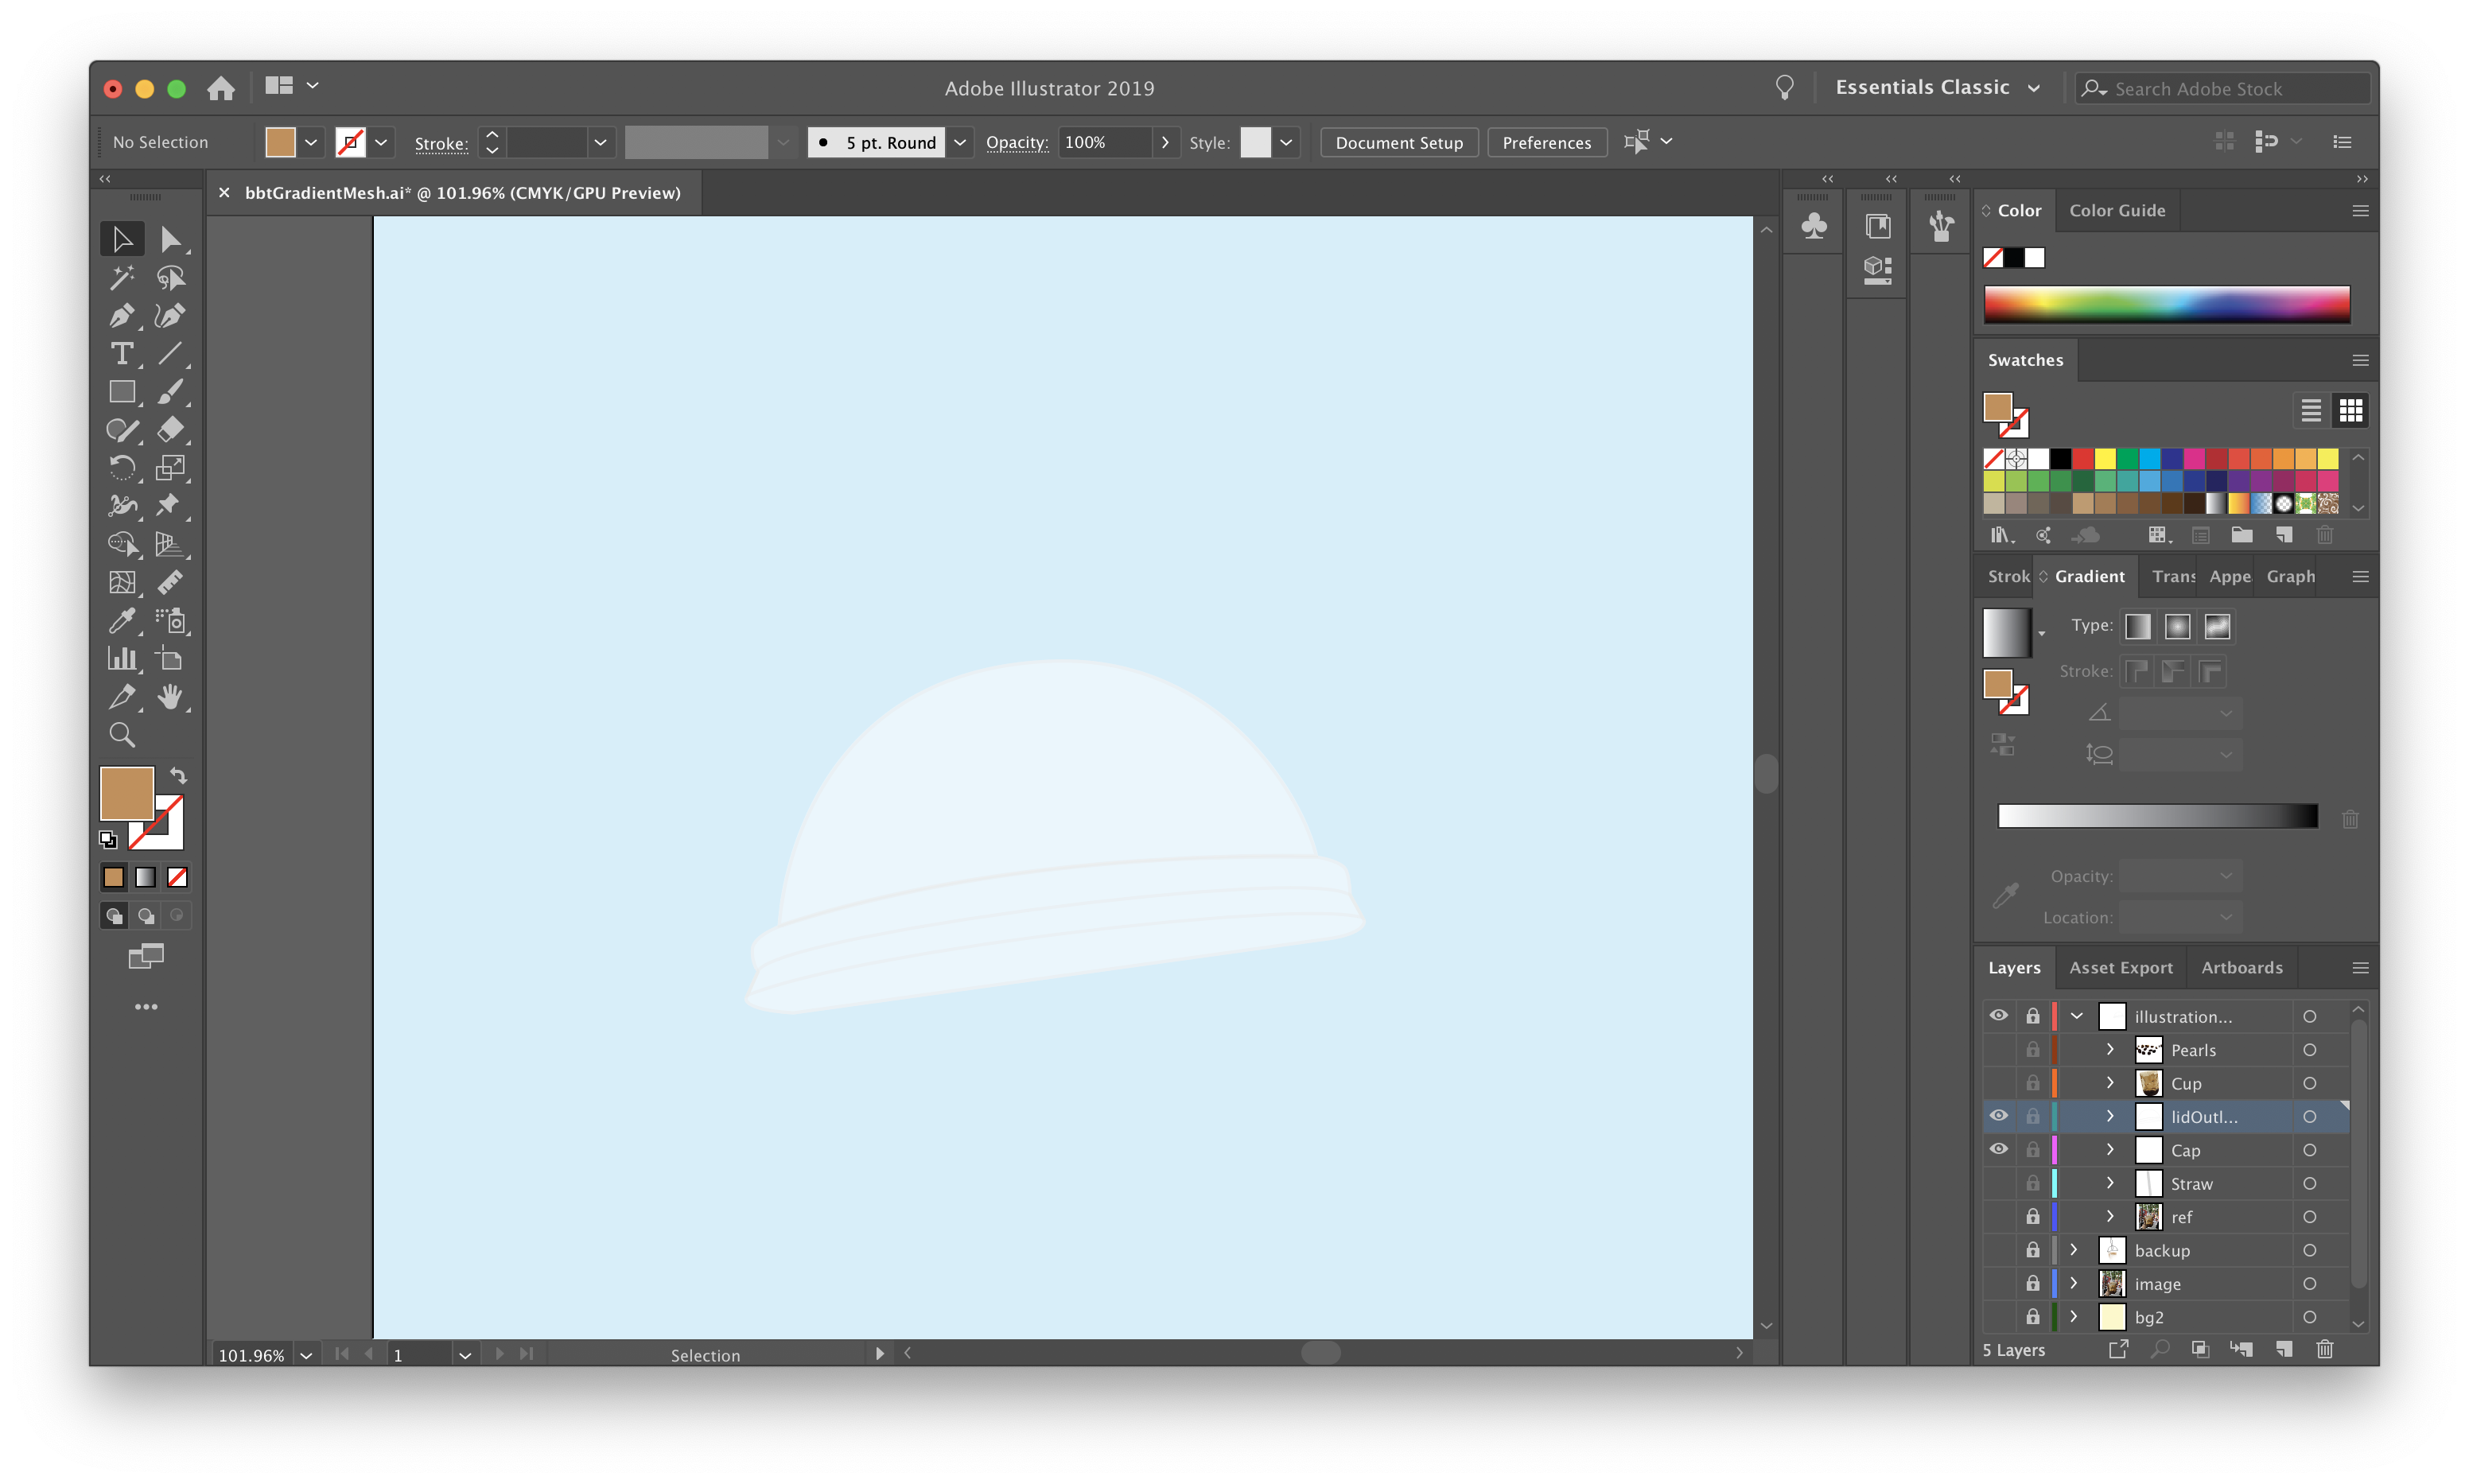
Now that we are done with the cup, it’s time to create the lid.
I will be using just the pen tool for the lid and setting the opacity to 50% for transparency since there isn’t a huge range of colors as compared to the cup where it is necessary to create a smooth blend. I created an additional layer called “lidOutlines” for the outlines of the lid.
Step 7: Straw
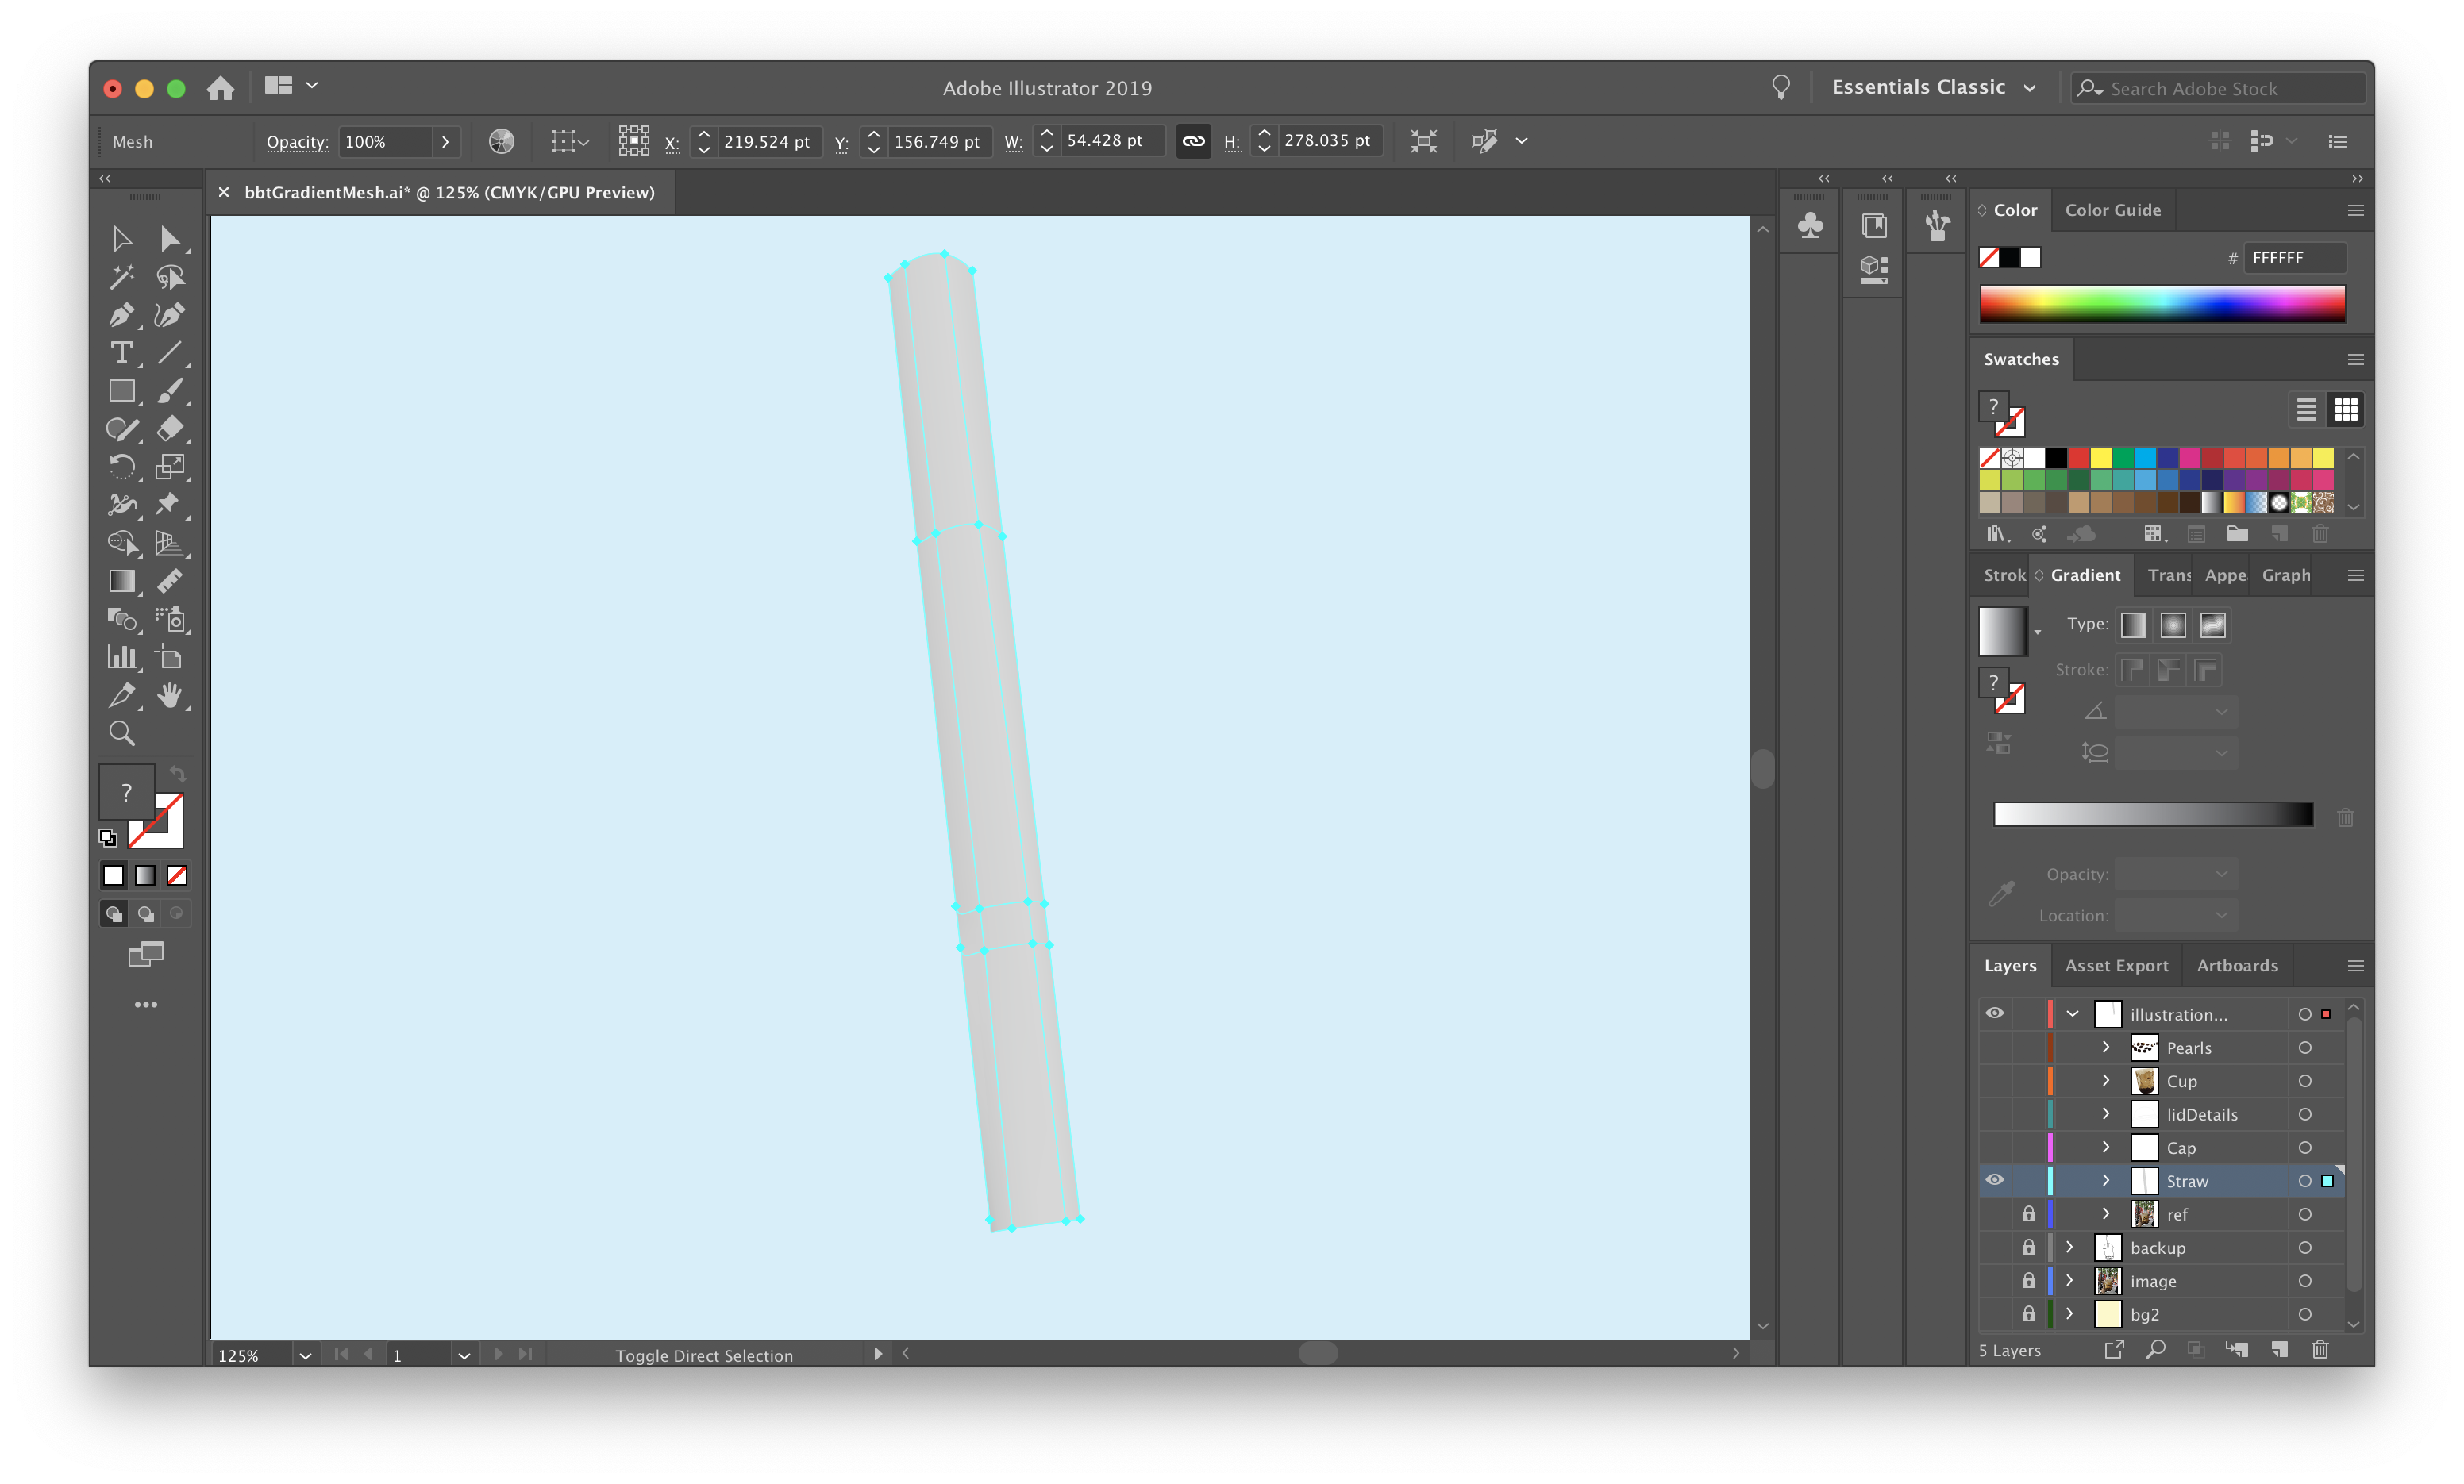
To create the straw, I used the gradient mesh tool to create shadows on the edges.
I then drag my “straw” layer under my “cap” or “lid” layer.
The straw layer above the cap layer

The Cap layer above the straw layer
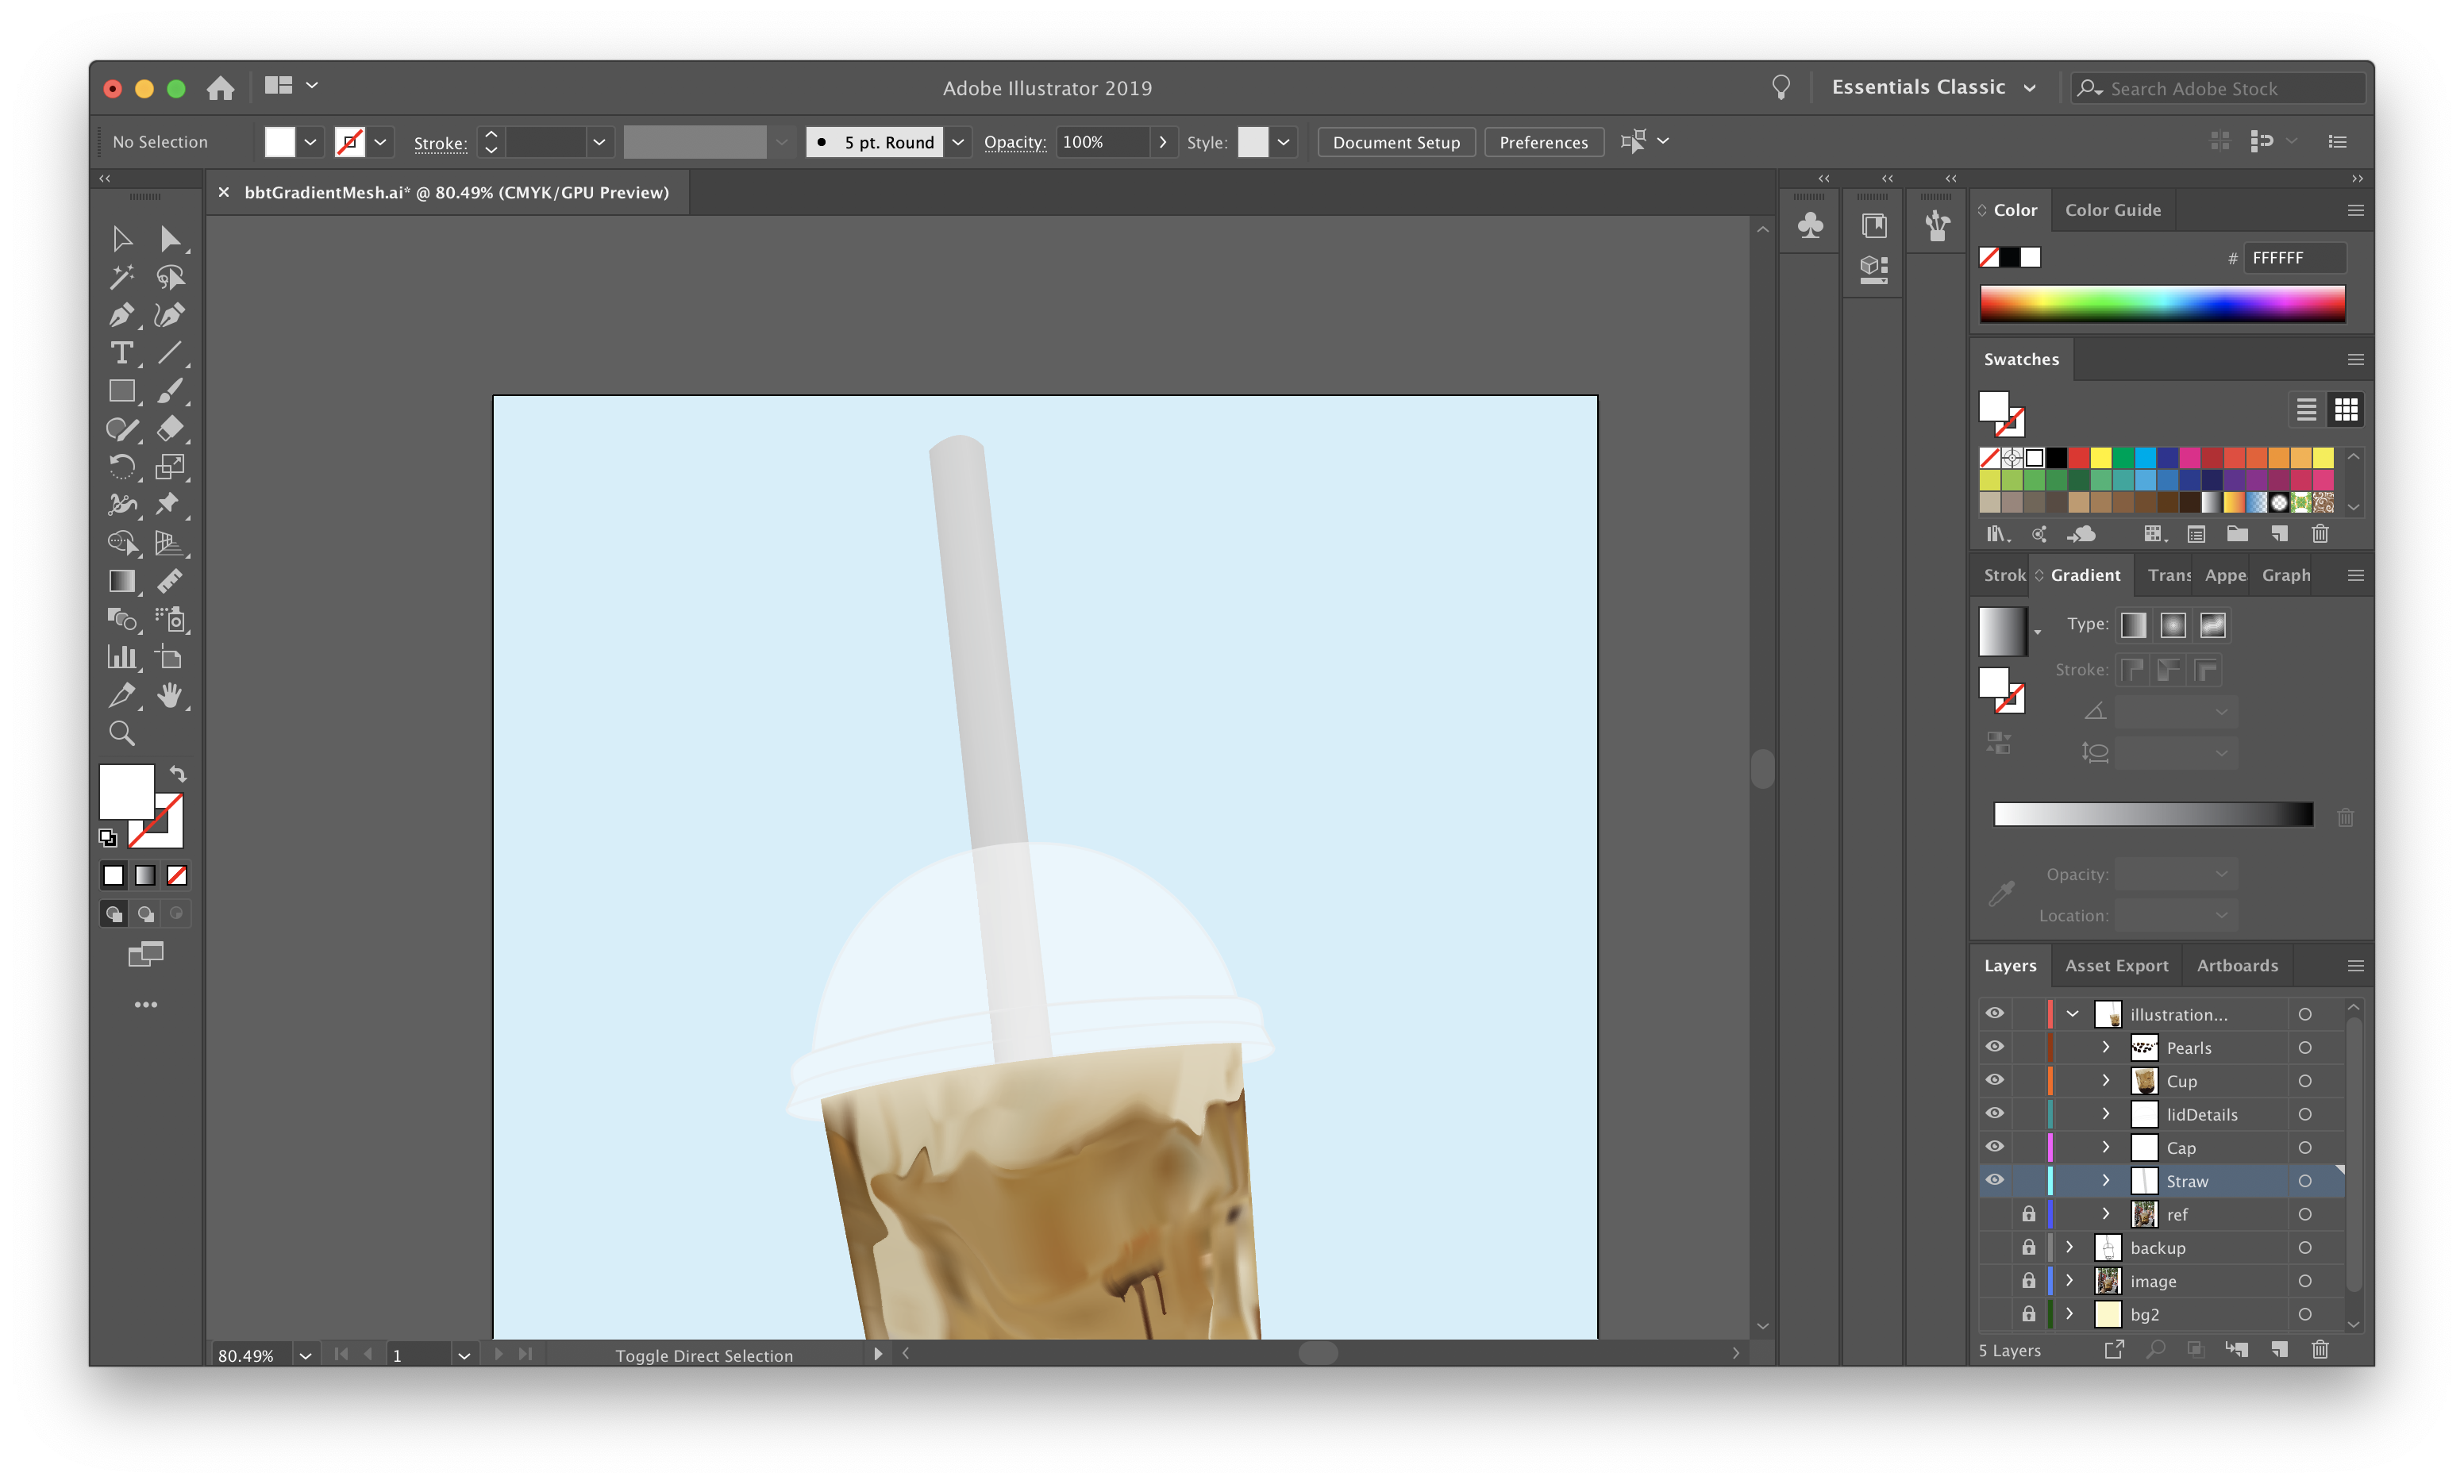
You’re Done!
Congratulations, now you have the knowhow to create your own vector art with Gradient Mesh!
Try to use the gradient mesh tool on your next project!
This post on Gradient Mesh concludes not only our Digital Illustration series but signifies the last of our tutorials.
Check out our previous tutorials!
Sound Design Part 1: Introduction
Sound Design Part 2: Making a Melody
Digital Illustration Part 1: Pen Tool
Thank you for checking us out