Ever wondered how illustrations like this are made? These illustrations, known as vector art, are created with software like adobe illustrator which uses mathematical equations and geometric primitives, which are points, lines, and shapes. Additionally, it can also be scaled infinitely without any loss of quality, unlike illustrations created by pixels. However, how to use pen tool in adobe illustrator to create something amazing like this?
Hence, in this tutorial, we will teach you how to create flat illustrations with the use of the Pen Tool in Adobe Illustrator.
Before we begin, you might be wondering. What is the Pen tool, and how does it work?
In Adobe Illustrator, the Pen tool is the most powerful tool. It allows you to define your own anchor points, as well as adjust the curve associated with those anchors, simply by manipulating two control points associated with each anchor.
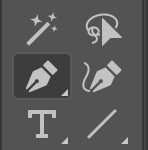
The Pen Tool helps the artist to create shapes with freeform curves. Moreover, it can also be used to reproduce most of the curves used in the “real world”.
One Difference between the Pen tool and Brushes is that the Pen tool creates Paths.
Paths are made up of one or more straight or curved “segments.” The beginnings and ends of each segment are marked by “anchor points,” which is placed by the Pen Tool, works like pins holding a wire in place.
With that being said, let’s proceed with the tutorial.
Step 1: Importing an Image

Step 2: New Layer
Create a new layer for your illustration. Set it above your image layer.
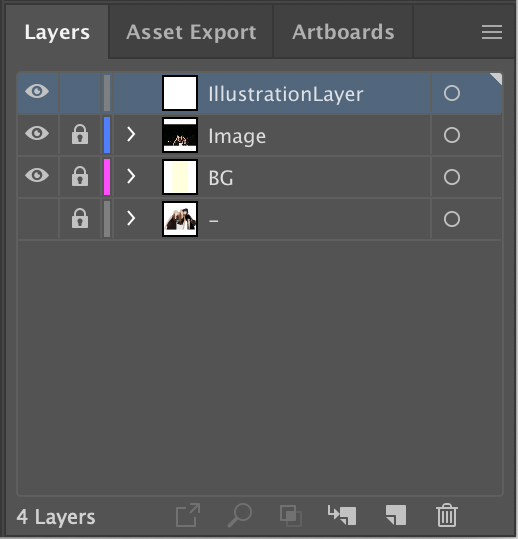
Step 3: Use Pen Tool
We can start tracing our image now using the pen tool.
The keyboard shortcut for the Pen Tool is “P”
Make sure to set the fill to none and outline to visible color.

Step 4: Create Objects
*video: D6step4*
Step 5: Color
*video: D6step5*
You can use the eyedropper tool (keyboard shortcut “i”) to select colors from your original image or fill the shape with whichever color you like.
Switch between the selection tool (keyboard shortcut “v”) to select your shapes and eyedropper tool to fill the shape.
Step 6: Repeat
Repeat the steps for every shape and there you have it! An easy to make and simple illustration of your favorite images!

You’re Done!
Congratulations! You’ve created a flat illustration! Feel free to experiment and practice with other images!

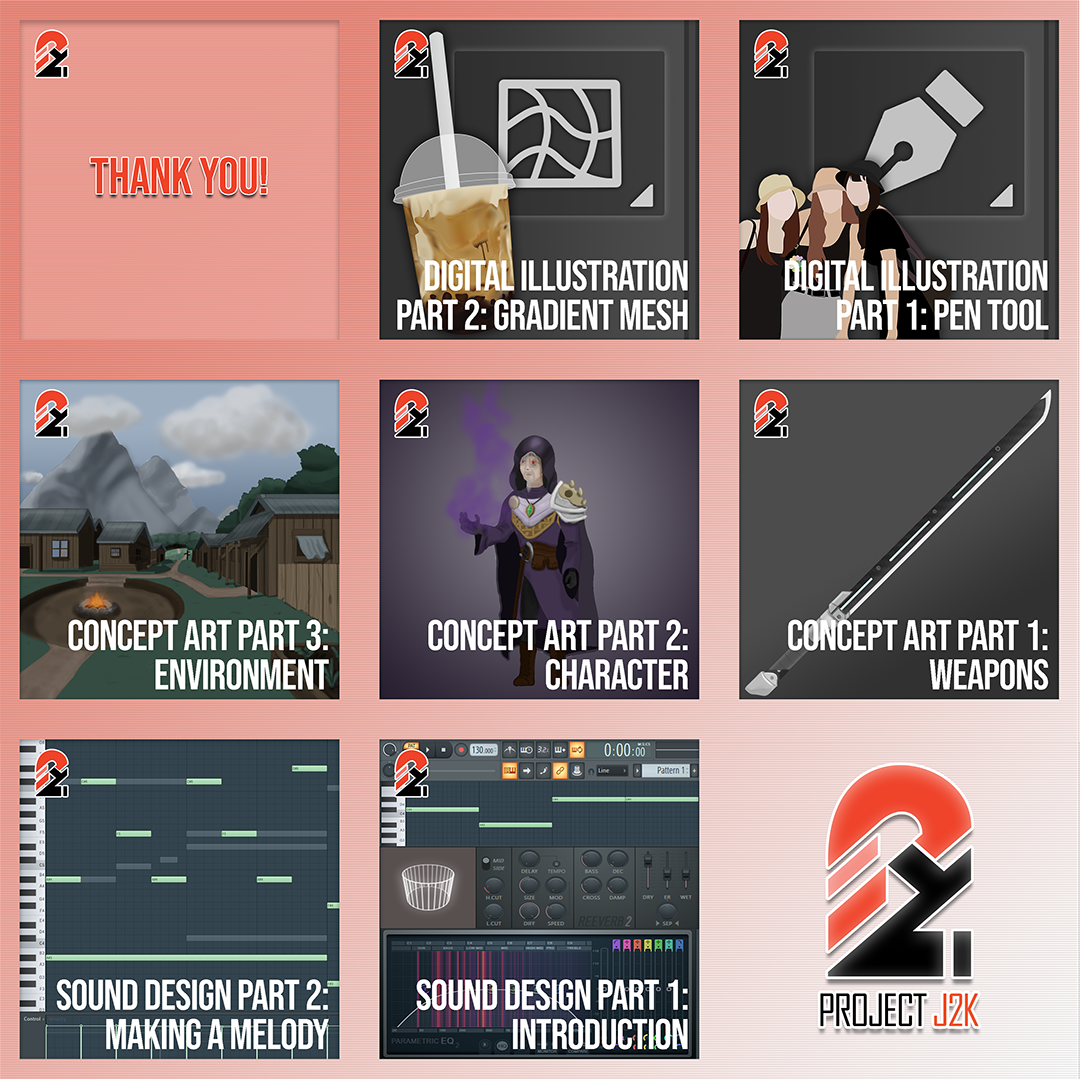
Stay Tuned for tomorrow when we focus on a more detailed version of vector art, with the use of Gradient Mesh! In the Meantime, Why not check out our previous tutorials?
Introduction | Sound Design Part 1
Making a Melody | Sound Design Part 2
Characters | Concept Art Part 2
Environments | Concept Art Part 3
Follow @amphibistudio and @projectj2k on Instagram for more updates!

