Previously, we have discussed what makes weapon design important. However, there is something more important than that, and it would be the person using them. The character.
Characters serve as the driving force in your story. Your characters create and push your plot forward. The audience will be able to experience the world you have created through your characters, both from the way that your characters interact with their environment and the way that your characters view their environment. Characters illustrate and personify the theme of the story.
Stories won’t be complete without the Characters to define it, and they are mostly made from the minds of Character Designers.
With this in mind, let’s start with the basics. What is Character Design? How do we define Character Design? What’s the role of a Character Designer?
A Character Designer is an artist that creates new, original characters for a purpose. It can be based on a definition from a story or script.
With that being said, We at Project J2K, are here to give you a step by step guide on how to go about creating character design!
 ___________________________________________________________________
1st Step: Planning & Preparing your Tools
Plan for what you want to create. Where are you going to draw on? How big is your canvas? What type of character do you want to draw? What’s the theme in mind?
Style comes into play dependent upon which format the character is needed for. It would help to have a strong knowledge of all the drawing and design principles to create an appealing character that best fits the needs of the story at hand.
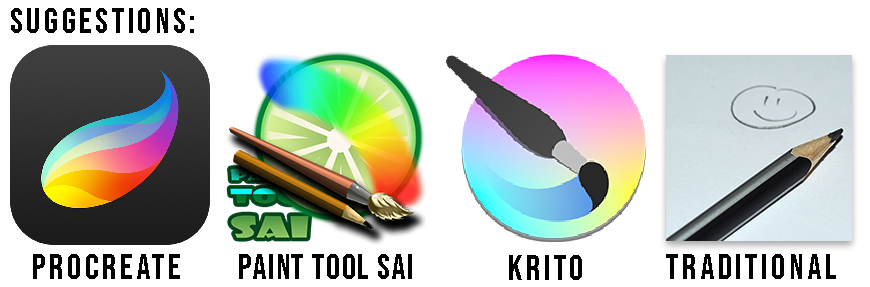
In this tutorial, We will be simplifying the process. We will be using Photoshop, with an artboard size of 1080x1080px, to create a stylized sword. I own a drawing tablet for school, so I will be using that as well.
However, You could go with some alternatives to create your concept art!
___________________________________________________________________
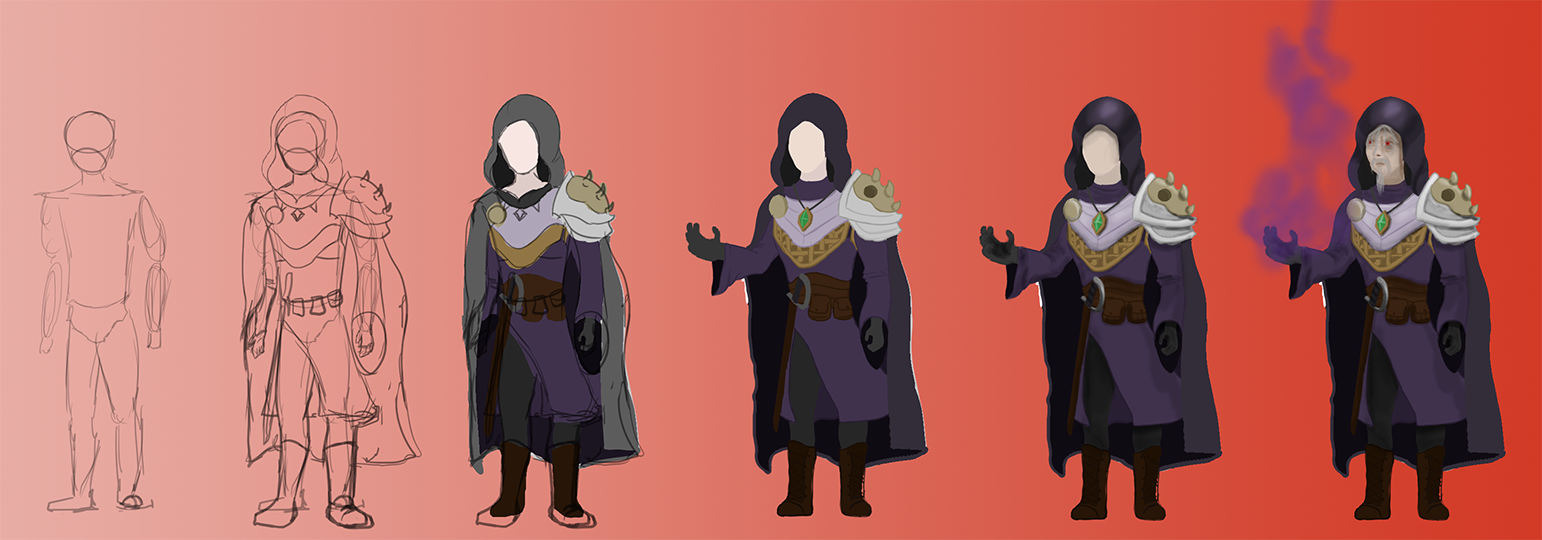
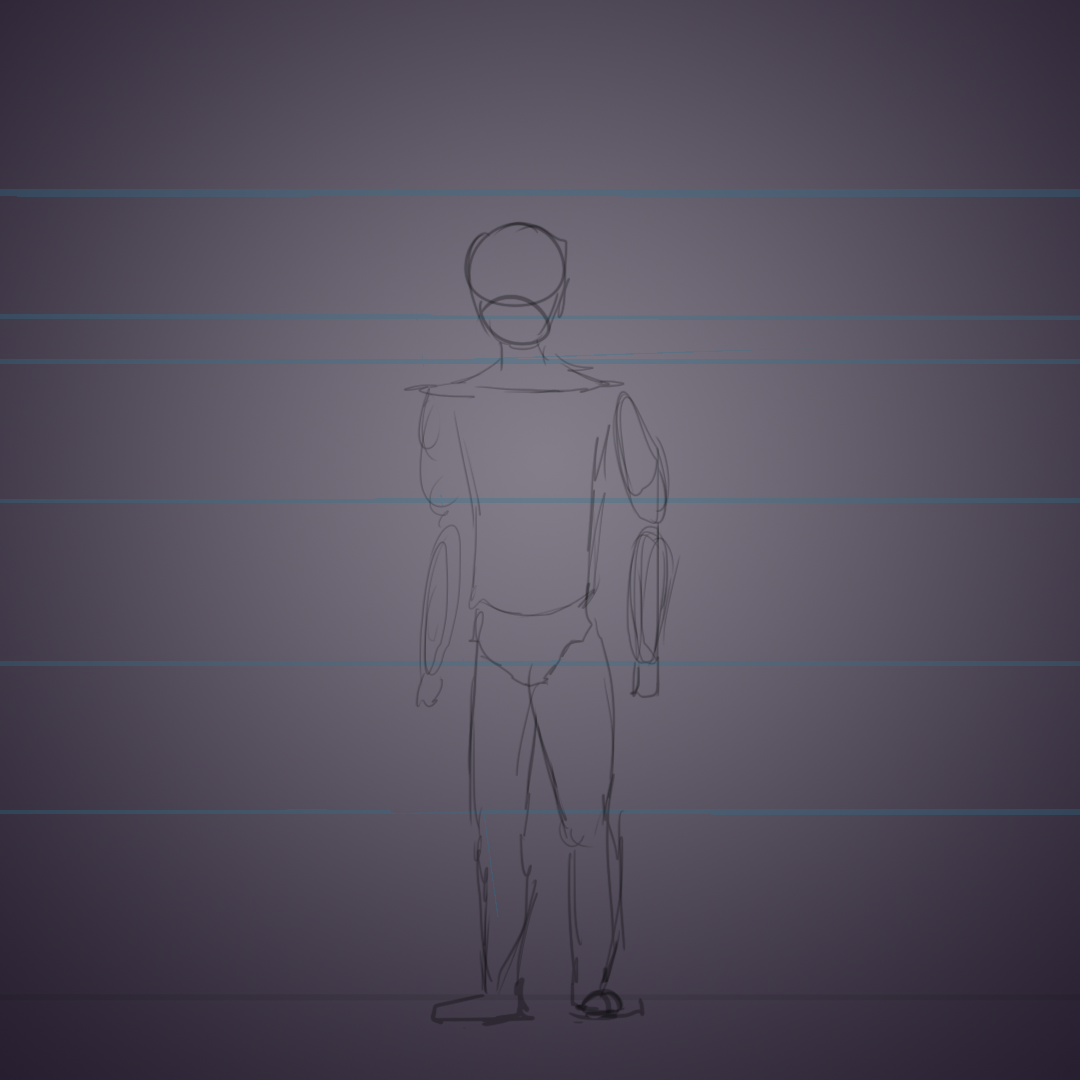
2nd Step: Start Sketching!
Begin your simple sketch of the character’s pose, outlining their silhouette, and then refine the outline later. Remember to spare the major details, for now, because you’ll be adding those later!
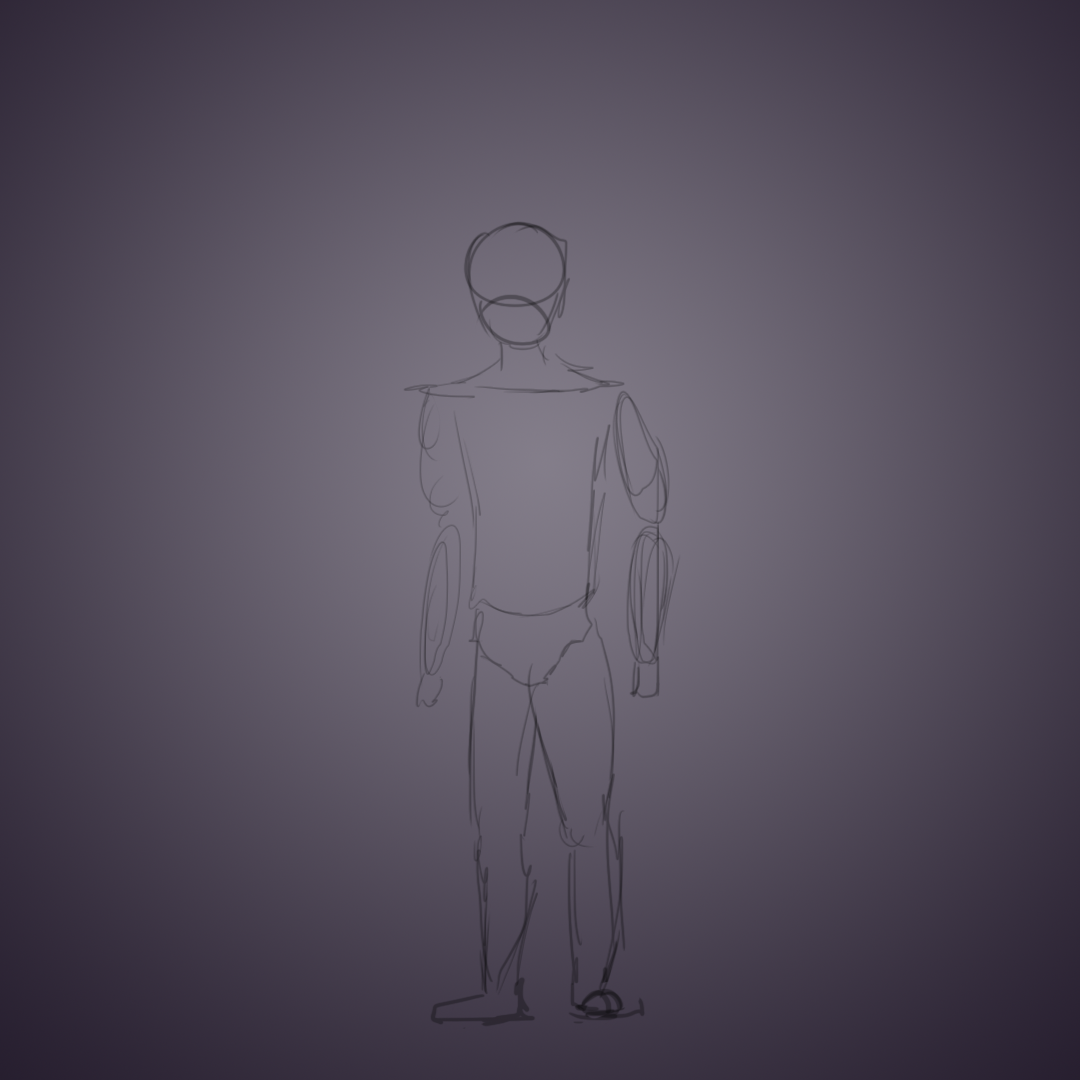
It would be best to use a soft brush affected by pressure, to draw the sketch.
Tip: Use Lines to maintain consistency!
To keep both sides the same length and proportional, It helps to draw proportion lines in a background layer!
___________________________________________________________________
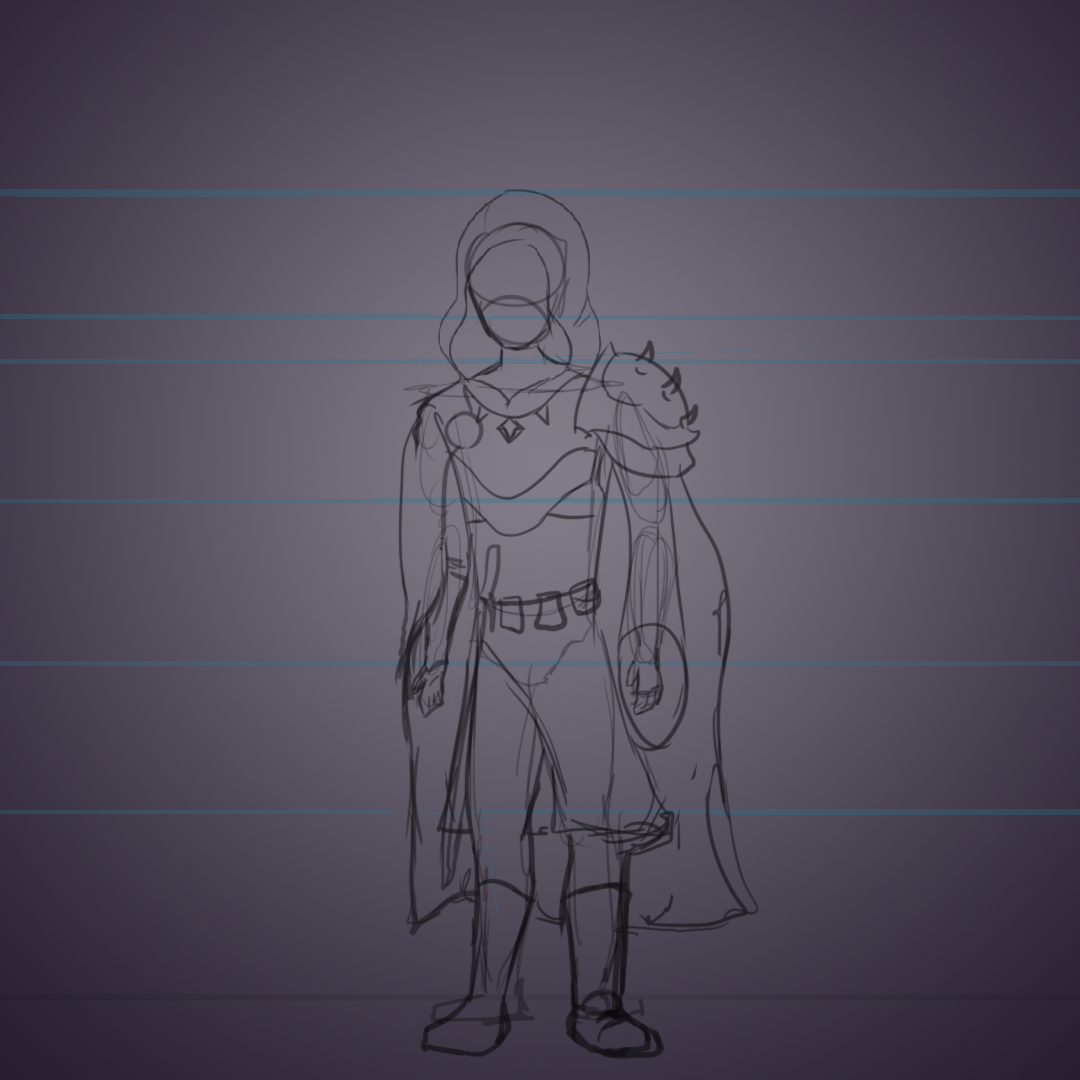
3rd Step: Add Details!
Here’s when you start adding your flair and begin to set the theme for the character! Add major details to their outfit, are they wearing armor? Why not give them a cape?
I would recommend the use of a hard brush to add details.
___________________________________________________________________
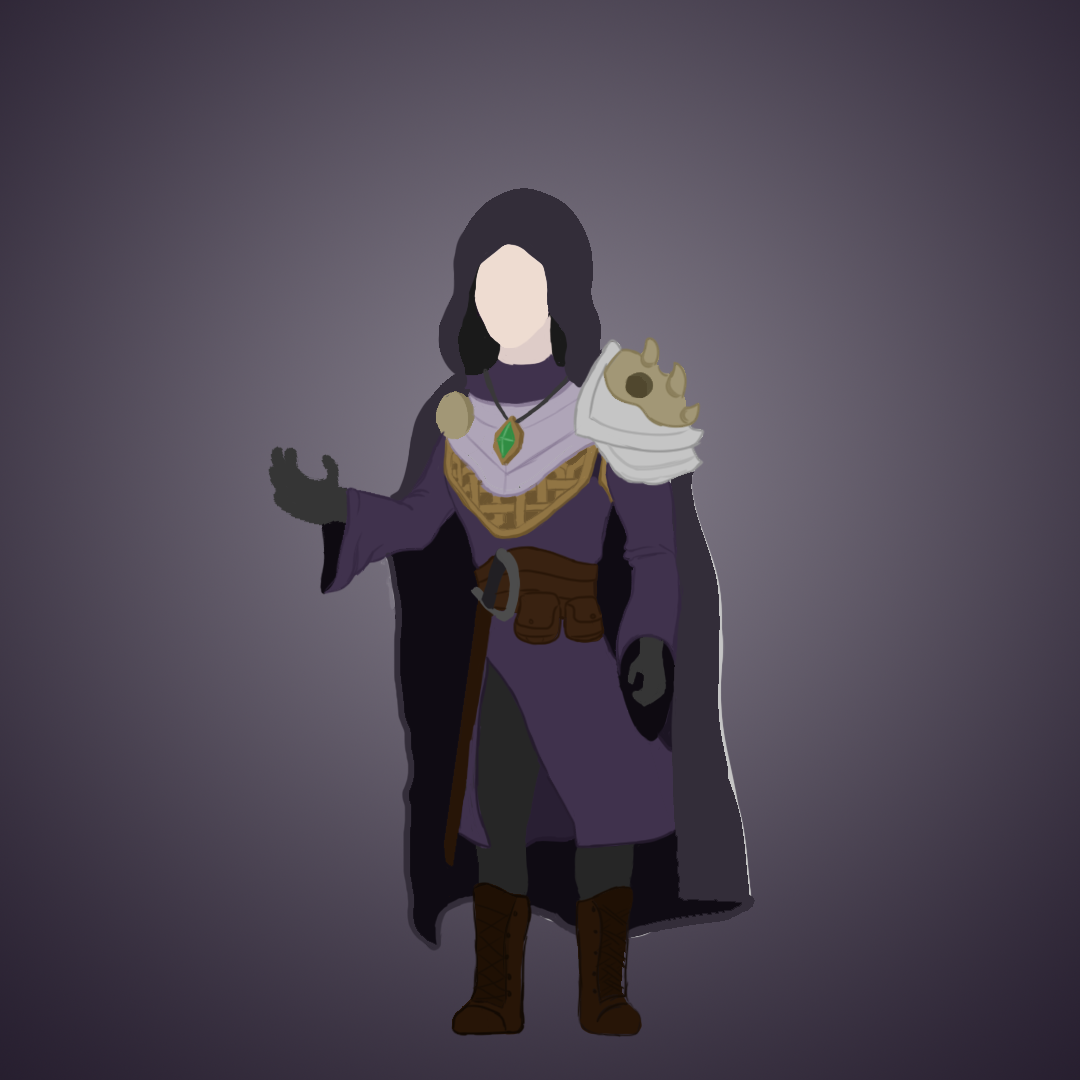
4th Step: Add Base Colour!
Start coloring your character, try to keep between the lines. You can use any color palette to make them come alive. Try to stick within your theme.
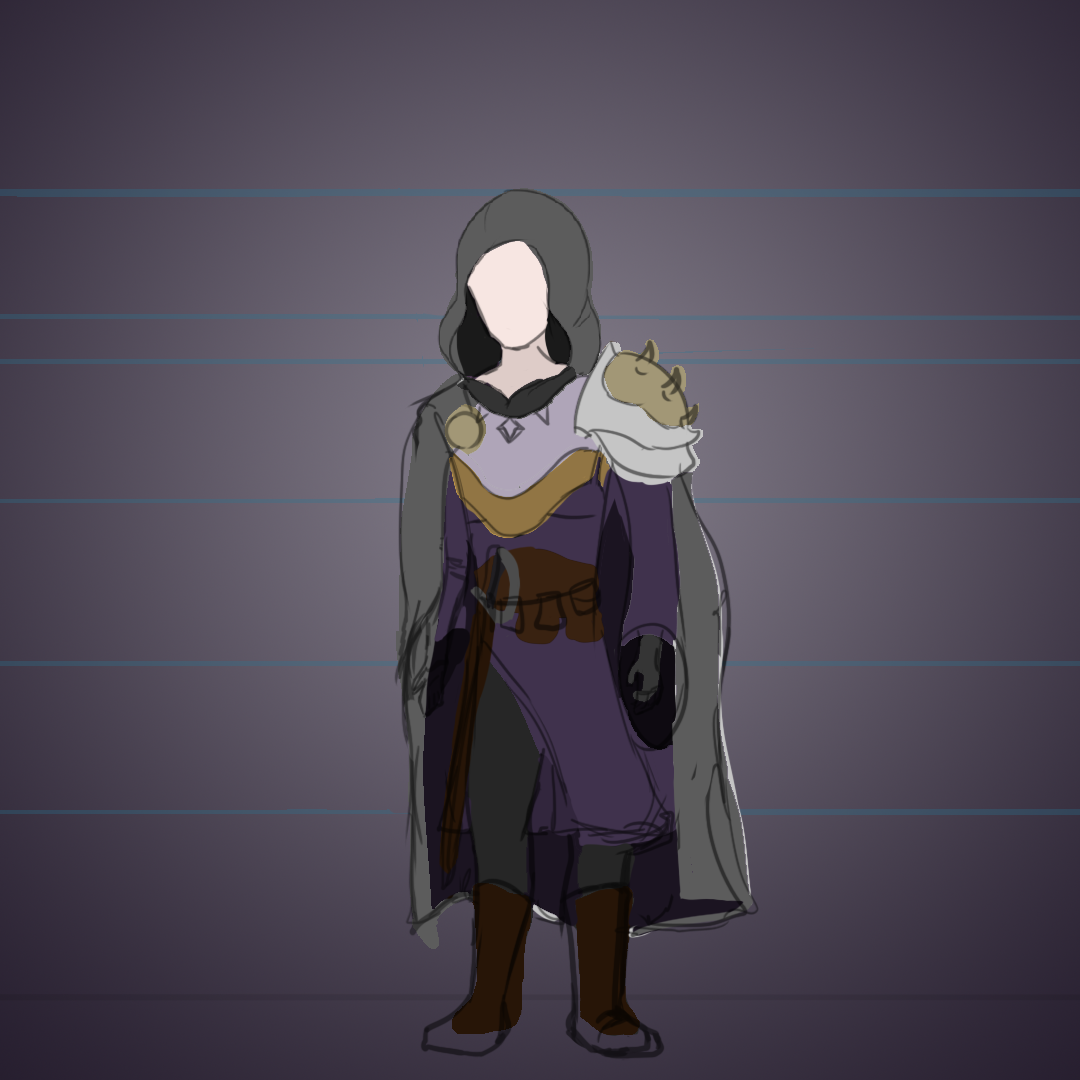
Use a hard brush to add the base color; you could use a layer mask to help keep the paint in between the outlines. You could also use the paint bucket to quickly fill in the gaps.
Tip: Zoom in to make sure there aren’t any empty spaces within the coloring.
___________________________________________________________________
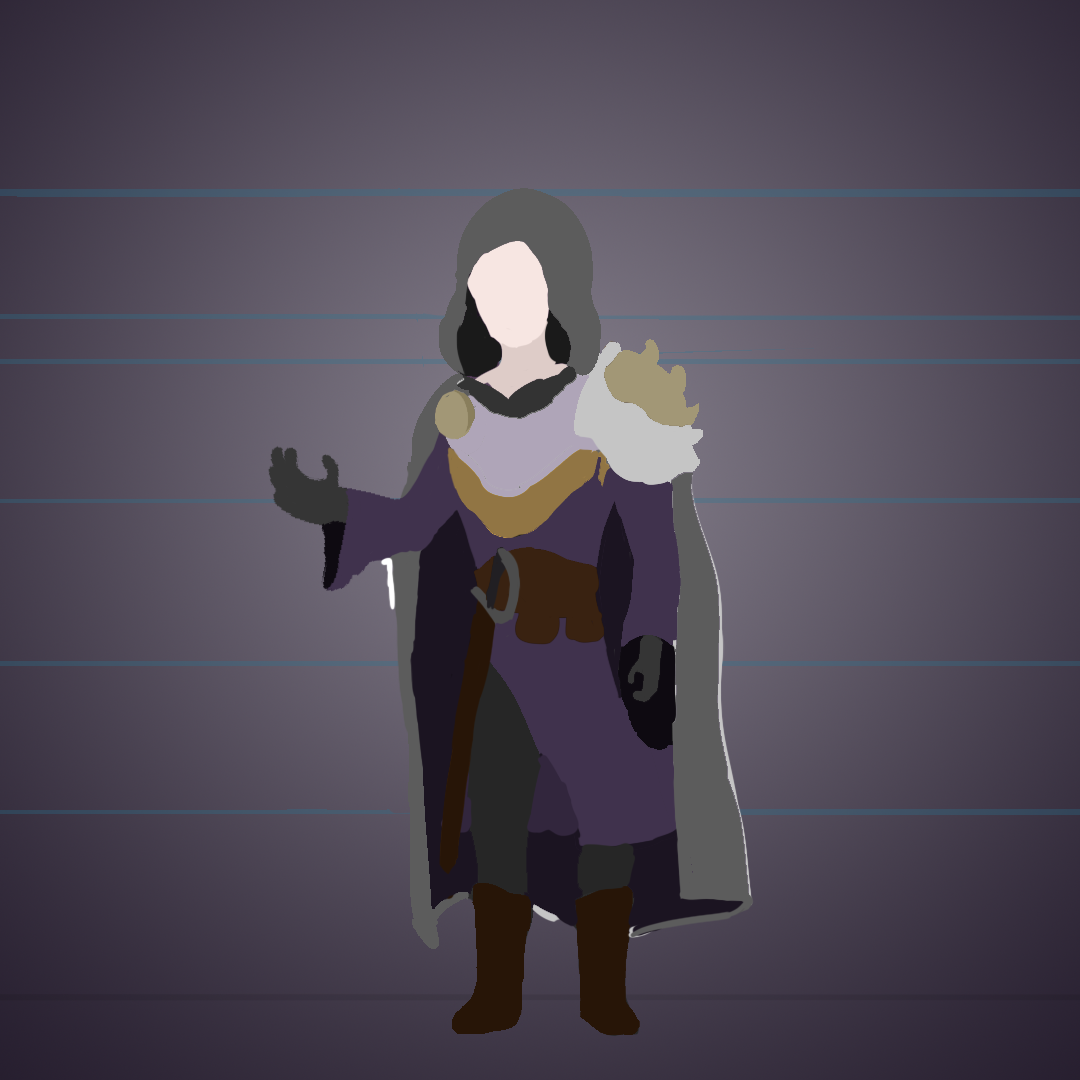
5th Step: Refine the Outline
Outline the Coloured version of the character now. We edited the pose to fit our concept of the character.
Use a thin hard brush with pressure on to let the lines end off sharp. We used a layer mask to clean up the edges of the character.
______________________________________________________________
6th Step: Shading and Lighting
Shade the handle and edges with a Black Coloured Soft Brush, on a new layer with 10% opacity. On this layer, Colour the areas that you want to be shaded with blank paint. With the layer set to 10% opacity, the black paint will mimic shadows.
Do the same thing on a new layer but with white paint this time to mimic light.
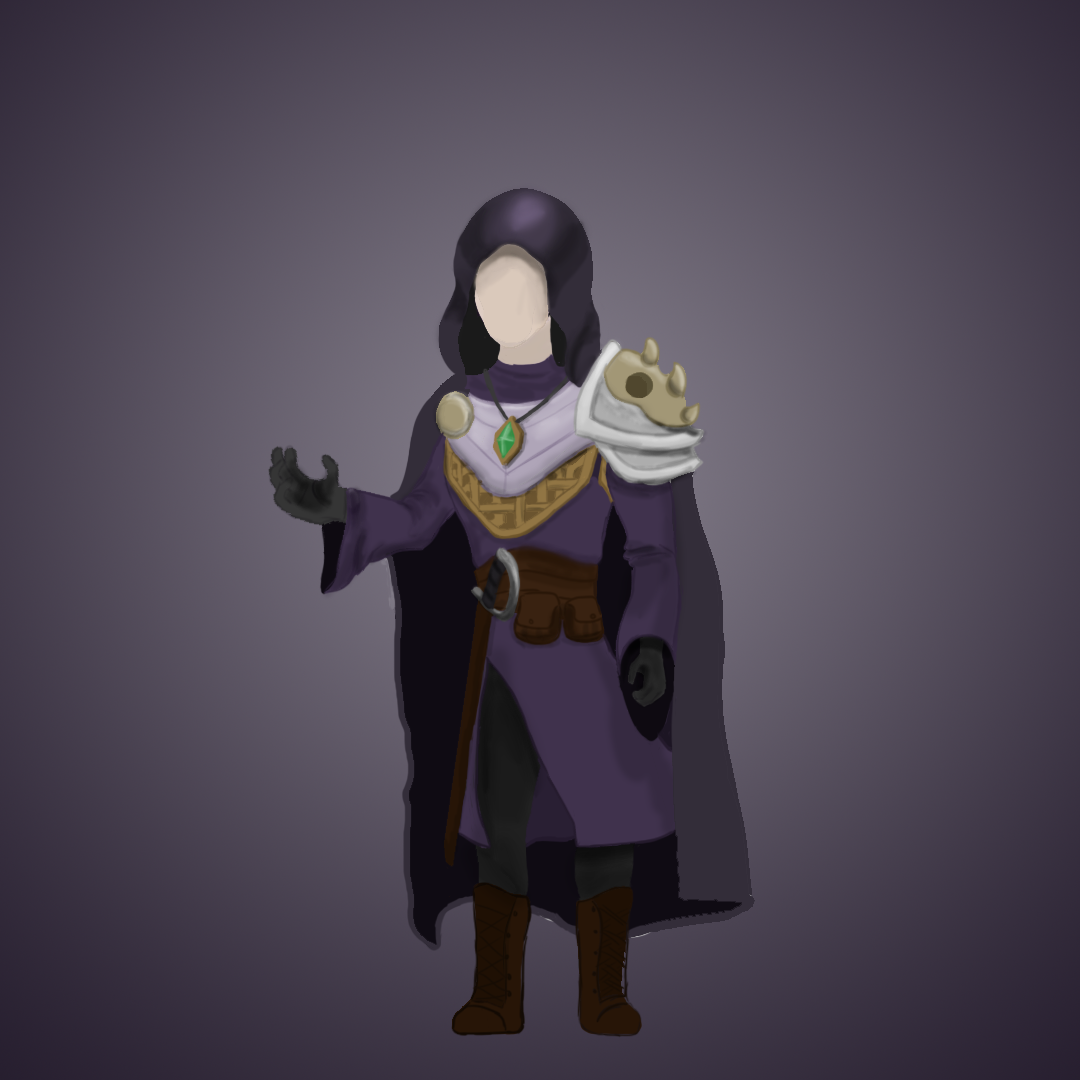
Try to add your own touch and experiment with different looks!
____________________________________________
7th Step: Final Features
Add any features that you want to, that’s missing or otherwise. We gave him a face and magic powers!
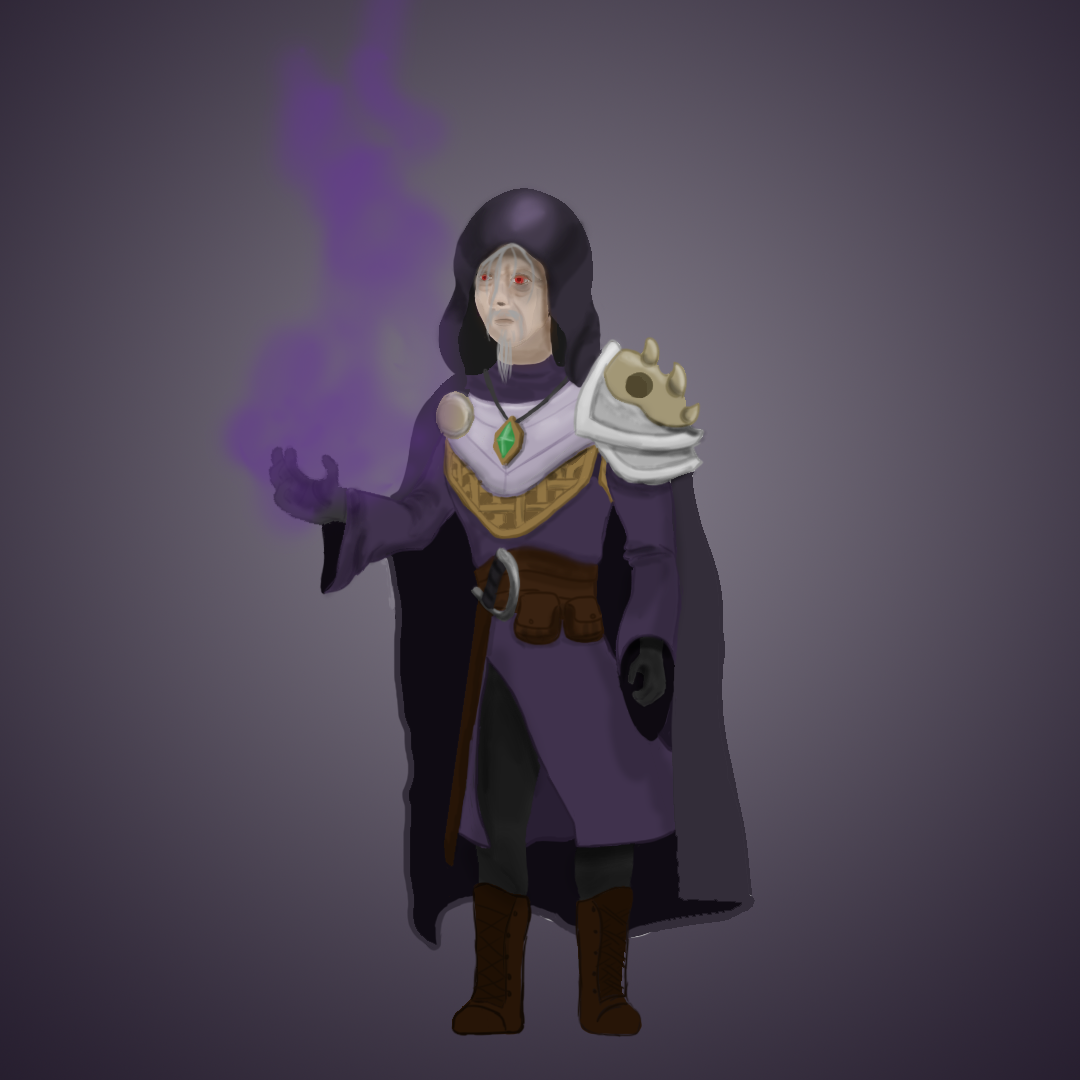
Try to add your own touch and experiment with different outcomes! Try to fit your theme of the character!
___________________________________________________________________
And You’re Done!
Congratulations! You’ve drawn your first character design! Feel free to try with other characters!
What now?
Now that you’ve got a good understanding of the basics of character design, and have the means to create your character concept art.
You can go onto giving your character a story (lore or background) or giving him a friend!
We hope you learned something, we hope you keep practicing and experimenting with different characters!
Stay Tuned for tomorrow when we focus on another type of concept art, Environment Design! In the Meantime, Why not check out our previous tutorials?
Sound Design Part 1: Introduction
Sound Design Part 2: Making a Melody
Follow @amphibistudio and @projectj2k on Instagram for more updates!