Intro
Welcome back to Chicken Time! In today’s tutorial, we’ll be covering simple mobile controls using buttons for mobile devices. Some parts of this tutorial will be split into 2 sections, 1 for those of you who have imported our unity package, and the other for those of you who are using your own scene.
Chicken Time is a simple mobile game reminiscent of Snake. We’ll be posting a series of tutorials every weekday! Hence, at the end of the series, you’ll have your own version of Chicken Time that you can play on any Android mobile device 😉
Missed the first part of this tutorial series? You can check it out right here!
If you want to jump right into this tutorial without having to set up your own environment, or you just want to follow exactly what we did, go ahead and import this package into your project. It contains all the assets you’ll need, along with a ready-to-use scene!
Note: Import the Post-Processing package using the Unity Package Manager.
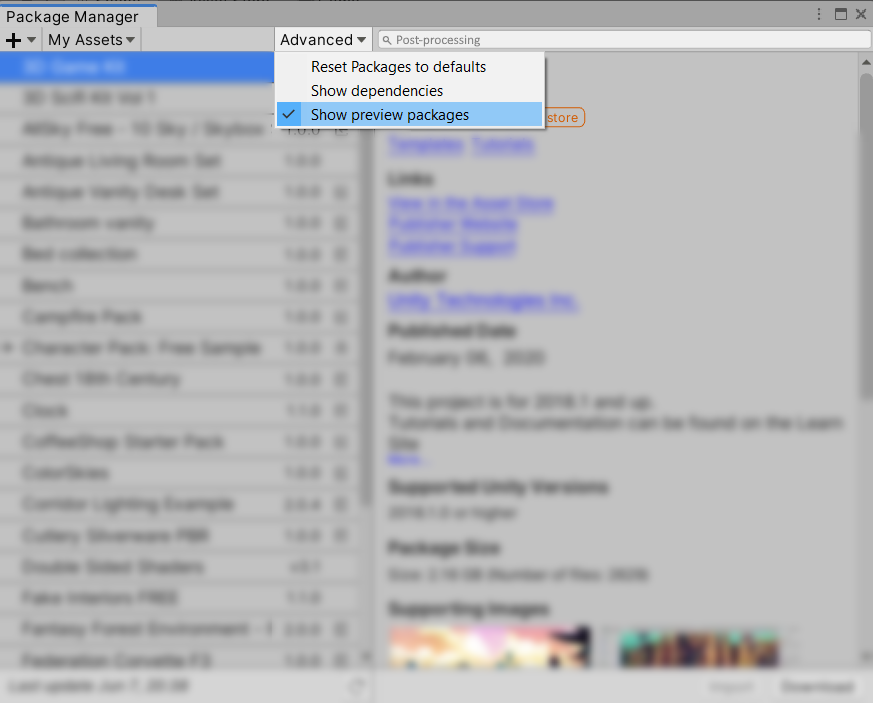
If you can’t find it, make sure that “Show preview packages” is enabled. Are you all ready? Then, let’s get moving!
Step 1: Preparing the assets
If you have NOT imported the Unity Package:
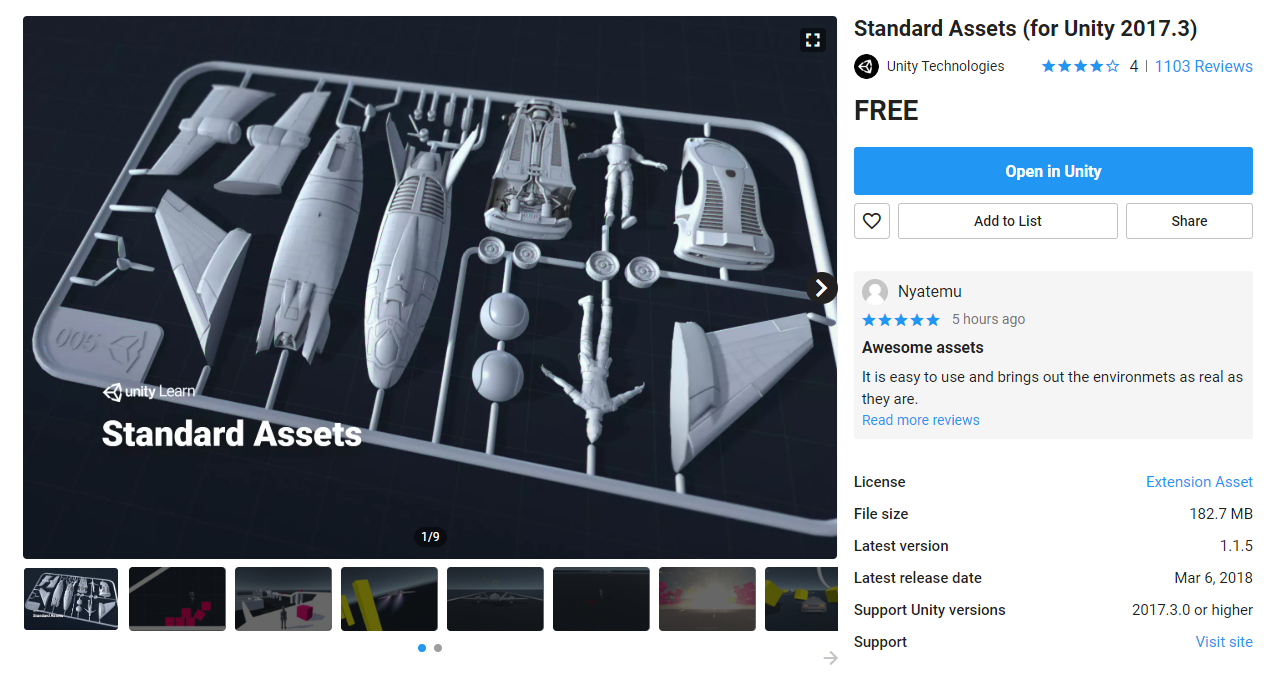
1. Import standard assets
Import the CrossPlatformInput and CrossPlatformInputInitialize.cs from the Standard Assets Pack. We don’t need anything else from this package.

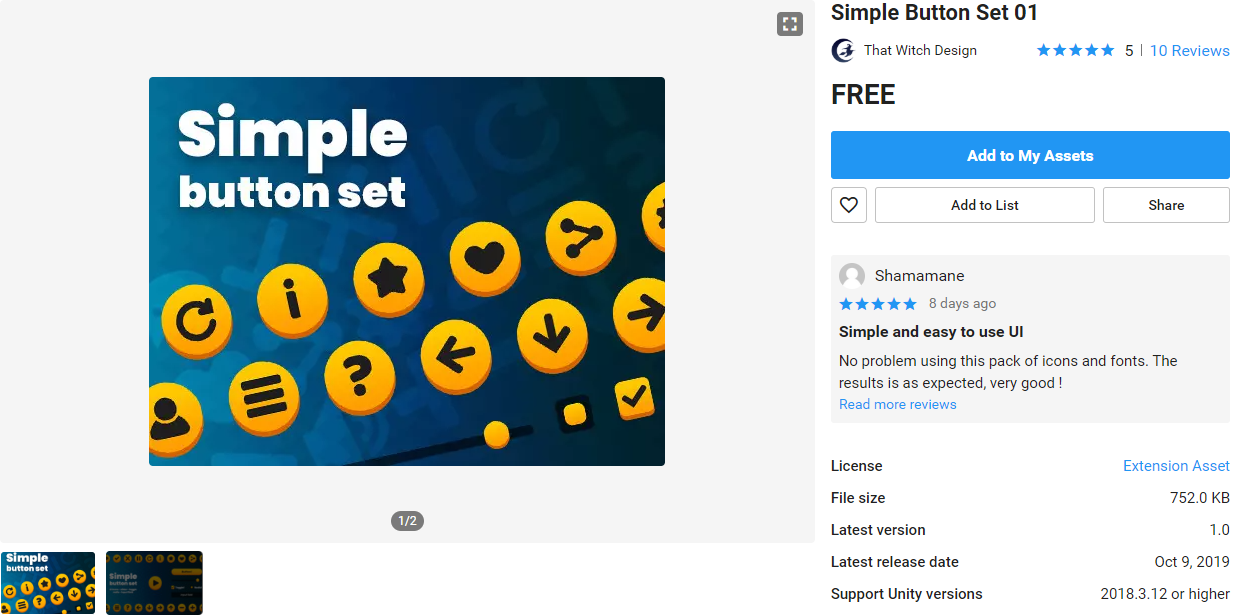
2. Import buttons
After that, import the buttons in from this Simple Button Set.
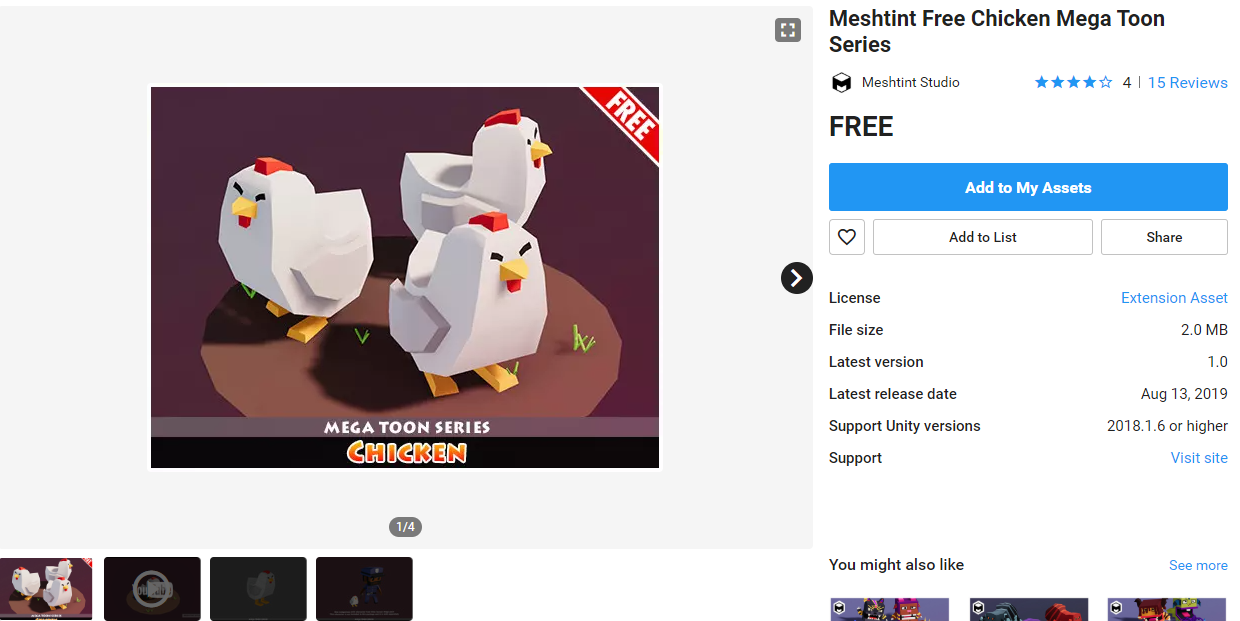
3. Import Chicken Prefab
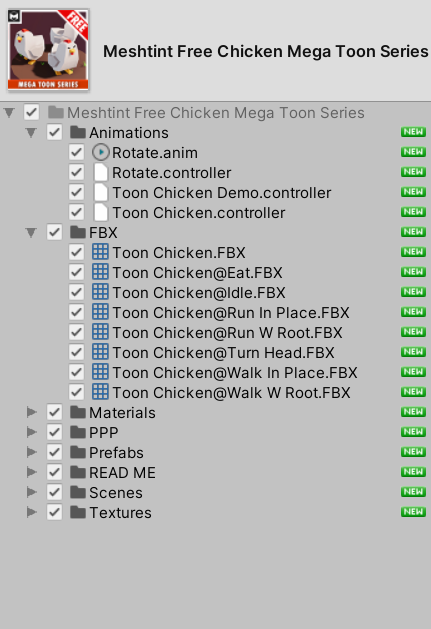
Next, import the chicken prefab in from this Free Chicken Series.
If you have imported the Unity Package:
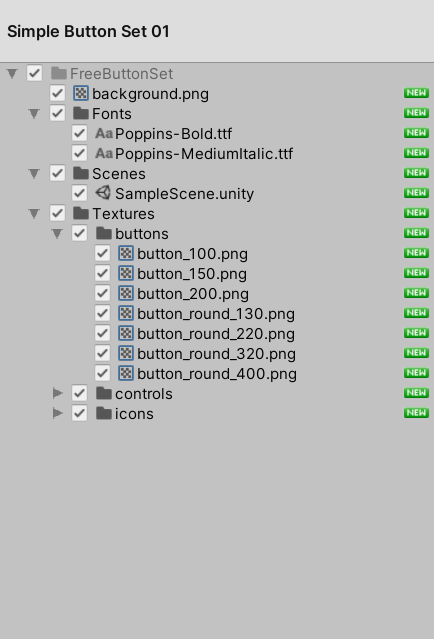
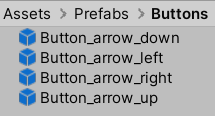
Use the button prefabs included in the above Unity Package. They can be found under Prefabs > Buttons. This will then act as our mobile controls for the game. We will add the chicken prefab in at a later stage.
Protip: Use the slider to change the size of the file icons!
Step 2: Arrange buttons
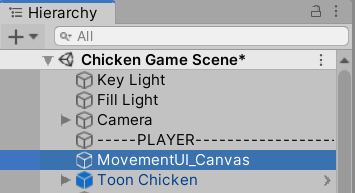
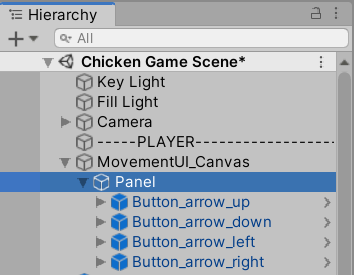
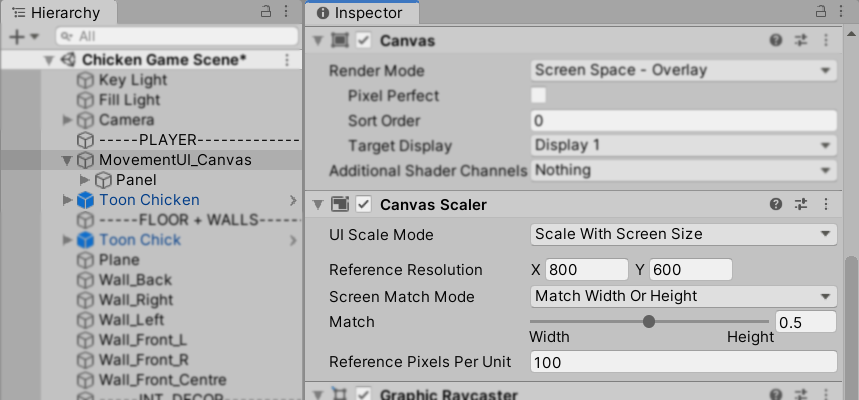
Make a canvas by right-clicking in the hierarchy and selecting UI > Canvas. You can name it MovementUI_Canvas or something similar. However, good naming convention is important in all projects as it will be less confusing to try to figure out what everything is!
Your hierarchy should look like this:

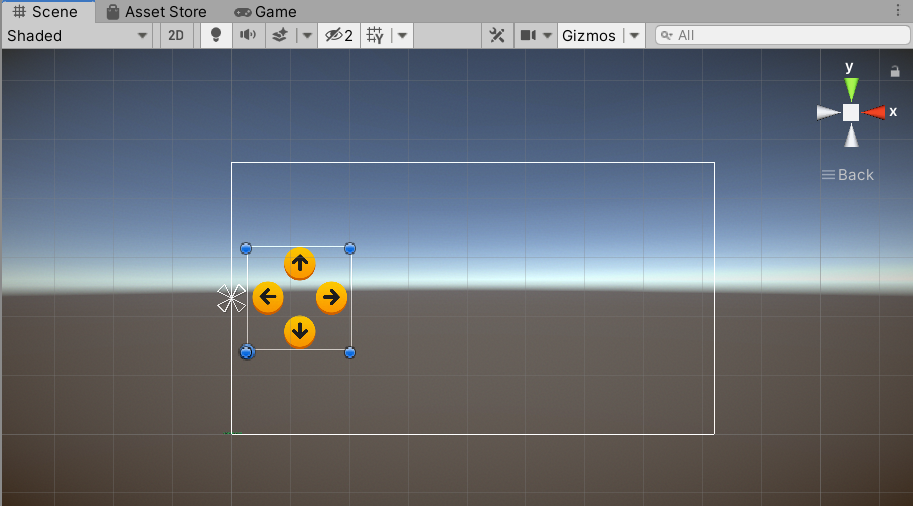
Next, drag the buttons into the canvas. You are free to arrange the buttons in any way you please. To make it easy for players to use, however, we recommend arranging it this way:

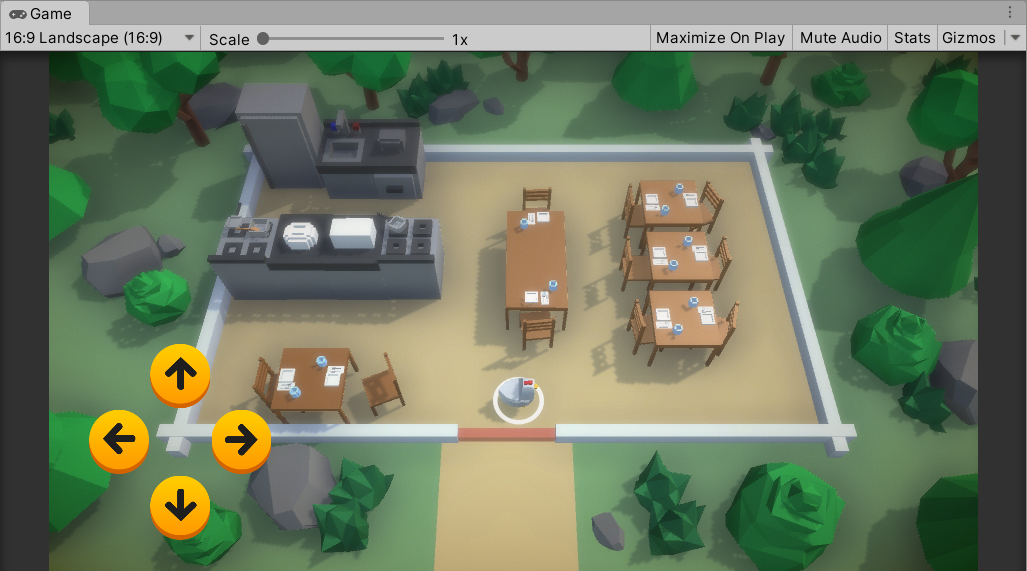
So that this way, all the buttons will be easy for players to reach! Also, it will not cover or obstruct any of the props in the environment.
Good user experience is extremely important in making any game enjoyable, so it’s best to think about how to place buttons in a way that players will find it convenient and comfortable to use.
Here’s a useful reference to know where you should place your buttons for easiest access!
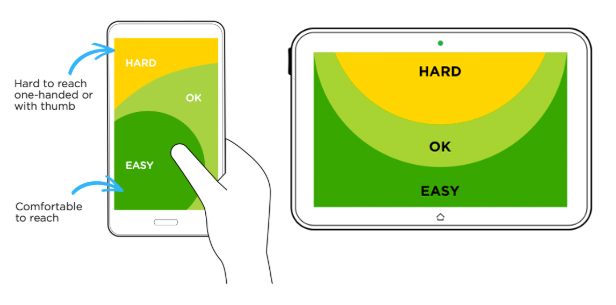
Image Source: https://uxplanet.org/game-design-ux-best-practices-guide-4a3078c32099
Next, place all the buttons in a panel object. This can be created by right-clicking in the hierarchy, and selecting UI > Panel. Thus, this step makes it easier to move the buttons around later, as they are all nested in a single panel.
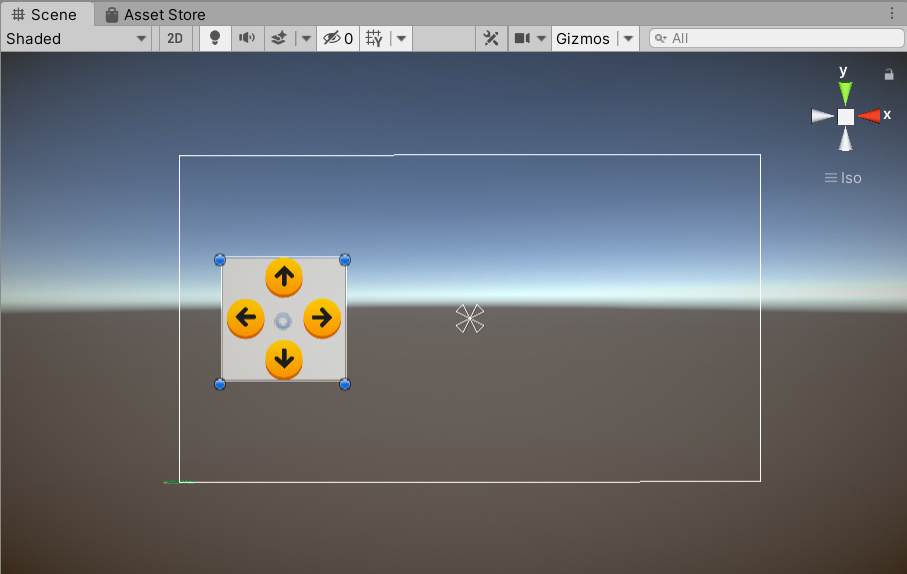
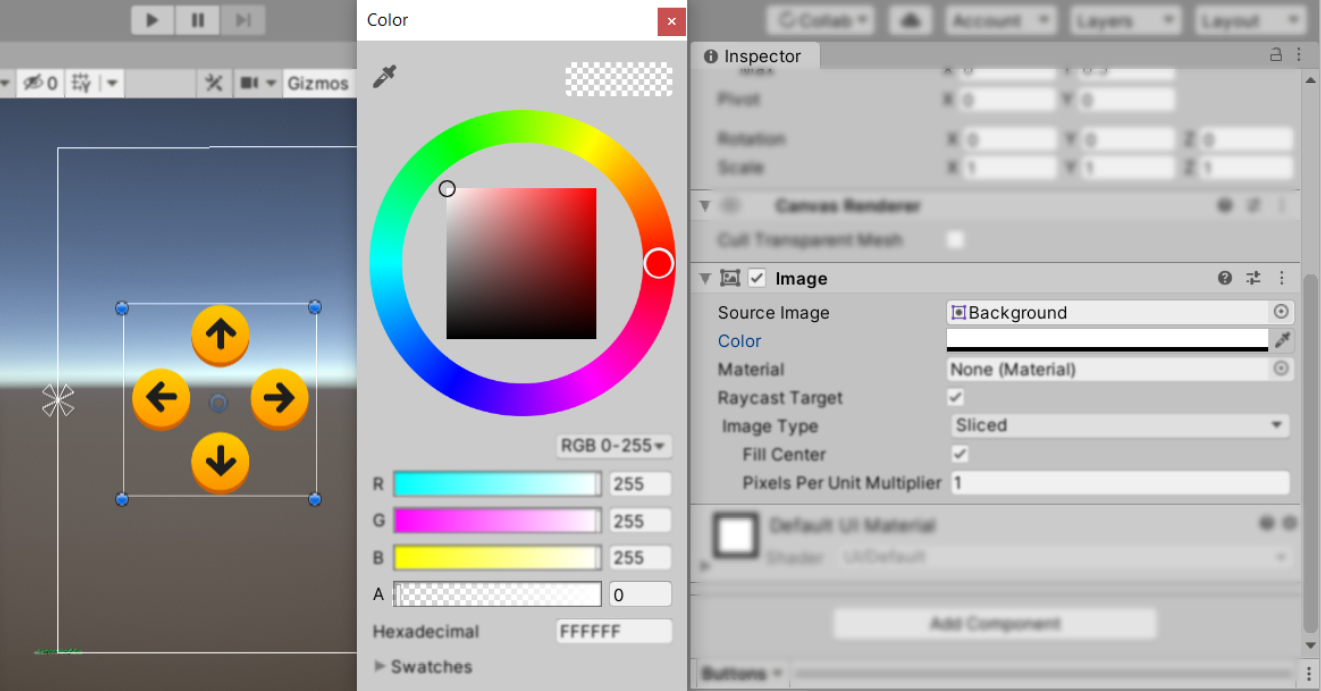
After that, make the panel transparent so it cannot be seen behind the buttons.
Step 3: Set canvas scale to pixel size
Mobile devices come in all shapes and sizes. So, it is important to make sure that the canvas is scalable. Hence, with the canvas below, this will allow it to adapt to whatever screen size the mobile device has, and not affect playability.
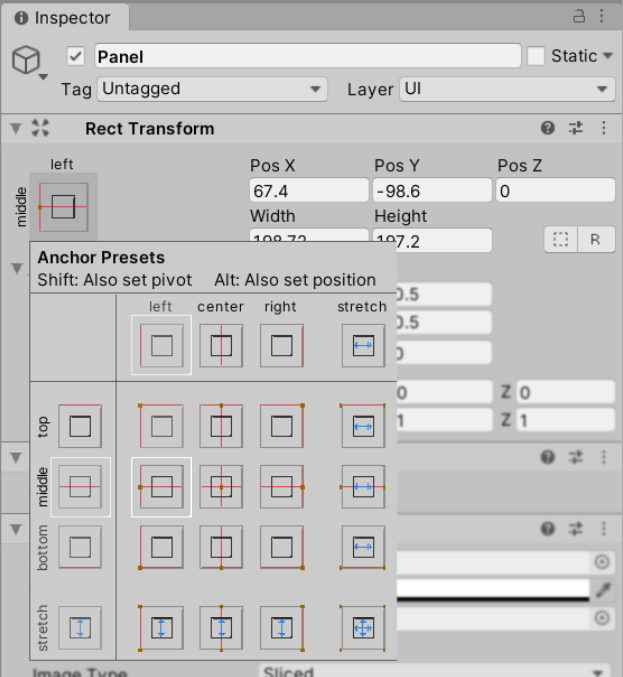
First, set the anchor (the cross made of white triangles) of the panel to the centre-left.
Next, set the Canvas Scaler UI Scale Mode to ‘Scale With Screen Size’. Then, set Screen Match Mode to ‘Match Width or Height’.
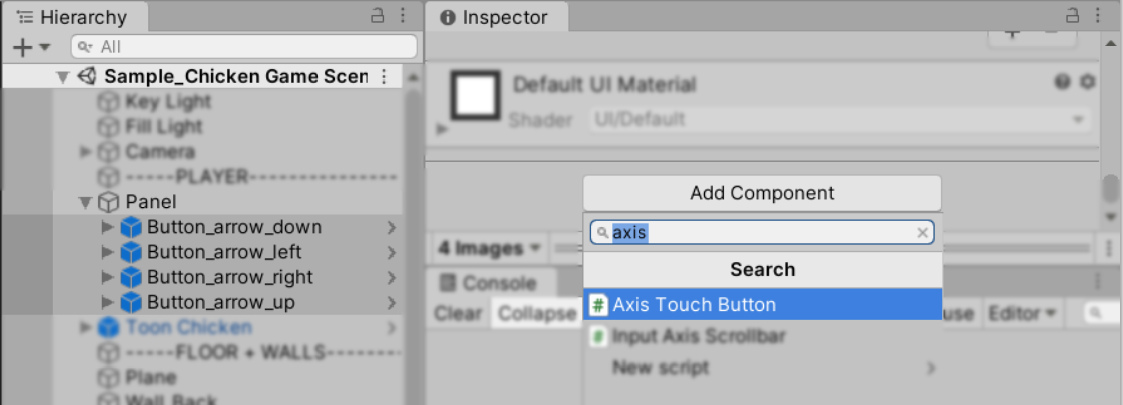
Step 4: Add an event listener to your buttons
Add the Axis Touch Button script to all the mobile controls.
Then, change the Response Speed and Return To Centre Speed variables to 10,000.

Next, change the up and down buttons’ Axis Name to ‘Vertical’.

Lastly, change the up and right buttons’ Axis Value to -1.

When the respective buttons have been pressed, this script will change the axis values to either 1 or -1. In order to understand axis values better, watch this video by the official Unity Team!
Step 5: Add the Chicken prefab into your game
If you have imported the Unity Package, the chicken prefab can be found under Prefabs > Chickens.

Then, drag it into the scene but make sure it’s positioned where you would like the player to start at. Additionally, make sure the chicken is floating above the floor. We’ve put our chicken next to the door.
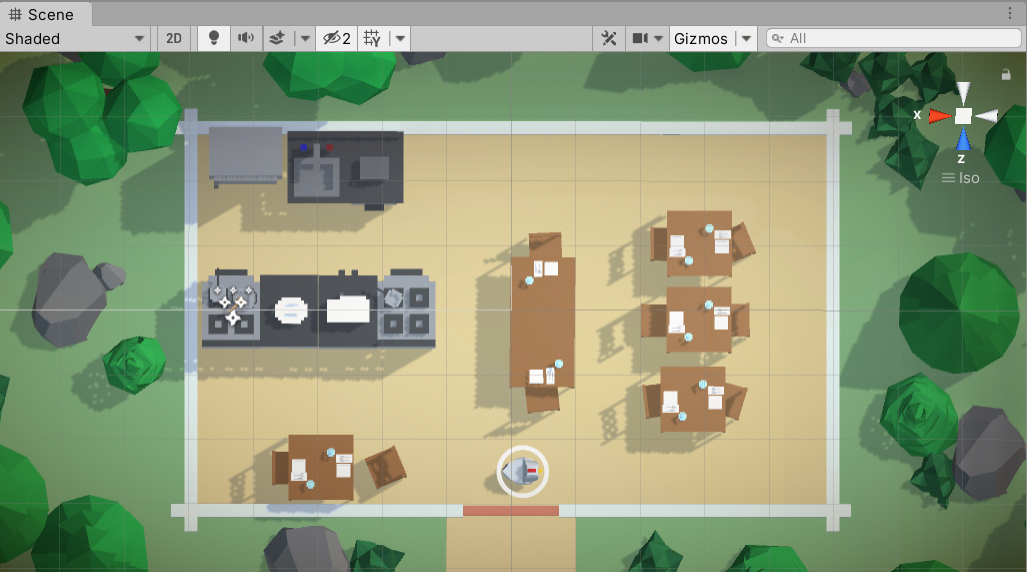
Note that we added a ring under the chicken, this does not come with the chicken imported from the store.
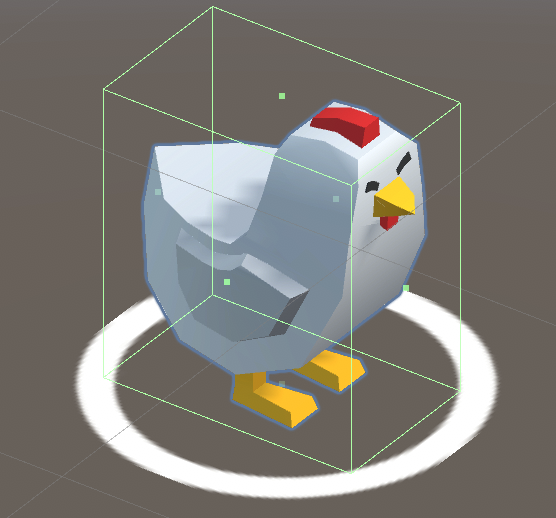
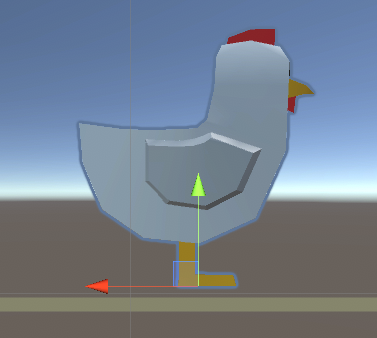
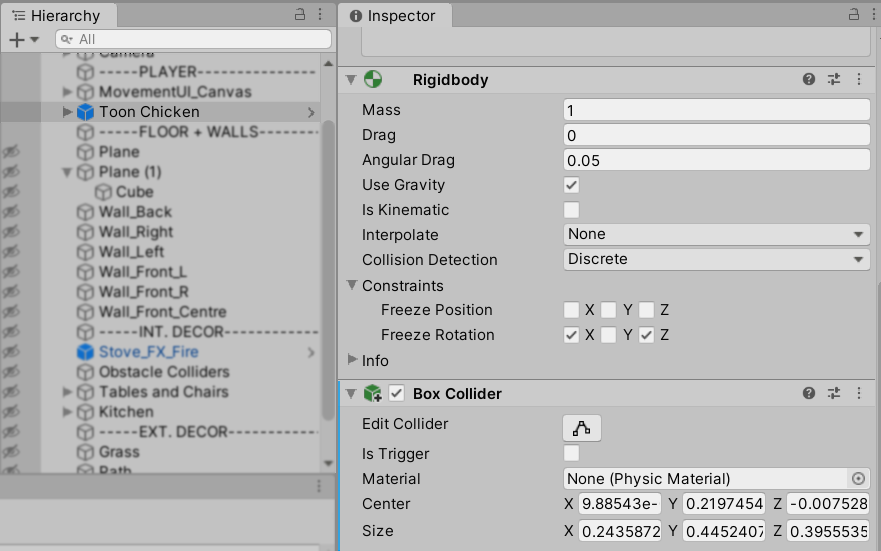
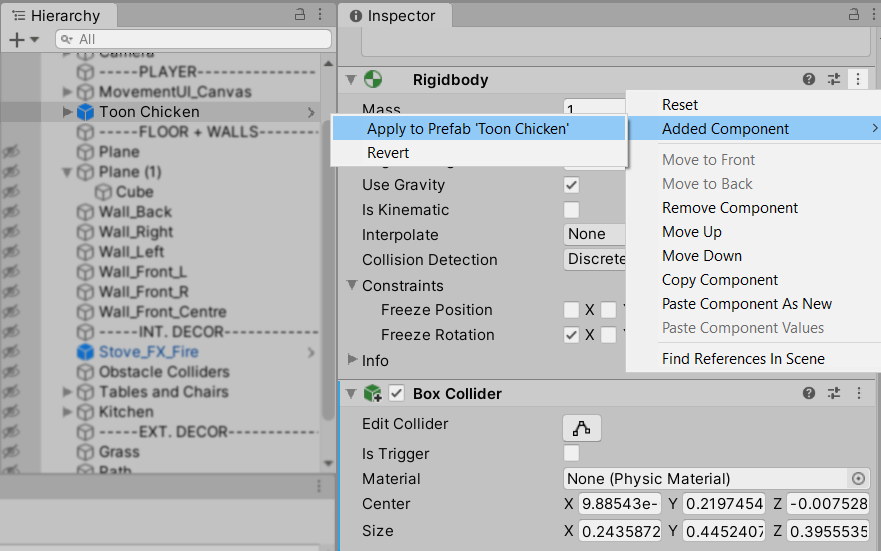
After that, add a Rigidbody and Collider component to the chicken, fix the X and Z rotation in the Rigidbody. Finally, apply the components to the prefab!
Step 6.1: Code time part 1
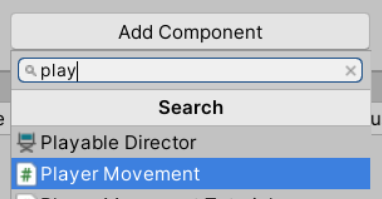
Now it’s time to add functionality to the buttons.
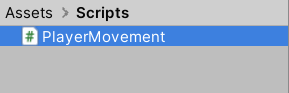
If you have imported the Unity Package, edit the script ‘PlayerMovement’. It can be found under Scripts > PlayerMovement.cs.
We use Visual Studio Community 2019 to edit code, you can download it here!
However, if you have not imported the Unity Package, follow the steps below:
- Create a script called ‘PlayerMovement’.
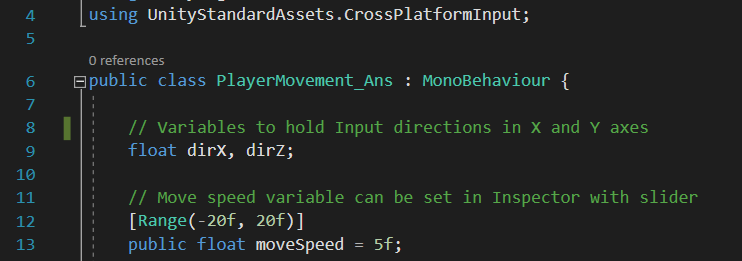
- Add the statement “using UnityStandardAssets.CrossPlatformInput;” before the class.
- Declare 3 floats: dirX, dirZ, and moveSpeed. Set the default value of moveSpeed to 5.
Similarly, you can also copy the code here:
using UnityStandardAssets.CrossPlatformInput;
public class PlayerMovement : MonoBehaviour {// Variables to hold Input directions in X and Y axes
float dirX, dirZ;// Move speed variable can be set in Inspector with slider[Range(-20f, 20f)] public float moveSpeed = 5f;
Step 6.2: Code time part 2
Then, add this script to the Update function:
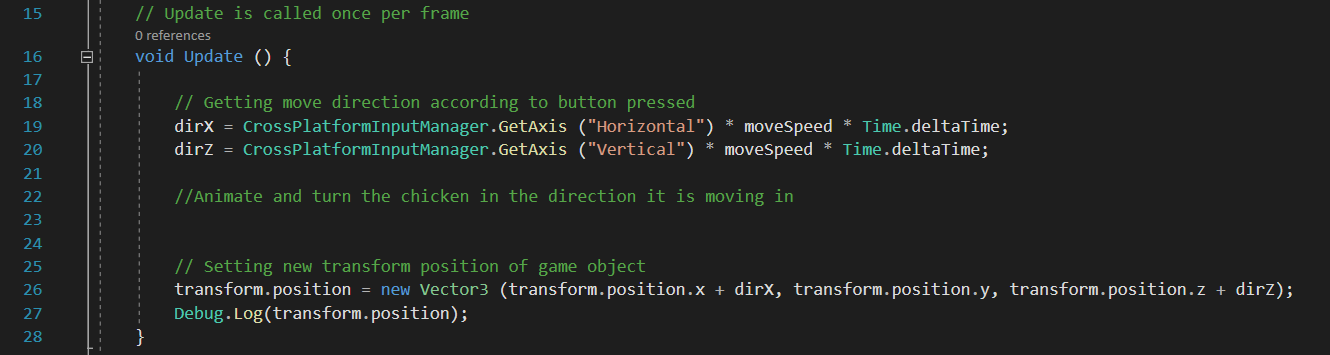
- Line 19 identifies whether the horizontal axis has changed.
- Right mobile button is pressed, Axis Touch Button script changes axis number to -1.
- Left mobile button is pressed, Axis Touch Button script changes the axis number to 1.
- Line 20 identifies whether the vertical axis has changed.
- Up mobile button is pressed, Axis Touch Button script changes the axis number to -1.
- Down mobile button is pressed, Axis Touch Button script changes the axis number to 1.
- Line 26 to 27 moves the chicken by the number of units in the variable moveSpeed in the direction identified in lines 19 and 20.
Feel free to copy the script here:
// Update is called once per frame
void Update () {
// Getting move direction according to mobile controls that is being pressed
dirX = CrossPlatformInputManager.GetAxis (“Horizontal”) * moveSpeed * Time.deltaTime;
dirZ = CrossPlatformInputManager.GetAxis (“Vertical”) * moveSpeed * Time.deltaTime;
//Animate and turn the chicken in the direction it is moving in
// Setting new transform position of game object
transform.position = new Vector3 (transform.position.x + dirX, transform.position.y, transform.position.z + dirZ);
Debug.Log(transform.position);
}
Step 6.3: Adding Script
After that, add the script to the chicken. You can adjust the speed the chicken will move at using the slider!

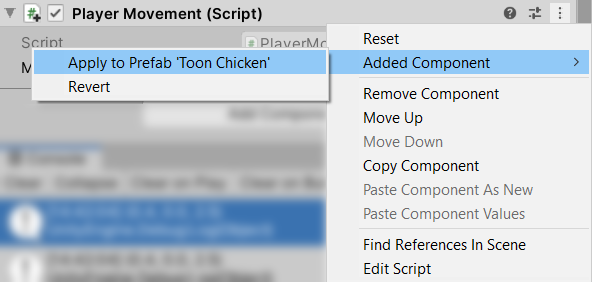
Also, remember to apply this component to the prefab as well.
When you click play and proceed to press the buttons, the chicken should be able to move in the directions of the buttons you press!
Step 7: Add animation to the chicken
It’s time to add animation to the chicken to give it some life. Copy this code in to the Update:
Similarly, you can copy this code directly into your script:
// Getting move direction according to mobile controls that is being pressed
dirX = CrossPlatformInputManager.GetAxis (“Horizontal”) * moveSpeed * Time.deltaTime;
dirZ = CrossPlatformInputManager.GetAxis (“Vertical”) * moveSpeed * Time.deltaTime;
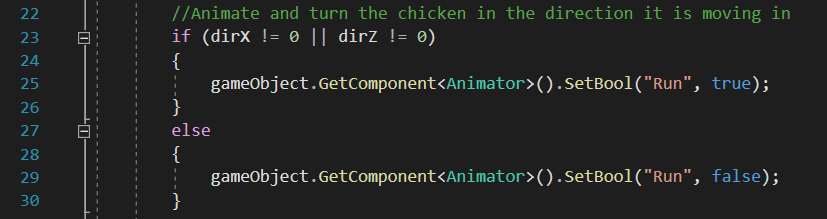
//Animate and turn the chicken in the direction it is moving in
if (dirX != 0 || dirZ != 0)
{
gameObject.GetComponent().SetBool(“Run”, true);
}
else
{
gameObject.GetComponent().SetBool(“Run”, false);
}
// Setting new transform position of game object
transform.position = new Vector3 (transform.position.x + dirX, transform.position.y, transform.position.z + dirZ);
Debug.Log(transform.position);
The chicken should start flapping its wings as it runs now!
However, it is unnatural because the chicken doesn’t turn to face the direction it is running in yet. So, let’s rotate the chicken! Copy this code into Update:

Likewise, you can copy the code directly here:
//Animate and turn the chicken in the direction it is moving in
if (dirX != 0 || dirZ != 0)
{
gameObject.GetComponent().SetBool(“Run”, true);
if(dirX < 0)
{
//90
transform.rotation = Quaternion.Euler(0, -90, 0);
}
else if(dirX > 0)
{
//-90
transform.rotation = Quaternion.Euler(0, 90, 0);
}
else if (dirZ < 0)
{
//0
transform.rotation = Quaternion.Euler(0, -180, 0);
}
else
{
//-180
transform.rotation = Quaternion.Euler(0, 0, 0);
}
}
else
{
gameObject.GetComponent().SetBool(“Run”, false);
}
Finally, the chicken will run beautifully <3
In Summary
The PlayerMovement script used in mobile controls tutorial is based on this tutorial we found. He makes really great and easy-to-follow Unity tutorials. So, we recommend checking his channel out!
Now your chicken has a nice environment, and can run around causing havoc. However, it is still uncomplete. So, do check back in tomorrow for our tutorial on spawning in eggs for the chicken to collect!
If you’re interested in finding out more about the game dev process, do follow our Instagram page @noodletsstudio! We will not only be posting about updates on the game we’re developing, we’ve also been putting up handy dandy tutorials on different aspects of game development. Currently, we have some tutorials on simple particle effects and mobile joystick movement up! Do check us out 😉