Intro
Welcome back to Chicken Time! In today’s tutorial, we’ll be covering how to create a spawn system that spawns eggs at random positions in the environment. It’s time for some egg magic!
Chicken Time is a simple mobile game reminiscent of Snake. We’ll be posting a series of tutorials every weekday! At the end of the series, you’ll have your own version of Chicken Time that you can play on any Android mobile device 😉
Missed the first part of this tutorial series? You can check it out right here!
If you want to jump right into this tutorial without having to set up your own environment, or you just want to follow exactly what we did, go ahead and import this package into your project. It contains all the assets you’ll need, along with a ready-to-use scene!
Note: Import the Post-Processing package using the Unity Package Manager after importing the aforementioned package.
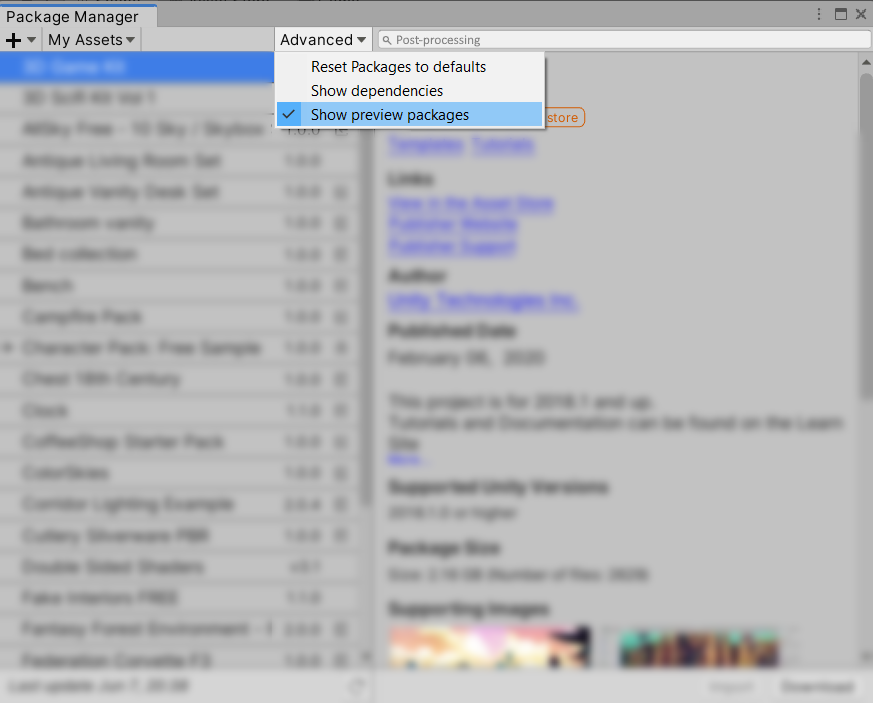
If you can’t find it, make sure that “Show preview packages” is enabled. Are you all ready? Then, let’s get started!
Step 1: Import the egg prefab
If you have NOT imported the Unity Package, you can import the package for the egg prefab here. It should look something like this.
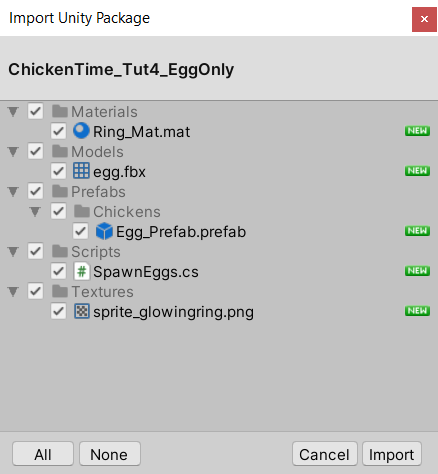
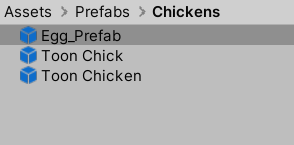
However, if you have imported the Unity Package, the egg prefab can be found under Prefabs > Chickens.
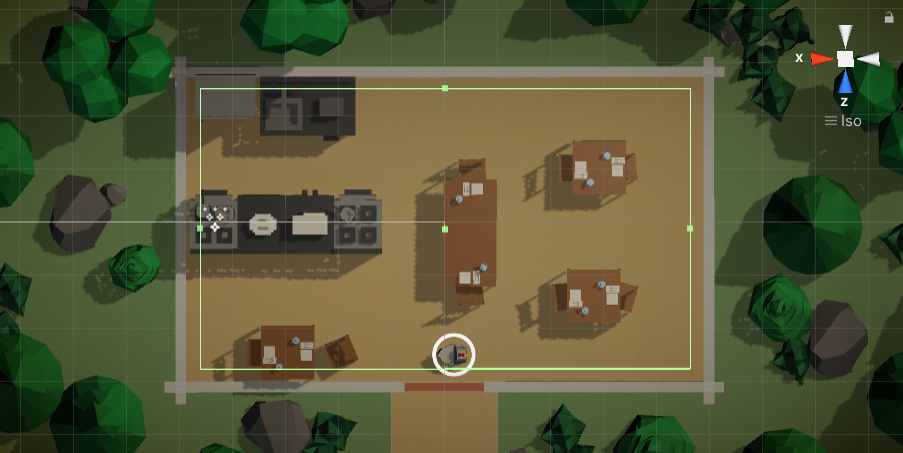
Step 2: Define the Spawn area
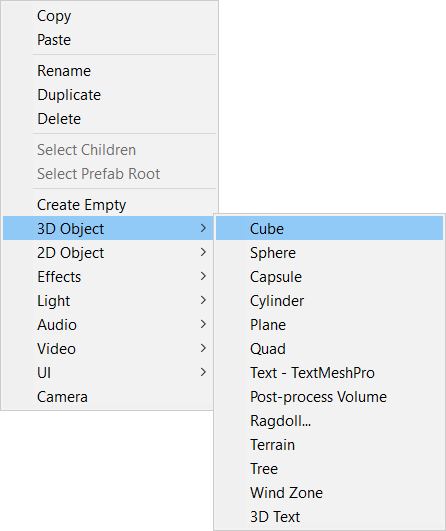
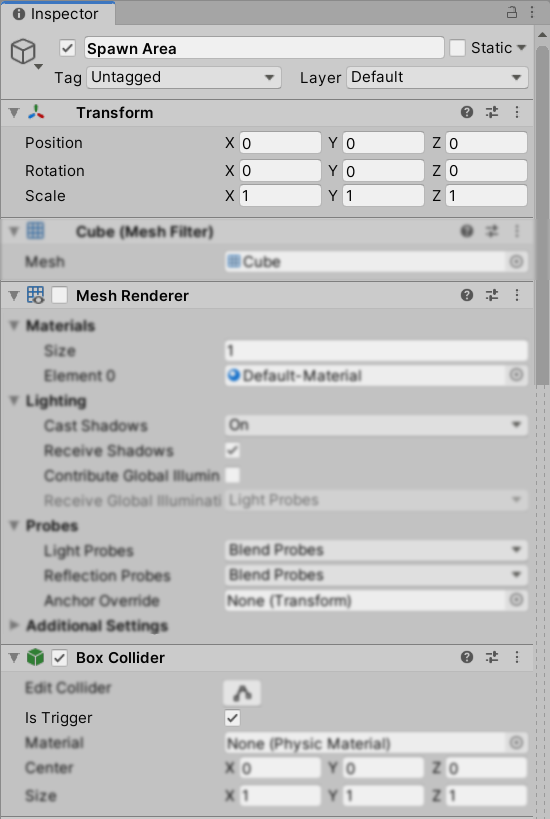
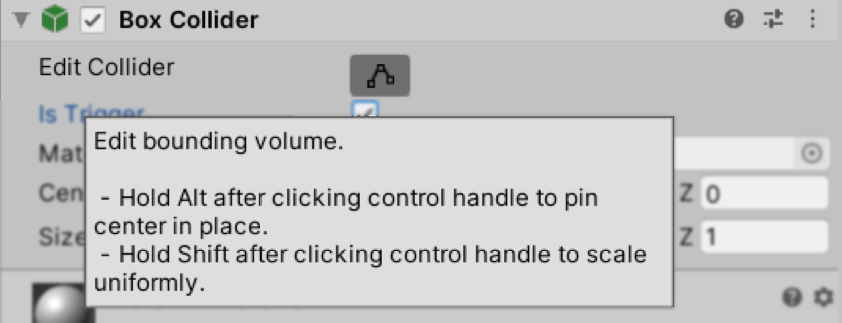
In order to create a spawn system, we have to define an area for the eggs to spawn. Hence, create a cube, uncheck the mesh renderer and check the “Is Trigger” box under the Box Collider component.
If you’d like to find out the difference between a trigger and a collider, and when to use each kind, do check out this handy video!
In addition, do ensure you resize the collider, and not the game object itself! Hence, you shouldn’t see your transform values changing, all changes should only reflect in the collider component.
Consequently, make your collider smaller than the play area so that the spawn system don’t eggcidentally spawn eggs in the walls!
Step 3: Add in the egg prefabs
Drag three egg prefabs into the scene and attach them as children to the spawn area object.
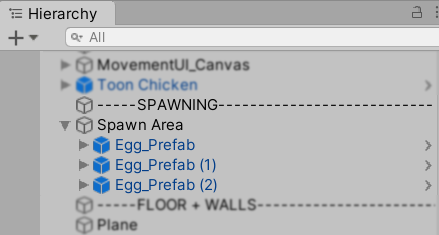
As a result, this will help our script find the eggs in the scene by looking at the children of the spawn area object later. Moreover, this is for convenience and easy handling of all the egg prefabs in the scene. It’s also much more performance-friendly than using a generic Find method.
Step 4.1: Let’s spawn some eggs
This step is a little long. So, go slow and steady and you’ll be fine!
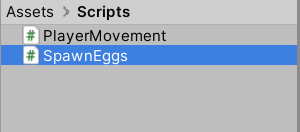
If you have imported the Unity Package, edit the script ‘SpawnEggs’. It can be found under Assets > Scripts.
We use Visual Studio Community 2019 to edit code, you can download it here!
However, if you have not imported the Unity Package, follow the steps below:
- Create a script called ‘SpawnEggs’.
This script will keep the three egg prefabs deactivated in the scene until the SpawnAndCheck() method is called. Then, an inactive egg will be shifted to a random position within the spawn area and activated. Hence, creating a random spawn system.
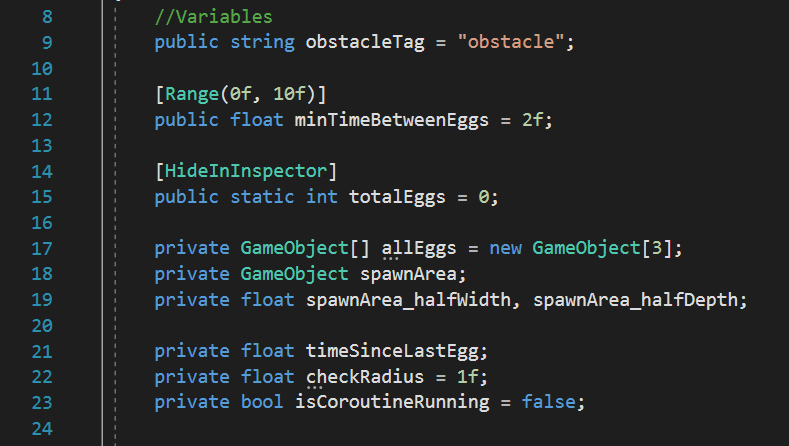
- Create these variables at the start of your script
Similarly, you can copy the codes here:
//Variables
public string obstacleTag = “obstacle”;
private GameObject[] allEggs = new GameObject[3];
private GameObject spawnArea;
private float spawnArea_halfWidth, spawnArea_halfDepth;
[HideInInspector]
public static int totalEggs = 0;
private float timeSinceLastEgg;
[Range(0f, 10f)]
public float minTimeBetweenEggs = 2f, checkRadius = 1f;
private bool isCoroutineRunning = false;
After that, let’s add functionality to our script! Add this code to your start function:

- This gets the egg children of the spawn area object and assigns them to the egg array
- Lines 38 to 40 retrieve the width (x value) and depth (z value) of the spawn area’s collider using bounds.size.
Likewise, here is the code:
// Start is called before the first frame update
void Start()
{
//get the children of the spawn area
for (int i = 0; i < allEggs.Length; i++)
{
allEggs[i] = gameObject.transform.GetChild(i).gameObject;
allEggs[i].SetActive(false);
}
//assign gameobj the script is attached to as spawn area
spawnArea = gameObject;
//get the width and depth of the spawn area
spawnArea_halfWidth = (spawnArea.GetComponent().bounds.size.x) / 2;
spawnArea_halfDepth = (spawnArea.GetComponent().bounds.size.z) / 2;
//spawn the first egg
}
Step 4.2: Spawning eggs at random
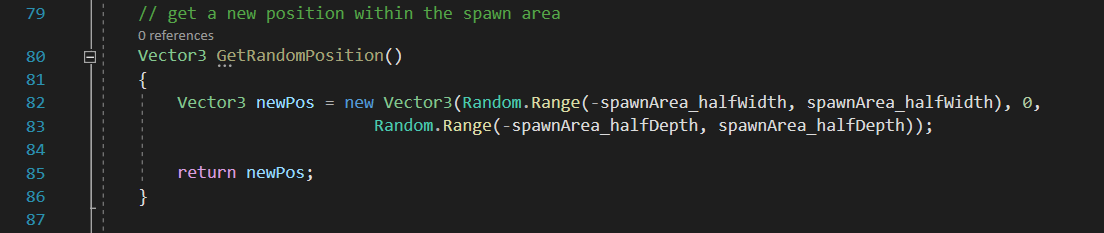
Subsequently, write a method to get a random position within the bounds of the spawn area. Hence, creating a spawn position for the egg! You can use Random.Range to accomplish this.
Likewise, you can copy this code in:
// get a new position within the spawn area to create a spawn system
Vector3 GetRandomPosition()
{
Vector3 newPos = new Vector3(Random.Range(-spawnArea_halfWidth, spawnArea_halfWidth), 0,
Random.Range(-spawnArea_halfDepth, spawnArea_halfDepth));
return newPos;
}
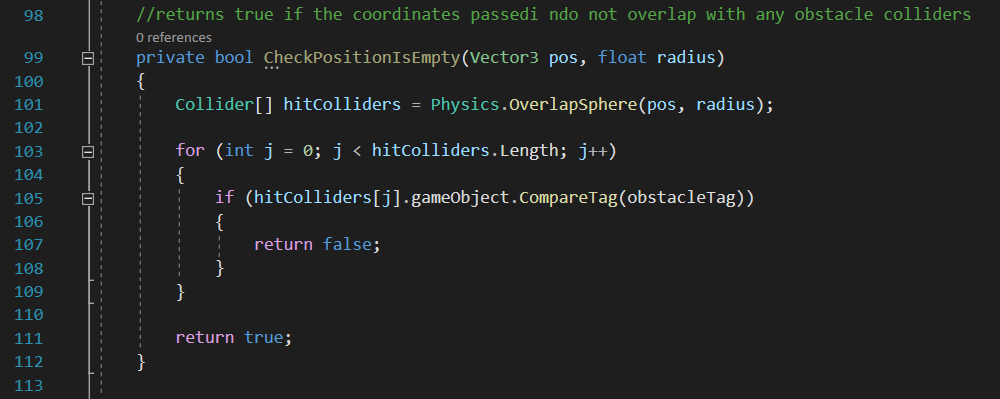
Then, write a method to check if the position generated will cause the egg to collide with any of the obstacles in your scene. As a result, this will prevent our eggs from spawning inside the tables.
Similarly, you can copy the code here:
//returns true if the coordinates passed in do not overlap with any obstacle colliders
private bool CheckPositionIsEmpty(Vector3 pos, float radius)
{
Collider[] hitColliders = Physics.OverlapSphere(pos, radius);
for (int j = 0; j < hitColliders.Length; j++)
{
if (hitColliders[j].gameObject.CompareTag(obstacleTag))
{
return false;
}
}
return true;
}
The above code creates an invisible and temporary sphere at the coordinates generated with the previous method in line 101. Then, all colliders within or touching the sphere are added to the hitColliders array (also in line 101).
You can read more about the Physics.OverlapSphere method here!
Step 4.3: Adding colliders & tags
Afterwards, we then check whether the gameobject’s collider is tagged with the same string we assigned to the variable obstacleTag. This is done in the For Loop from lines 103 to 107.
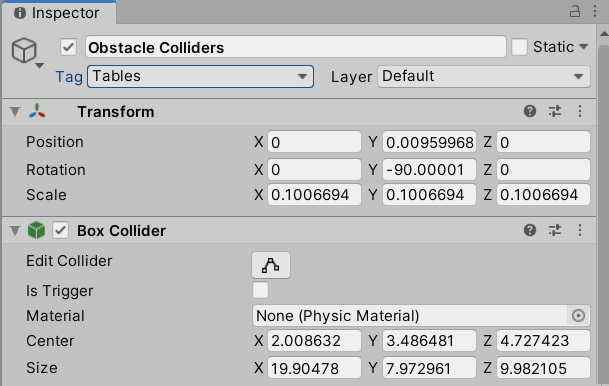
Note: For this spawn system code to work, you need to make sure that for all the game objects you do not want the egg to spawn within (eg. all the tables and chairs in your environment) by having colliders.
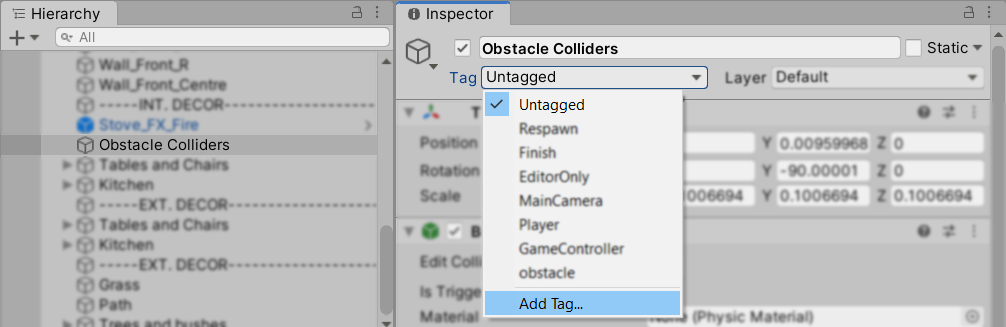
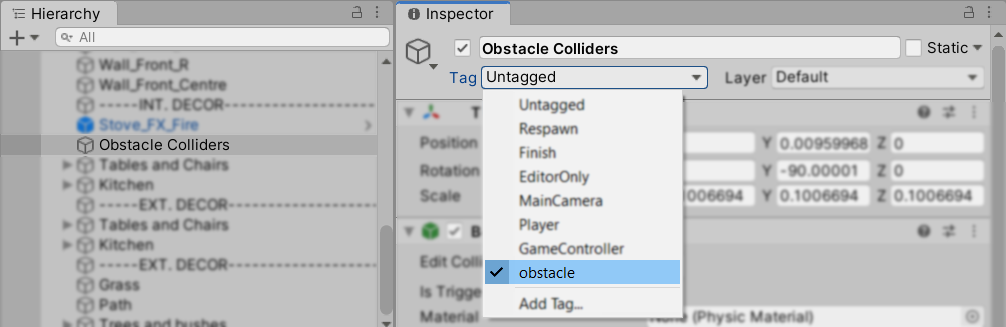
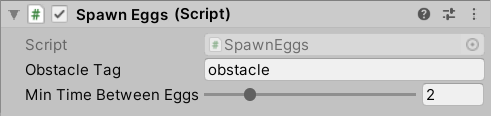
In addition, you have to make sure that you add a tag to all the respective game objects. Here’s an example, if we tag the game object with colliders as “obstacle”:


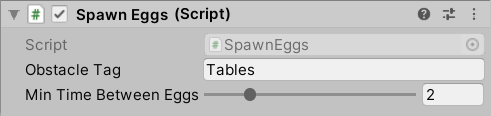
If we tag the gameobject with colliders as “Tables”, the variable will change accordingly:
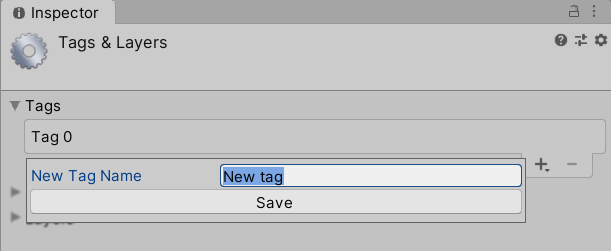
If you don’t know how to tag an object, here’s a quick guide.
Step 4.4: Combining the codes together part 1
Now, write a method to move the egg passed into the method to the position generated in the GetRandomPosition() method.
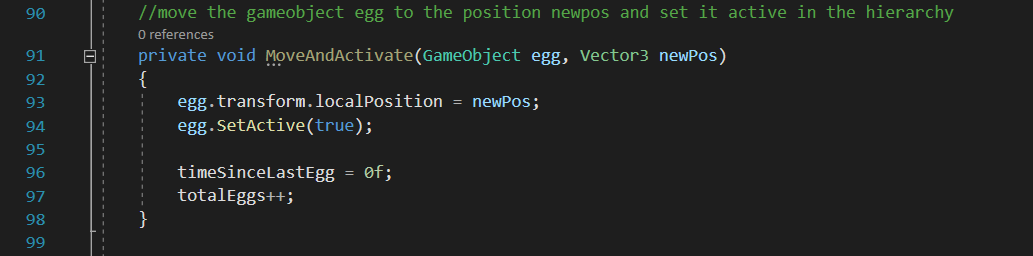
Likewise, you can copy the code here:
//move the gameobject egg to the position newpos and set it active in the hierarchy
private void MoveAndActivate(GameObject egg, Vector3 newPos)
{
egg.transform.localPosition = newPos;
egg.SetActive(true);
timeSinceLastEgg = 0f;
totalEggs++;
}
Finally, it’s time to string all these methods together so they create a perfect spawn system!
We’ll be using a coroutine, if you don’t know what that is, do check out the official documentation, it’s a really useful built-in method!
Then, add in the following code:
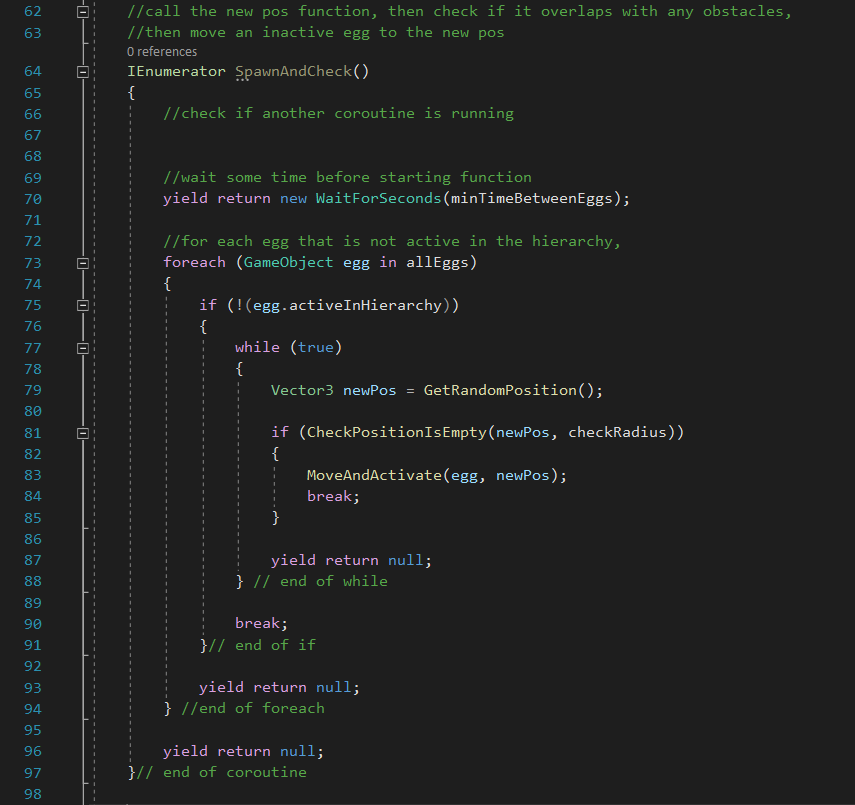
This code is long. Hence, you can copy it here:
//call the new pos function, then check if it overlaps with any obstacles,
//then move an inactive egg to the new pos
IEnumerator SpawnAndCheck()
{
//check if another coroutine is running
//wait some time before starting function
yield return new WaitForSeconds(minTimeBetweenEggs);
//for each egg that is not active in the hierarchy,
foreach (GameObject egg in allEggs)
{
if (!(egg.activeInHierarchy))
{
while (true)
{
Vector3 newPos = GetRandomPosition();
if (CheckPositionIsEmpty(newPos, checkRadius))
{
MoveAndActivate(egg, newPos);
break;
}
yield return null;
} // end of while
break;
}// end of if
yield return null;
} //end of foreach
yield return null;
}// end of coroutine
Step 4.5: Short Explaination
Here’s a quick breakdown of what this script does:
- In lines 70 to 73, after waiting minTimeBetweenEggs seconds, we check which egg objects are still inactive in the hierarchy.
- In line 75, if we have found an inactive egg, from lines 77 to 79, we will then generate a random position within the spawn area.
- After that, we check if the position is too close to any obstacles. If it is not, we will ignore lines 81 to 85, then we will loop back to lines 77 to 79 and generate a new position.
- In line 81, if the position is all right, we move the inactive egg to the position generated and set it active in the hierarchy in line 83.
- Note that we’re just setting the egg objects active and inactive instead of instantiating them. We do this because not many eggs will be spawned at once. Additionally, we will be using the spawn system to spawn our eggs into the game frequently. However, to instantiate an entire egg every few seconds is quite taxing in terms of performance. Hence, optimising your game is important for a smoother and more enjoyable player experience!
- Therefore, all in all, we’ll just give our players the illusion that new eggs are getting spawned in the scene over and over.
Step 4.6: Combining the codes together part 2
Now, we just need to call our methods! We wanted a maximum of two eggs in the scene at a time, as well as a delay between the spawning of each egg. As such, we only call the SpawnAndCheck coroutine (line 55) when those conditions are met.
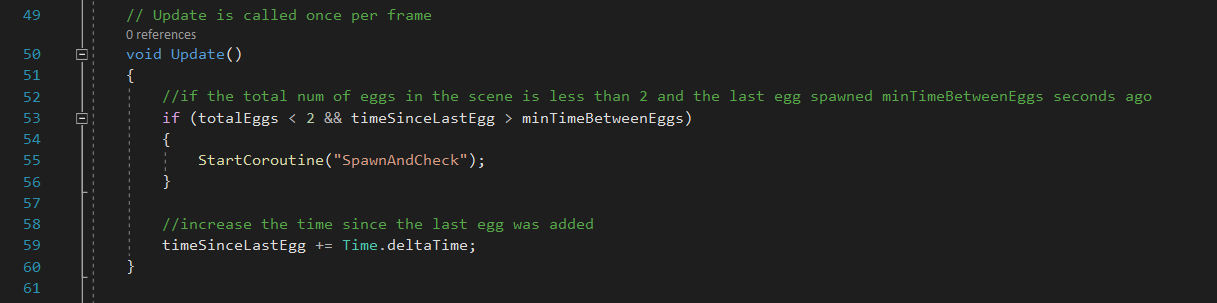
Likewise, you can copy the code here:
// Update is called once per frame
void Update()
{
//if the total num of eggs in the scene is less than 2 and the last egg spawned minTimeBetweenEggs seconds ago
if (totalEggs < 2 && timeSinceLastEgg > minTimeBetweenEggs)
{
StartCoroutine(“SpawnAndCheck”);
}
//increase the time since the last egg was added
timeSinceLastEgg += Time.deltaTime;
}
After that, you can tweak the minTimeBetweenEggs using the slider in the inspector. Note that the lower the number, the more frequently the eggs will spawn!
However, multiple coroutines might get called at once because we’re calling the coroutine in the update function. Therefore, let’s add in a little if statement to make sure that two instances of the coroutine can’t run at once.
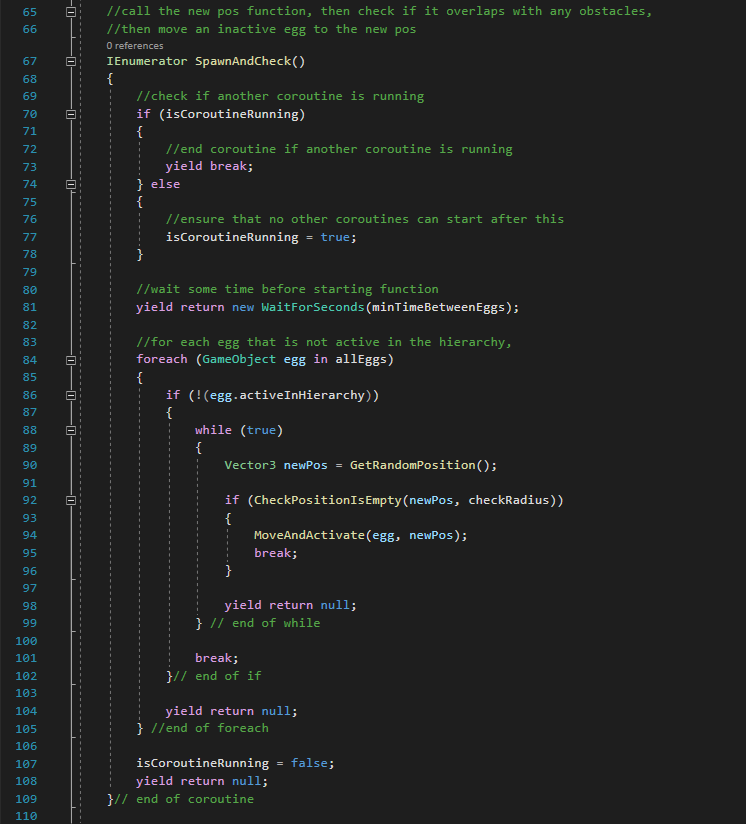
Add this code in:
//call the new pos function, then check if it overlaps with any obstacles,
//then move an inactive egg to the new pos
IEnumerator SpawnAndCheck()
{
//check if another coroutine is running
if (isCoroutineRunning)
{
//end coroutine if another coroutine is running
yield break;
} else
{
//ensure that no other coroutines can start after this
isCoroutineRunning = true;
}
…
isCoroutineRunning = false;
yield return null;
}// end of coroutine
After that, spawn in one egg the moment the scene starts up.
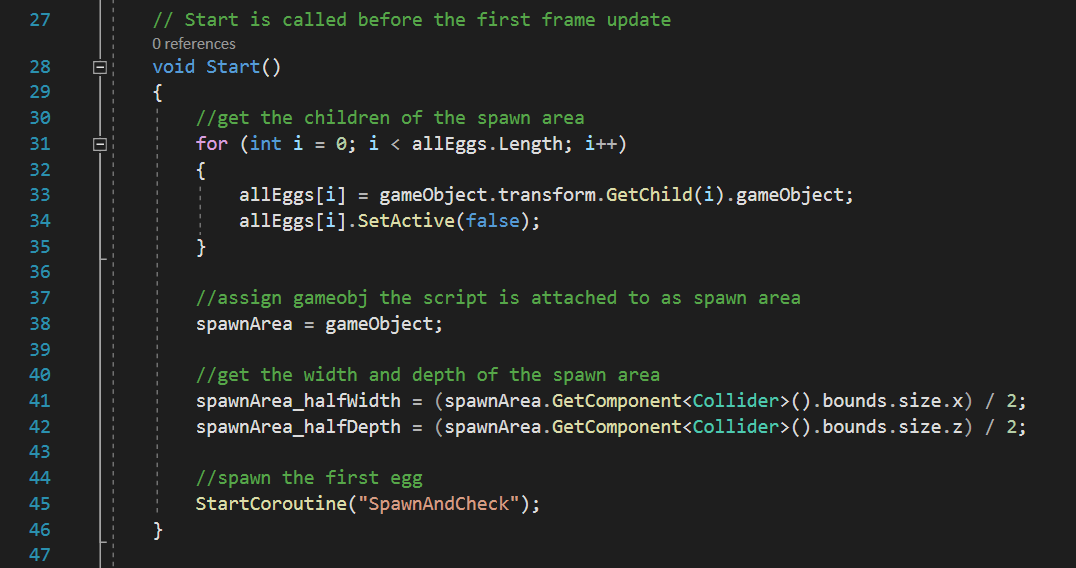
Copy the code here:
// Start is called before the first frame update
void Start()
{
…
//spawn system to spawn the first egg
StartCoroutine(“SpawnAndCheck”);
}
It’s been a long tutorial, but we’re finally done with our spawn system!
In Summary
Your eggs will now be able to spawn at random positions inside the restaurant. Therefore, the next step is to get your chicken to collect them! So, in tomorrow’s tutorial, we will teach you on how to collect these eggs and keep track of how many you have collected.
If you’re interested in finding out more about the game dev process, do follow our Instagram page @noodletsstudio! Moreover, not only will we be posting updates on the game we’re developing, we’ve also been putting up handy dandy tutorials on different aspects of game development. Above all, we currently have some tutorials on simple particle effects and mobile joystick movement up! Hence, do check us out 😉