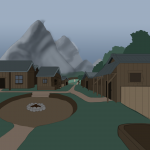
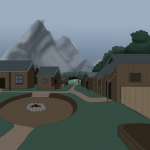
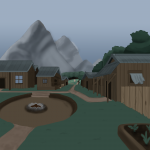
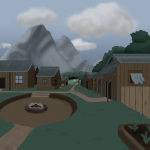
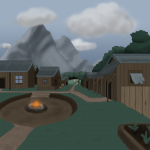
Previously in this 3 part series, we have covered Weapon and Character Design. However, both would mean nothing without an environment to be in. Thus, in our final edition of this tutorial series, we will be covering Environment Design!
What is Environment Design?
Environment design is about the process of searching for what you want a region to feel like for your audience, and the story it tells. Every fantasy world needs an environment for your characters to roam.
Environment Artists don’t just create assets and layouts, but also do work like lighting and post-processing that has a huge impact on the game as a whole!
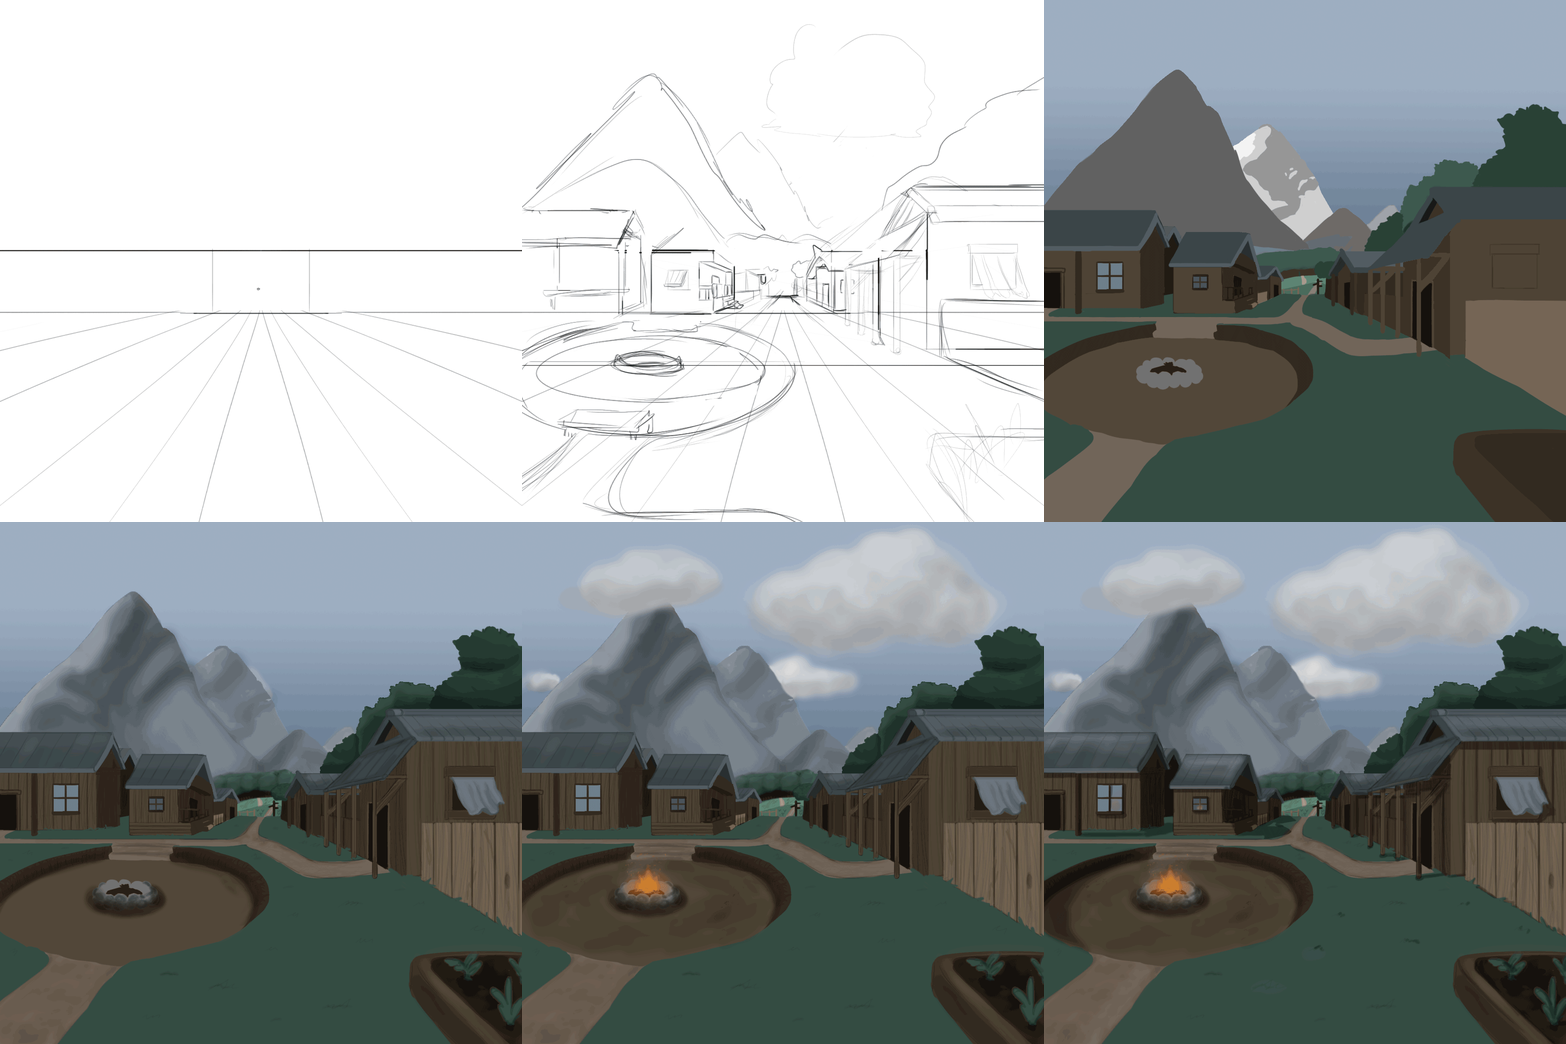
With that being said, We at Project J2K, are here to give you a step by step guide on how to go about creating environment design!
__________________________________________
1st Step: Planning & Preparing your Tools
Plan for what you want to create. Where are you going to draw on? How big is your canvas? What type of environment do you want to draw? What’s the theme in mind? How do you want this environment to feel?
The concept artist’s job is often to envision worlds that don’t exist and make them a reality. This requires much more than just art fundamentals.
You need an eye for great design. You need to understand basic objects like plants, animals, nature but not to a scientific level to the point where you can replicate ideas from your head.
In this tutorial, We will be simplifying the process. We will be using Photoshop, with an artboard size of 1080x1080px, to create a stylized sword. I own a drawing tablet for school, so I will be using that as well.
However, You could go with some alternatives to create your concept art!

____________________________________________________
2nd Step: Create Perspective Lines!
Perspective is an art technique for creating an illusion of three-dimensions (depth and space) on a two-dimensional (flat) surface. Perspective is what makes a painting seem to have form, distance, and look “real.
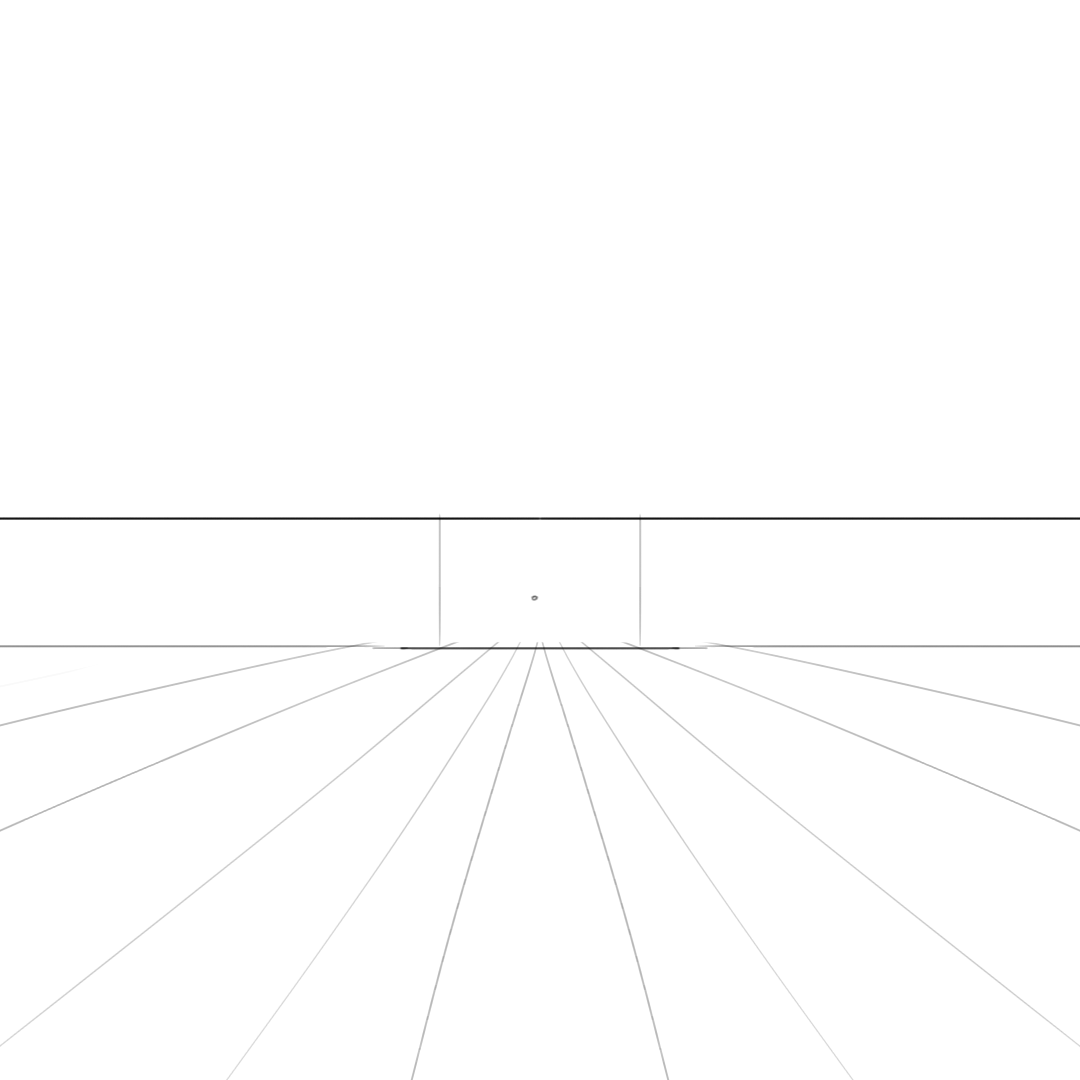
Many factors affect Perspective in art. For example, Viewpoint, Horizon Line, Vanishing Lines, 1-3 point, and Depth.
We will be placing a rectangle in the center of the canvas and creating a vanishing point in the middle. This is a 1 point perspective drawing.
____________________________________________________
3rd Step: Start Sketching!
Begin your simple sketch of the environment’s pose, adding houses, props, and major landmarks.
Remember to spare the major details, for now, because you’ll be adding those later!
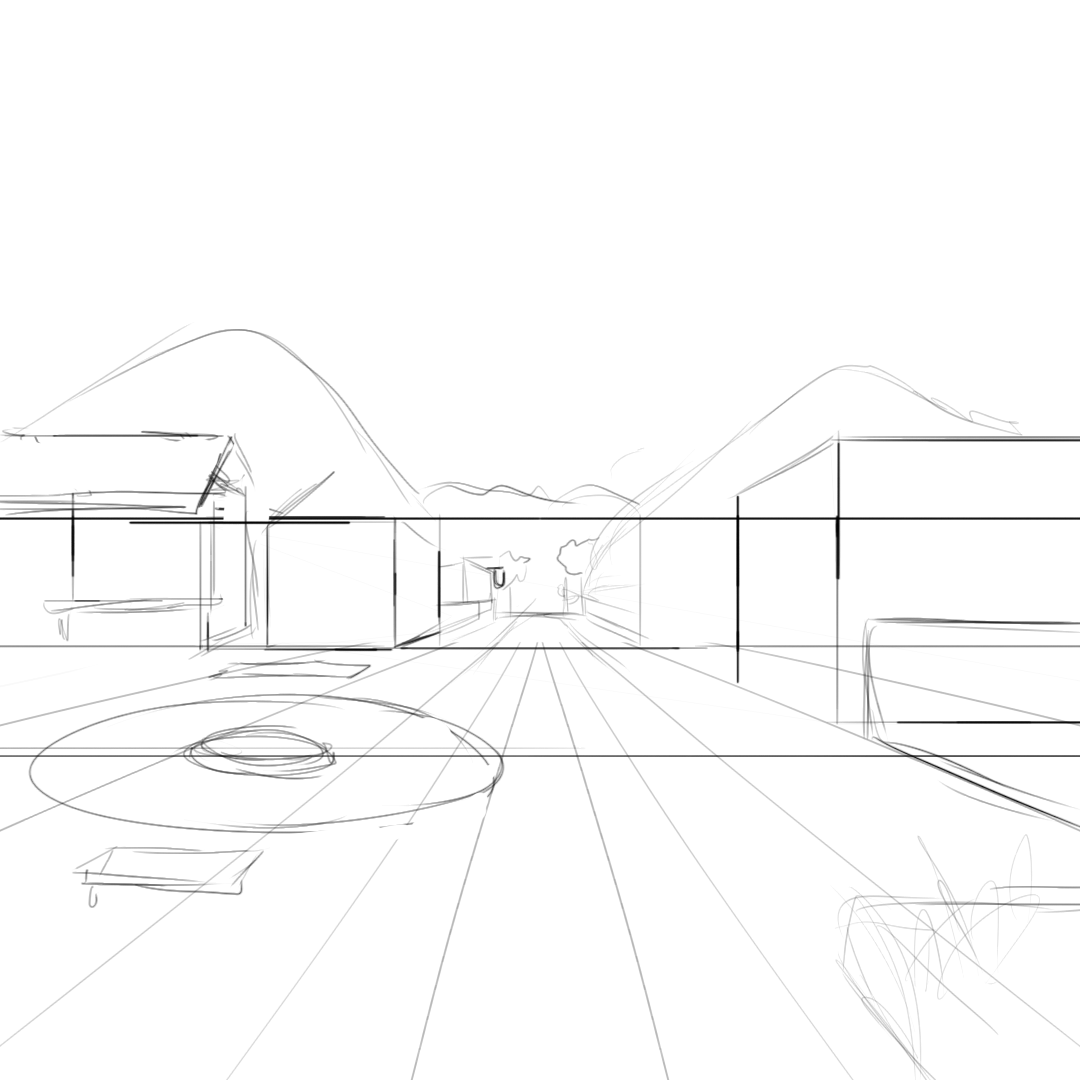
It would be best to use a soft brush affected by pressure, to draw the sketch.
____________________________________________________
4th Step: Add Details!
Here’s when you start adding your flair and begin to set the theme for the environment! Add major details to the area!
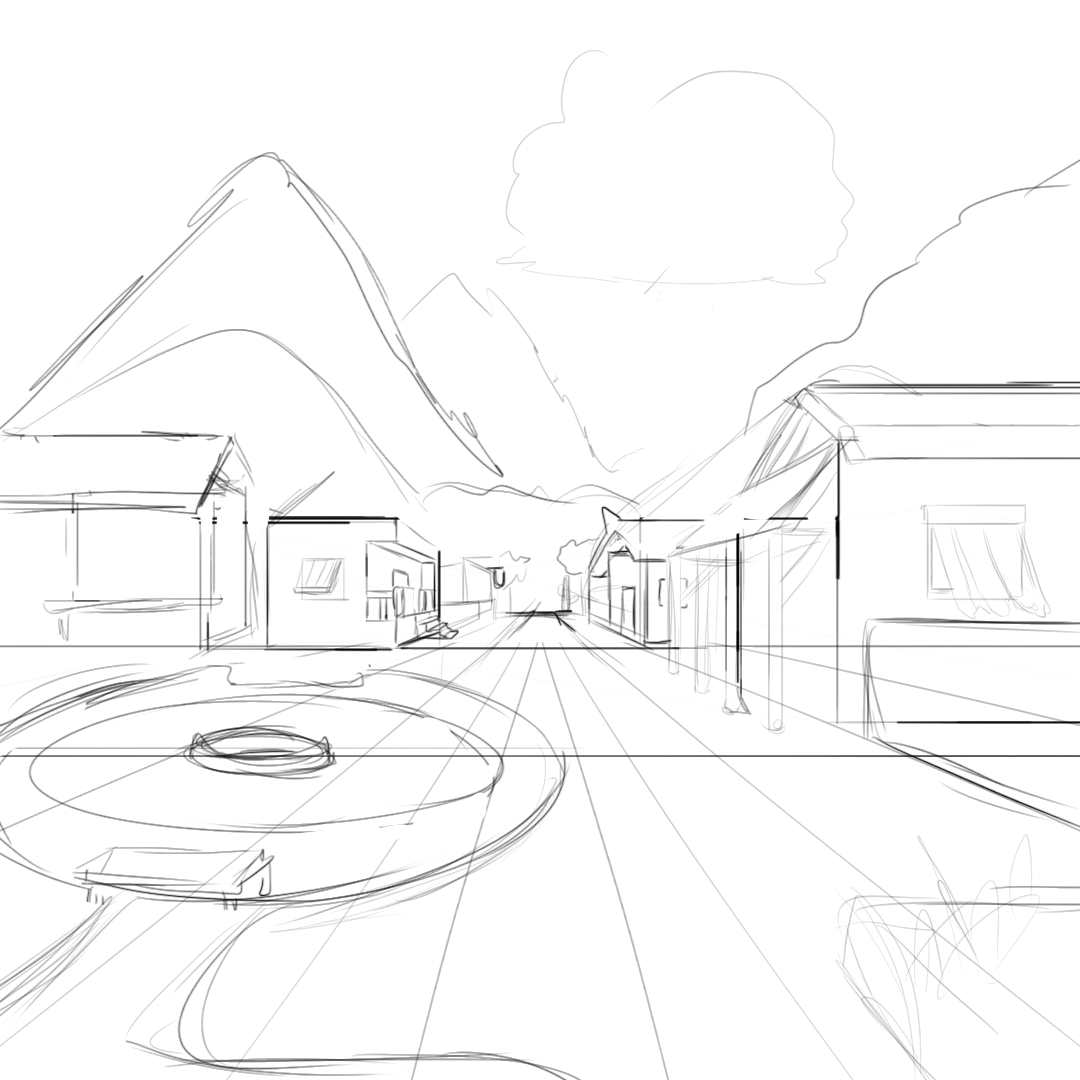
I would recommend the use of a hard brush to add details.
____________________________________________________
5th Step: Add Base Colour!
Start coloring your environment, try to keep between the lines. You can use any color palette to make them come alive. Try to stick within your theme.
Use a hard brush to add the base color; you could use a layer mask to help keep the paint in between the outlines. You could also use the paint bucket to quickly fill in the gaps.
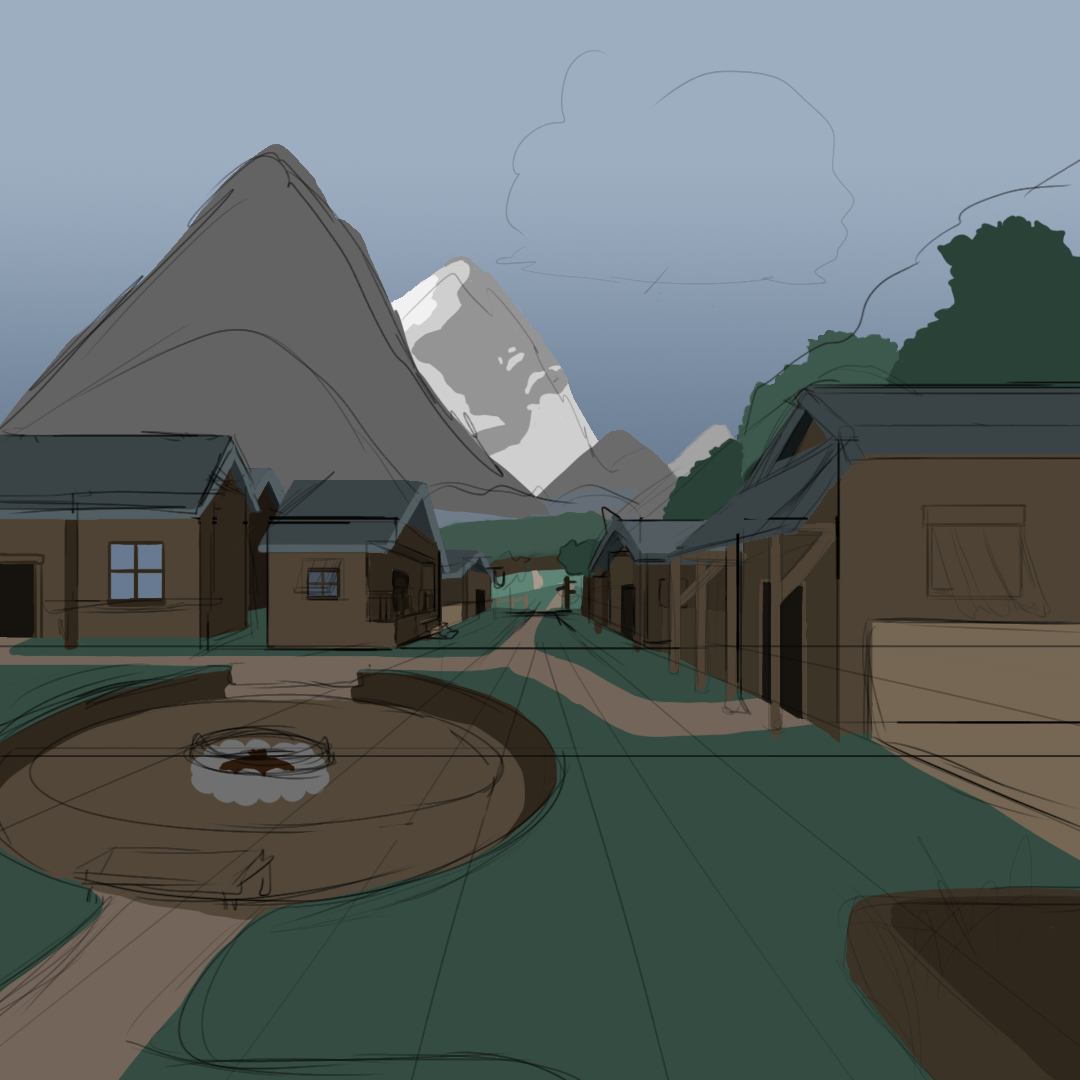
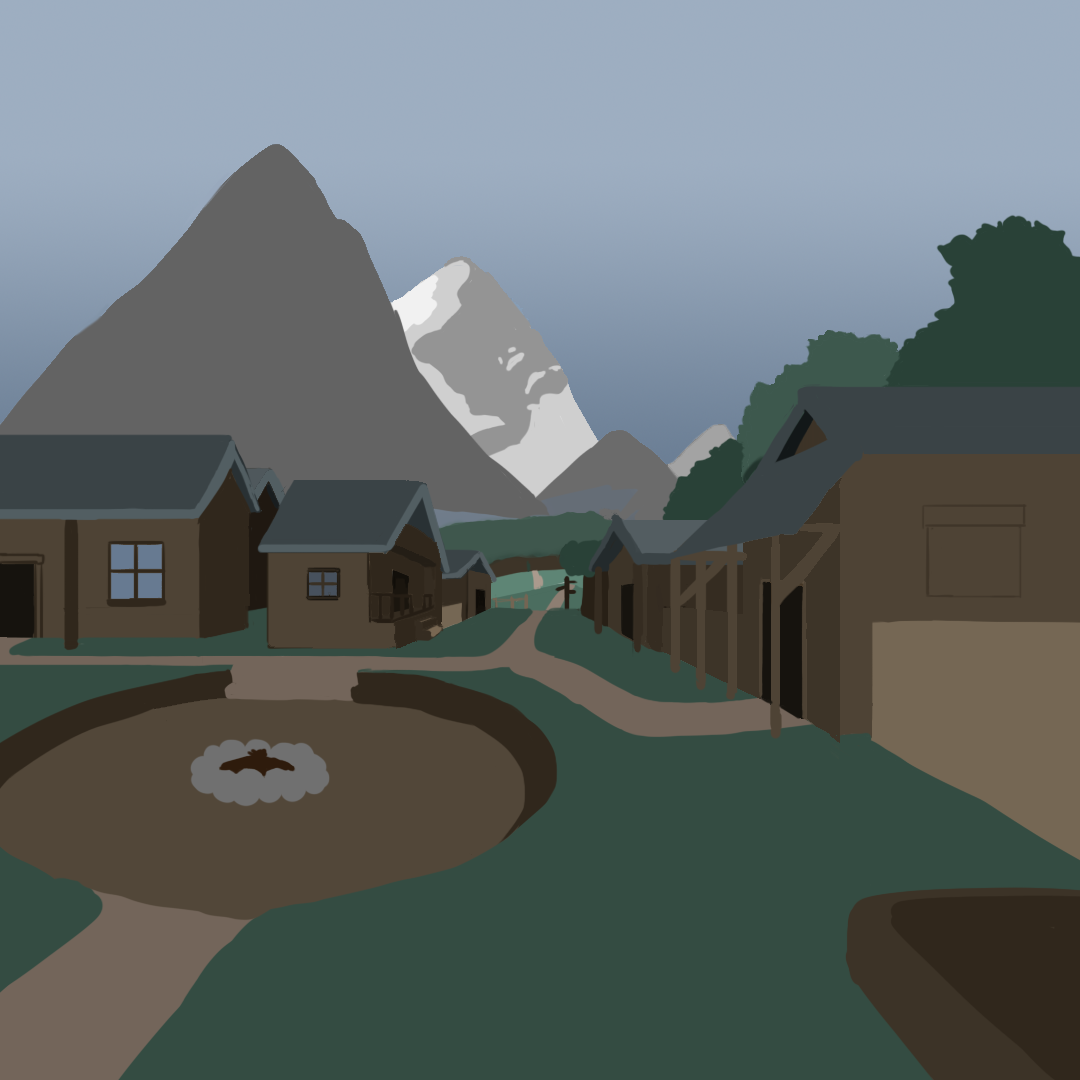
Tip: Zoom in to make sure there aren’t any empty spaces within the coloring.
____________________________________________________
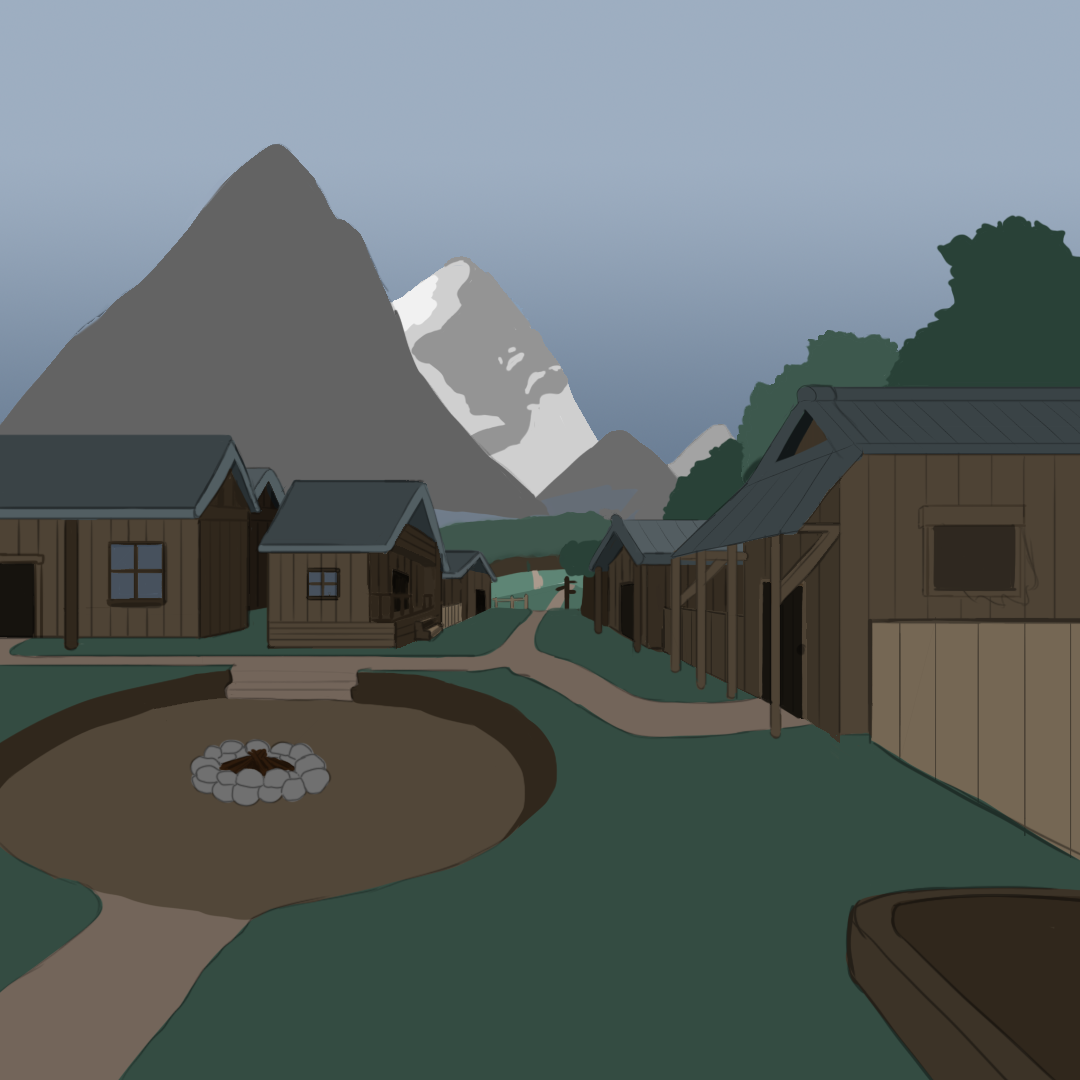
6th Step: Refine the Outline
Outline the Coloured version of the environment to add some detail now.
Use a thin hard brush with pressure on to let the lines end off sharply.
 _________________________________________________
7th Step: Add More Defining Details!
Add more details to the surroundings.
Use a soft brush to add the detail over the base color; you can use a layer mask to help keep the paint in between the outlines.
- Mountain Detail
- Tree Detail
- Village Detail
- Cloud Detail
- Fire Detail
_________________________________________________
8th Step: Shading and Lighting
Shade the handle and edges with a Black Coloured Soft Brush, on a new layer with 10% opacity. On this layer, Colour the areas that you want to be shaded with blank paint. With the layer set to 10% opacity, the black paint will mimic shadows.
Then, do the same thing on a new layer but with white paint this time to mimic light.
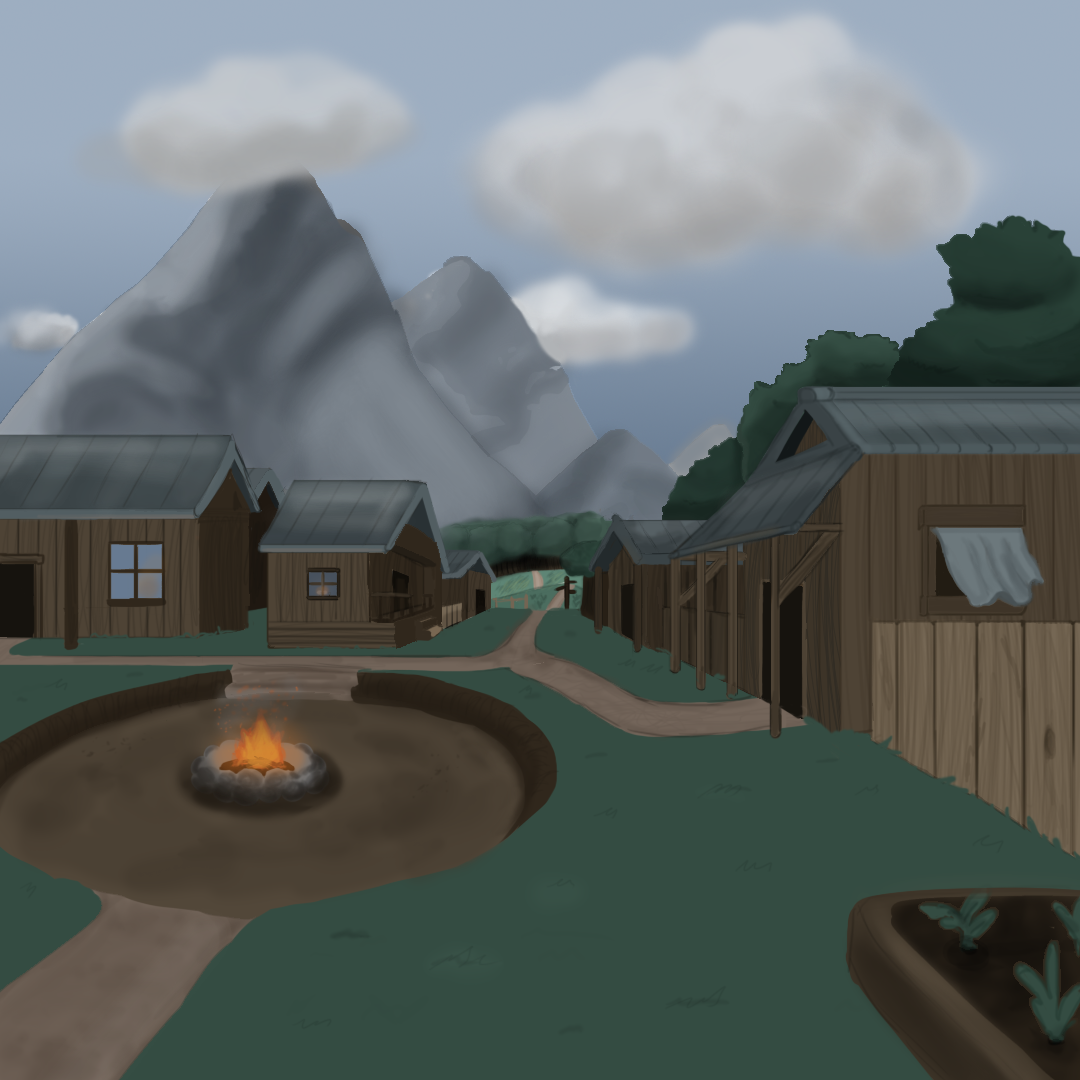
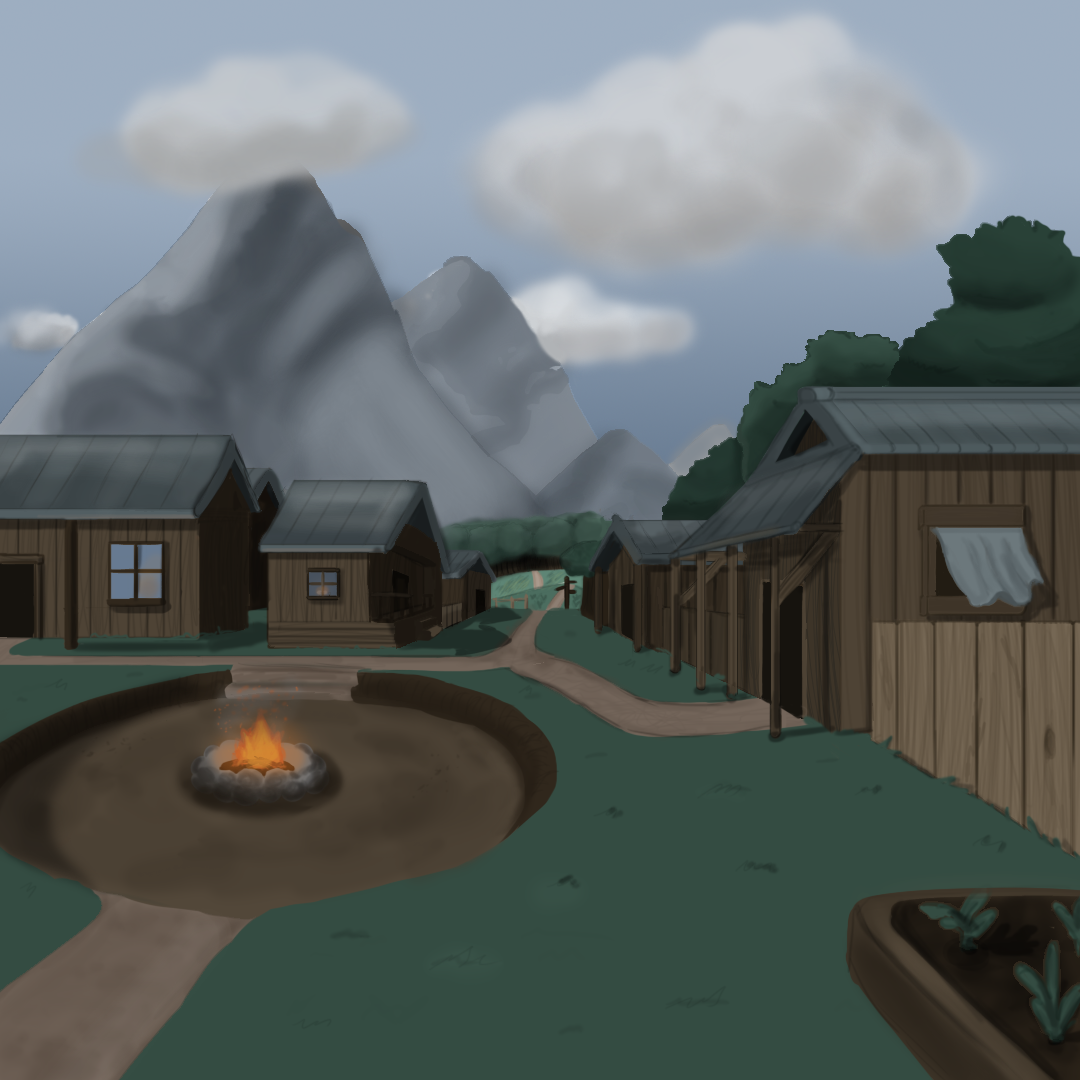
Try to add your own touch and experiment with different looks!
_______________________________________________________
9th Step: Final Features
Add any features that you want to, that’s missing or otherwise. We added a homeowner.
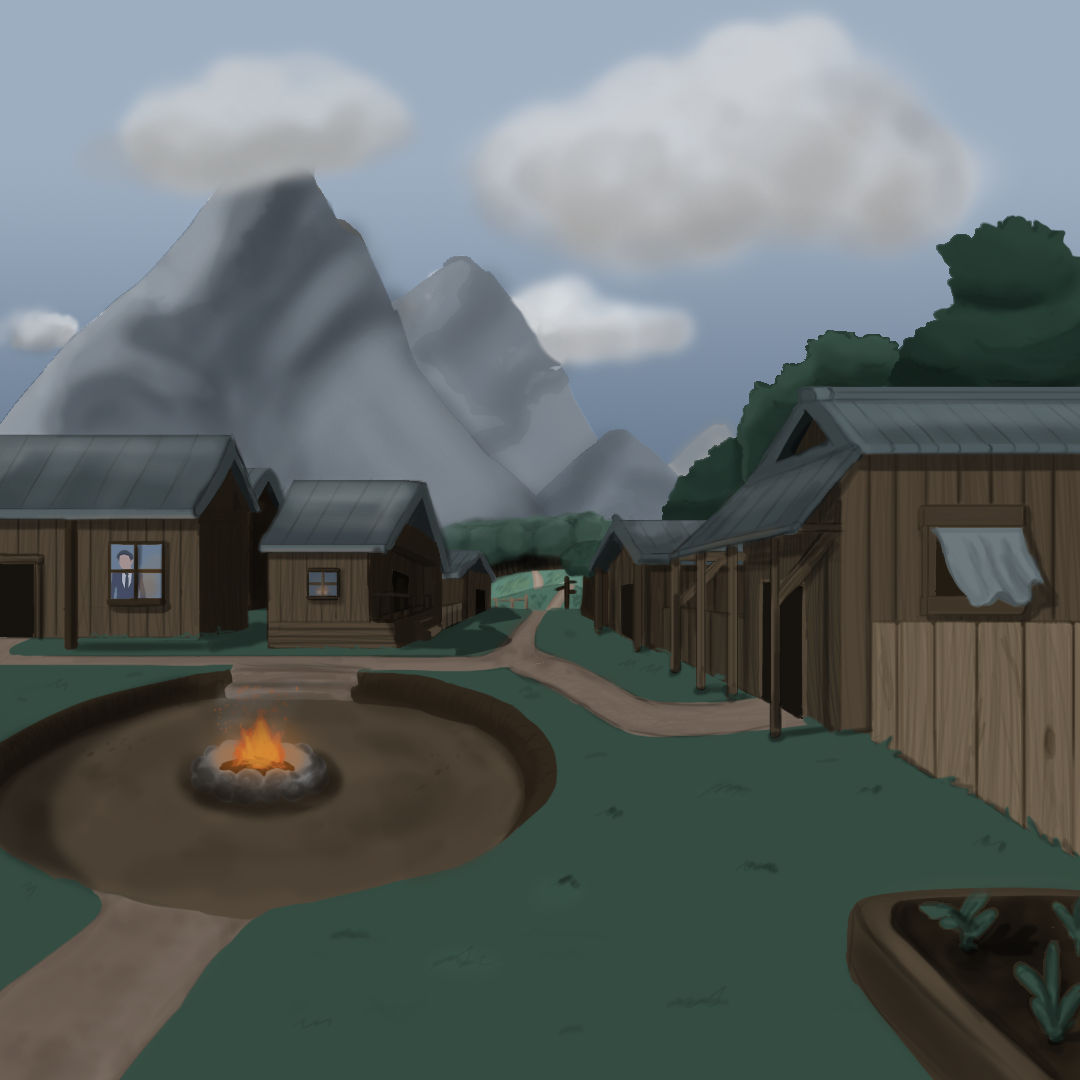 Try to add your own touch and experiment with different outcomes! Try to fit your theme of the environment!
____________________________________________________
And You’re Done!
Congratulations! You’ve drawn your first environment design! Feel free to try with other environments scenes!

____________________________________________________________
What now?
Now that you’ve got a good understanding of the basics of environment design, and have the means to create your environment concept art.
Next. you can proceed onto experimenting with different Environments, by adding different characters within the scene or making different environments!
Stay tuned for tomorrow when we will be switching gears for the final time, and providing a 2-part tutorial on Digital Illustration!
In the Meantime, Why not check out our previous tutorials?
Sound Design Part 1: Introduction
Sound Design Part 2: Making a Melody
Concept Art Part 2: Characters
Follow @amphibistudio and @projectj2k on Instagram for more updates!


